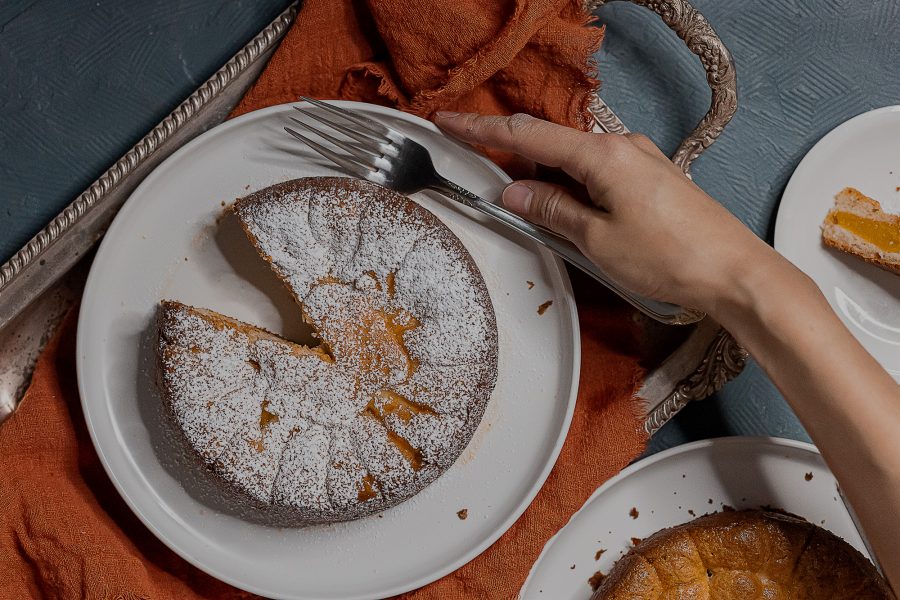
Almond Dacquoise Cake (with Peaches)
This Peach Almond Dacquoise Cake makes the perfect gluten free afternoon tea dessert!
Continue Reading This Peach Almond Dacquoise Cake makes the perfect gluten free afternoon tea dessert!
Continue Reading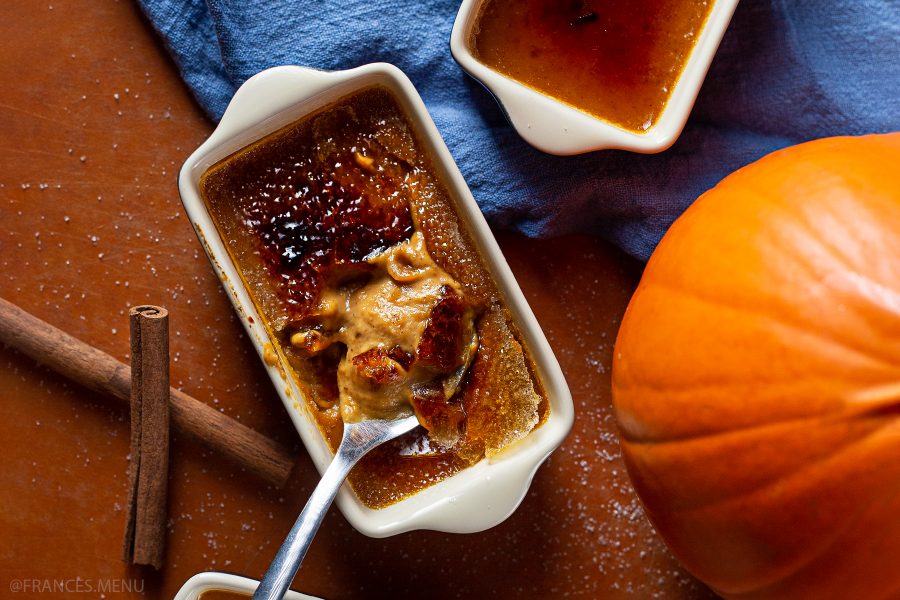
Looking for that perfect 🦃Thanksgiving party dessert that is both impressive and easy to make? This pumpkin creme brulee recipe will transform your Fall parties forever!
Continue Reading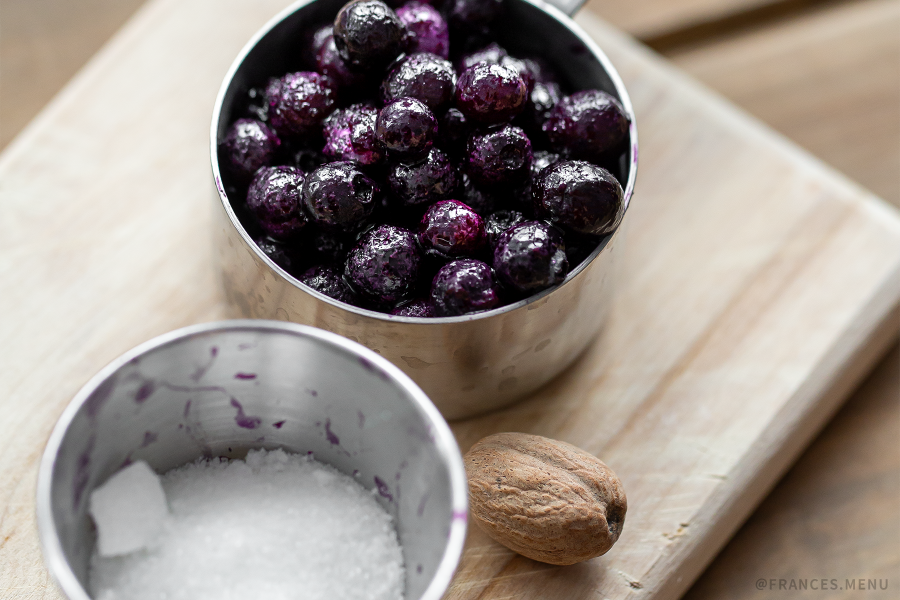
This easy recipe creates an impressive Earl Grey Panna Cotta complimented by a delicious Blueberry Compote! Make ahead to impress your date or for a house party!
Continue Reading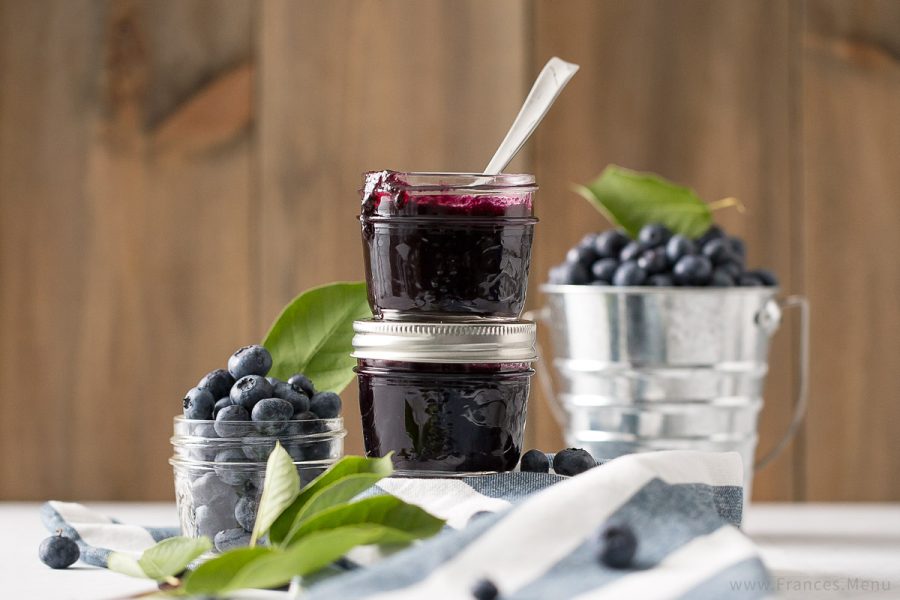
Ten years ago, if you told me that I would be making my own delicious Blueberry Vanilla Jam for breakfast, I would have thought you were crazy.
Continue Reading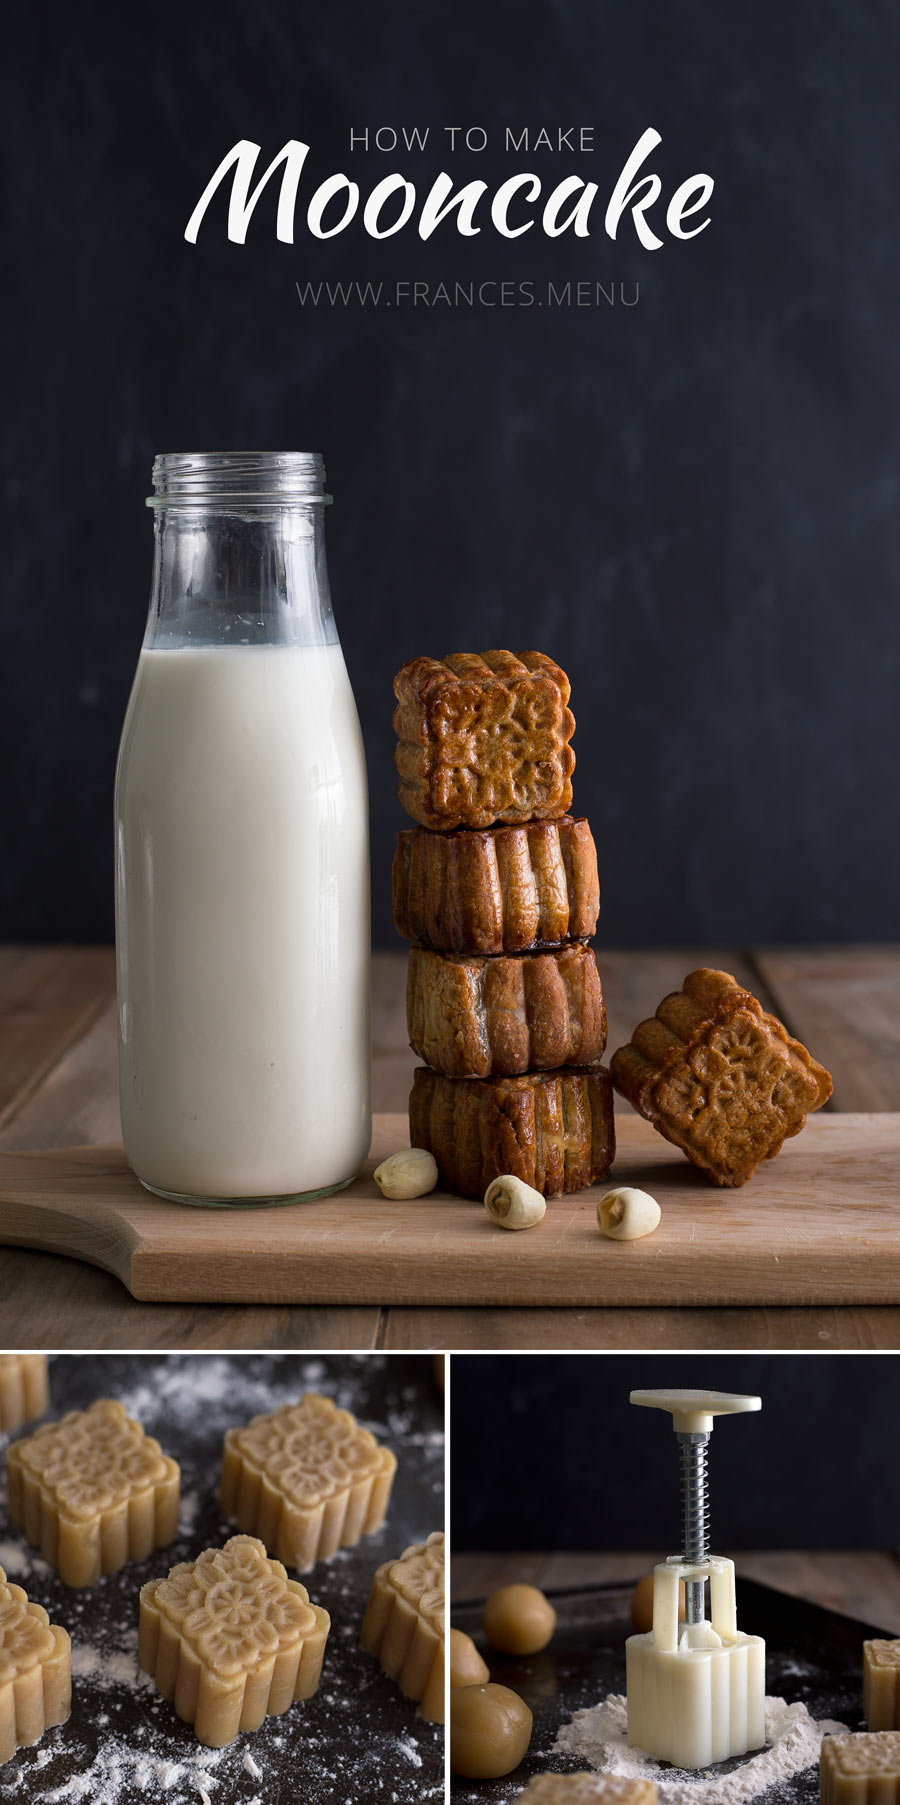
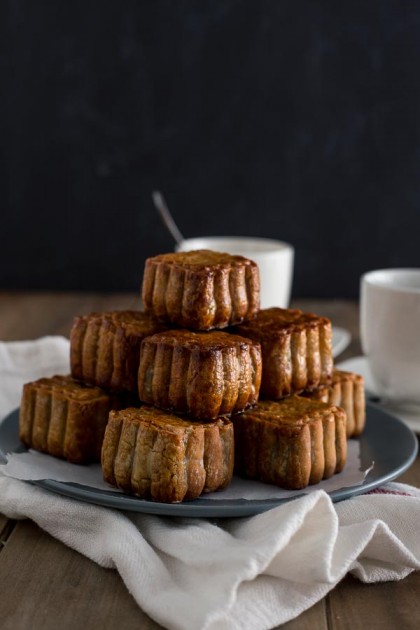
One thing I look forward to when summer ends is the Chinese Mid-Autumn Festival, which is on September 27 for those of you who don’t know! When I was a child, my parents would uphold the same traditions each Mid-Autumn Festival that are now ingrained in my memory. We would light candles and carefully place them in the middle of these colourful paper lanterns of all shapes and sizes. Then, we would have a walk around the neighbourhood, taking care to shield the lanterns from the strong winds (now that I think back, holy dog doo doos, they were quite the fire hazard!). We had orange, yellow, pink, red and flower patterned lanterns, to this day I remember their delicate paper structures and vibrant colors.

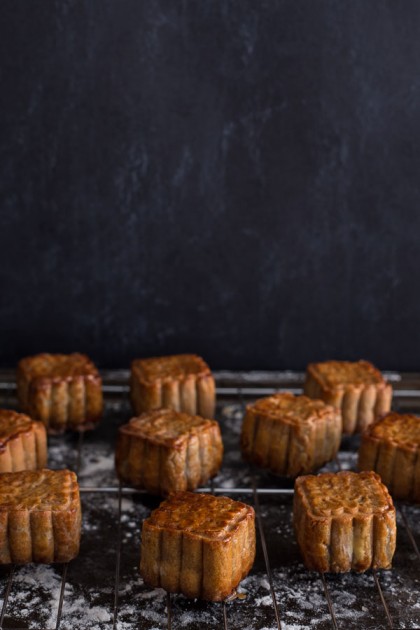
Another Mid-Autumn Festival tradition we repeated was eating mooncake. My mother would slice through that decorative mooncake top and divide it into 8 even pieces. I would pick the prettiest slice and bite into the soft pastry crust filled with sweet and dense lotus seed paste, tempered by moist salted egg yolks. For a while, I refused to eat the salted egg yolk and only ate the lotus paste slices, but like my obsession with Korean boybands, this too was a passing phase.


Currently there are mooncakes of many creative filling flavours (such as coffee, durian, taro, green tea) made with different ingredients and even no-bake mooncakes meant to be served cold (Bing Pai/literally translated as Ice Skin). Over the years, the number of flavours, packaging ideas and brands diversified but I still think original lotus seed paste with salted egg tastes the best.
Mooncakes are expensive and vary in price depending on the brand and the number of yolks used. In Toronto, a box of 4 regular sized lotus seed paste mooncakes with two yolks each (185 gram/mooncake) from a popular brand, e.g. Wing Wah, averages about $40 CDN + tax. Increase that number to 4 yolks per mooncake and you’re looking at $50 CDN + tax per box. I never understood why they are so expensive until I tried to make them. There are many reasons: they are imported from Asia, good quality lotus seeds/salty egg yolks are pricey, they are a lot of work to make at home and packaging gets more extravagant each year.

In my quest to make mooncakes, I attempted to create lotus seed paste from lotus seeds, but something went horribly wrong that shouldn’t have—I’ll save this story for next year. In the end my aunt helped me find a lotus seed paste wholesaler in Scarborough. If you’re interested, they sell lotus seed paste for $5 CDN / pound (with and without peanut oil), amongst other things (update Sept 2016: they also sell raw salted egg yolk!). The company name is Kar Heung Yuen and their phone number is 416-332-0075. I would call before going to give them a headsup—they’re not open to public and you’ll need to ring a doorbell to get in (which they don’t always hear due to the heavy machinery churning out lotus seed paste).
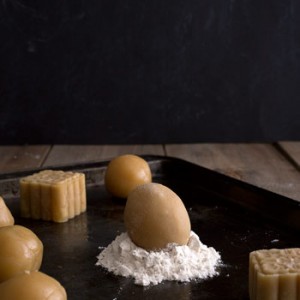


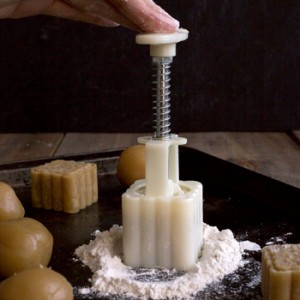
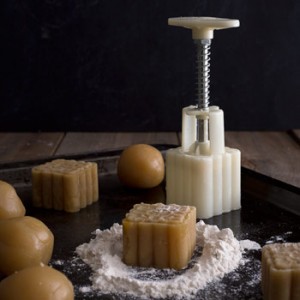

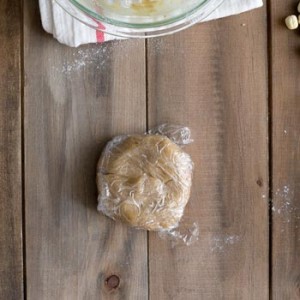
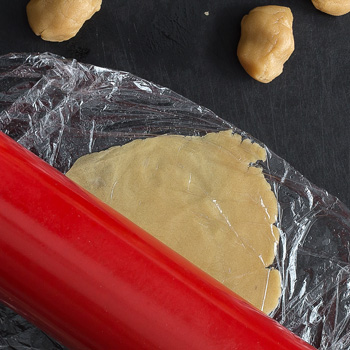
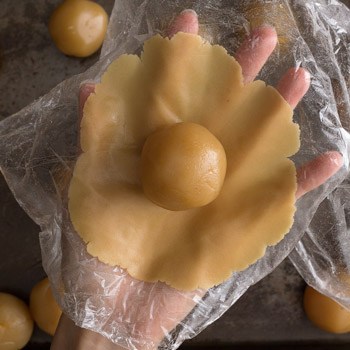
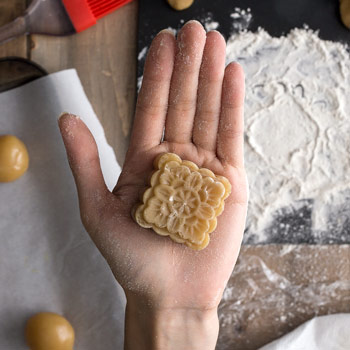
The following recipe is loosely based on Christine’s Recipes Traditional Mooncakes (廣式月餅). There are A LOT of excellent mooncake recipe sources out there and another source worthy of mentioning is Back To Basics–Baked Traditional Mooncake (传统粤式月饼) by Guai Shu Shu. Since it was my first time making mooncakes, I encountered much trial and error and digging through the techniques to see which ones would work best. I chose to use the spring loaded mooncake mold because it would allow me to make the mooncakes at different heights (if I ran out of material), you can buy the 50 gram Square Mooncake Mold here. I tried to find the wording that really simplified the process of putting together a mooncake for beginners like me and put it down in the recipe below. Have patience, making mooncakes takes time! And most importantly, have fun and share your results with your loved ones!
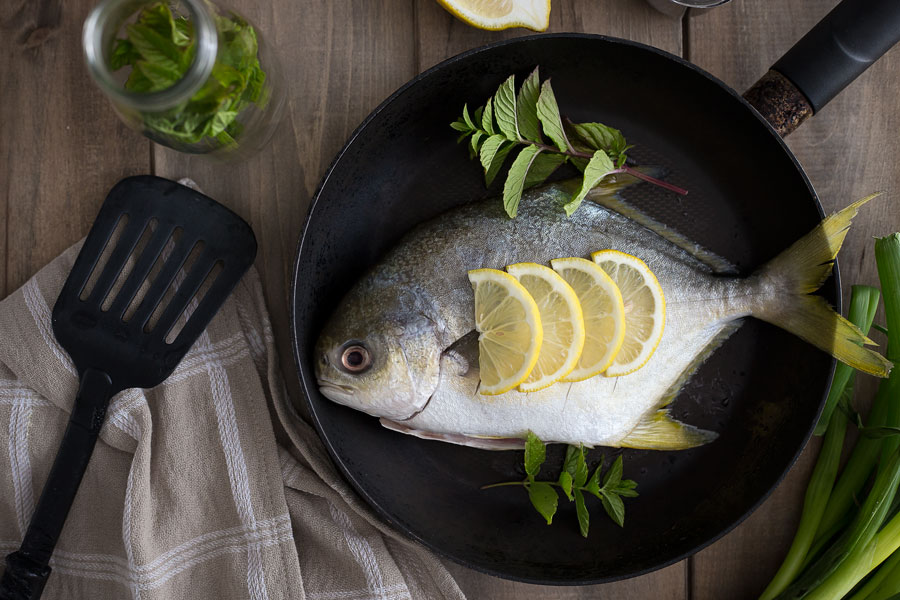
Ready to add something incredibly easy and tasty to your cooking repertoire? This Pomfret Pan-fried recipe takes less than 15 minutes to season and cook, making it delicious AND perfect for a weeknight meal. If your kids eat seafood, they’ll love it, and if they don’t, this is an excellent recipe to introduce them into this food category.

The Golden Pomfret is my FAVOURITE fish to eat with no exceptions. My mother started cooking this for me from a very young age. The Golden Pomfret’s natural taste is something to be celebrated—little to no seasoning will compliment it best. It’s prized for being one of the few non-fishy tasting fish, with its flat shape, subtle sweet taste and firm texture. It is relatively easy to cook and consume, as you can cook the entire fish whole and the large bone structure makes isolating the fish meat a breeze (compared to some fish that have many tiny bones to eat around).
Occasionally, Pomfrets are also called Pompano or Butter fish, although this naming seems to vary from location and grocery store. In different languages Pomfret is also known as 金鲳魚 (Chinese), Avoli (Malayalam), Vawal (Tamil).
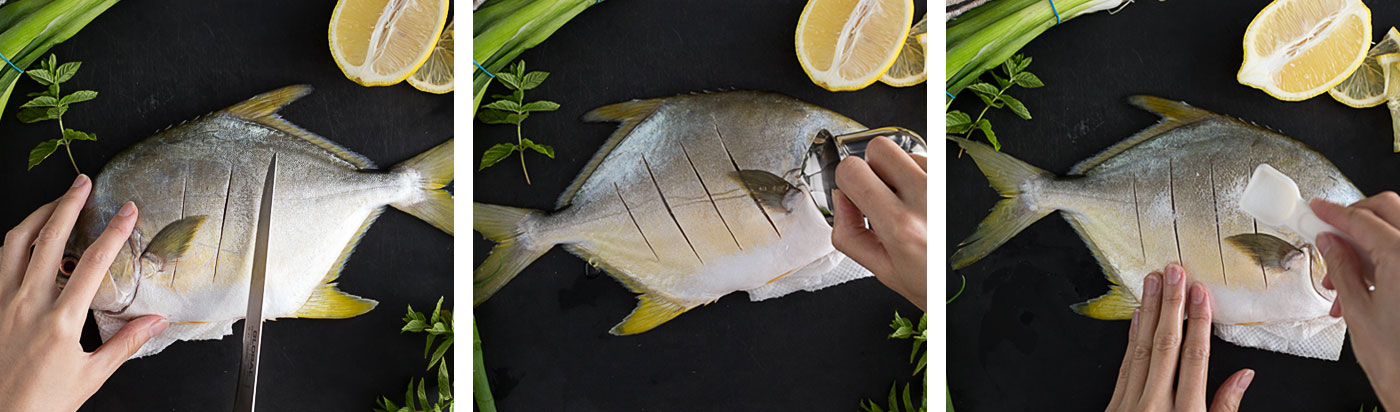
If you’re wondering where you can find this miracle fish, they are readily available in the seafood section of most Chinese grocery stores in the Greater Toronto Area such as TnT, Foodie, Sunny Supermarket. If the location of these stores are inconvenient for you, here is a list of the Best Fish Stores in Toronto from Blog TO (call ahead to check if they have golden pomfret before going). I suggest spending the extra few dollars to purchase the fish defrosted and gutted because they are difficult to clean and if you don’t do it well, the pomfret will taste bitter at the lower front half of the fish. Yes, I speak from experience.
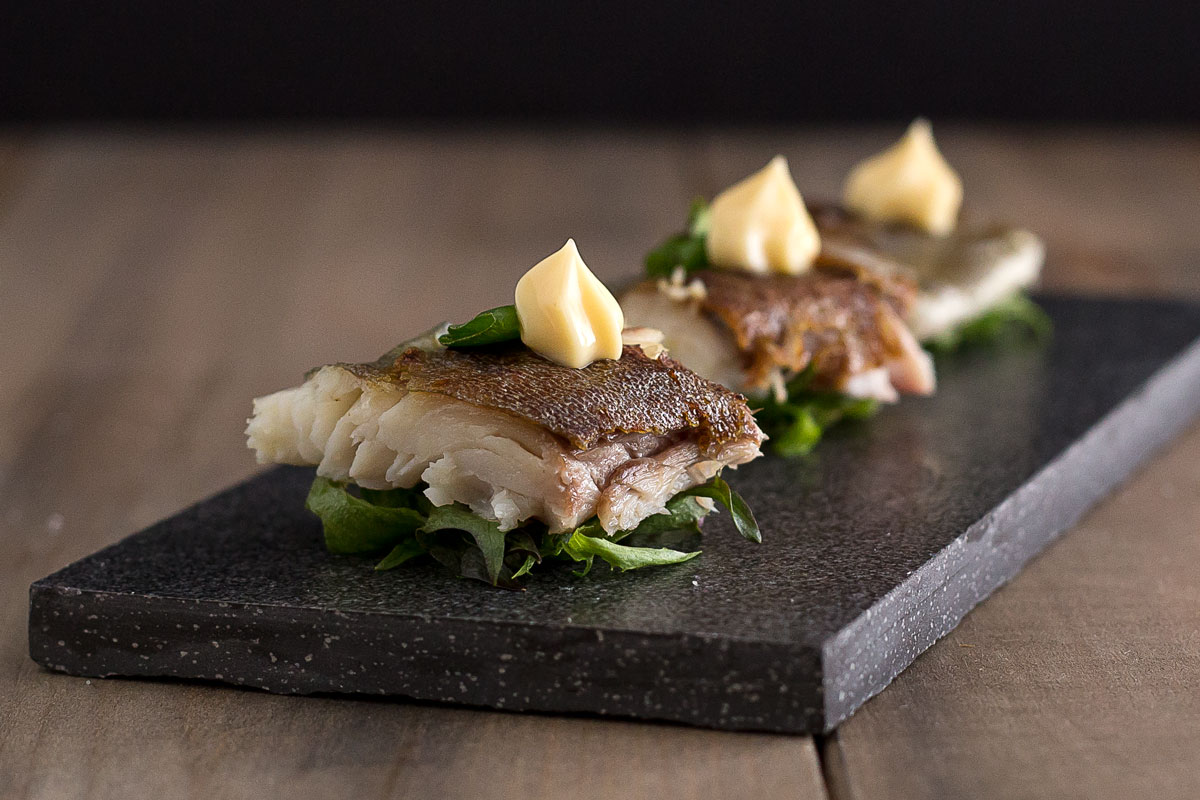
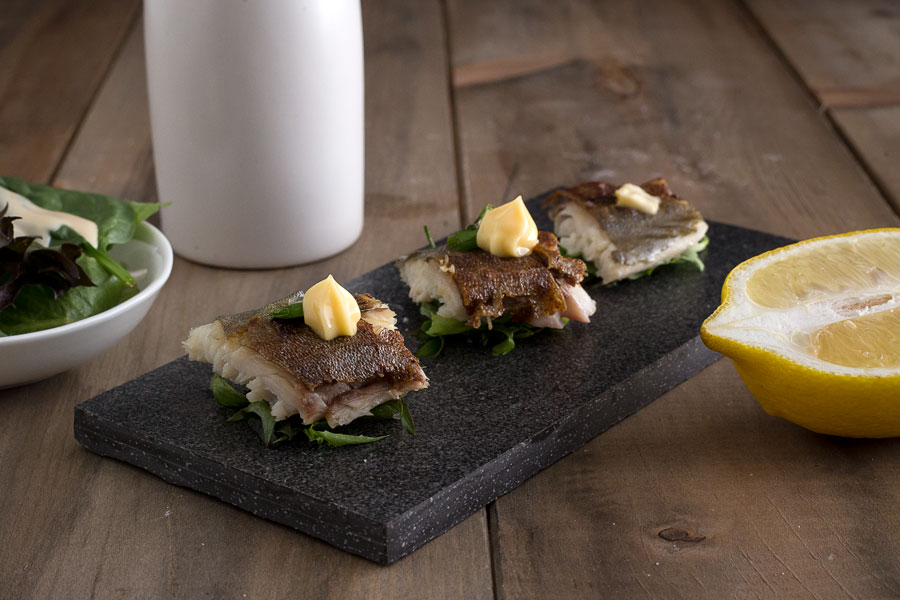
 My mother serves this dish with a side of mayonnaise which is another alternative to serving the fish with lemon wedges. I eat the meat right off the bones of the fish, although you can cut and present it like I have in the photo (in my opinion, the fish tastes too good to wait!). I hope you enjoy this Pomfret Pan-Fried recipe it as much as I do!
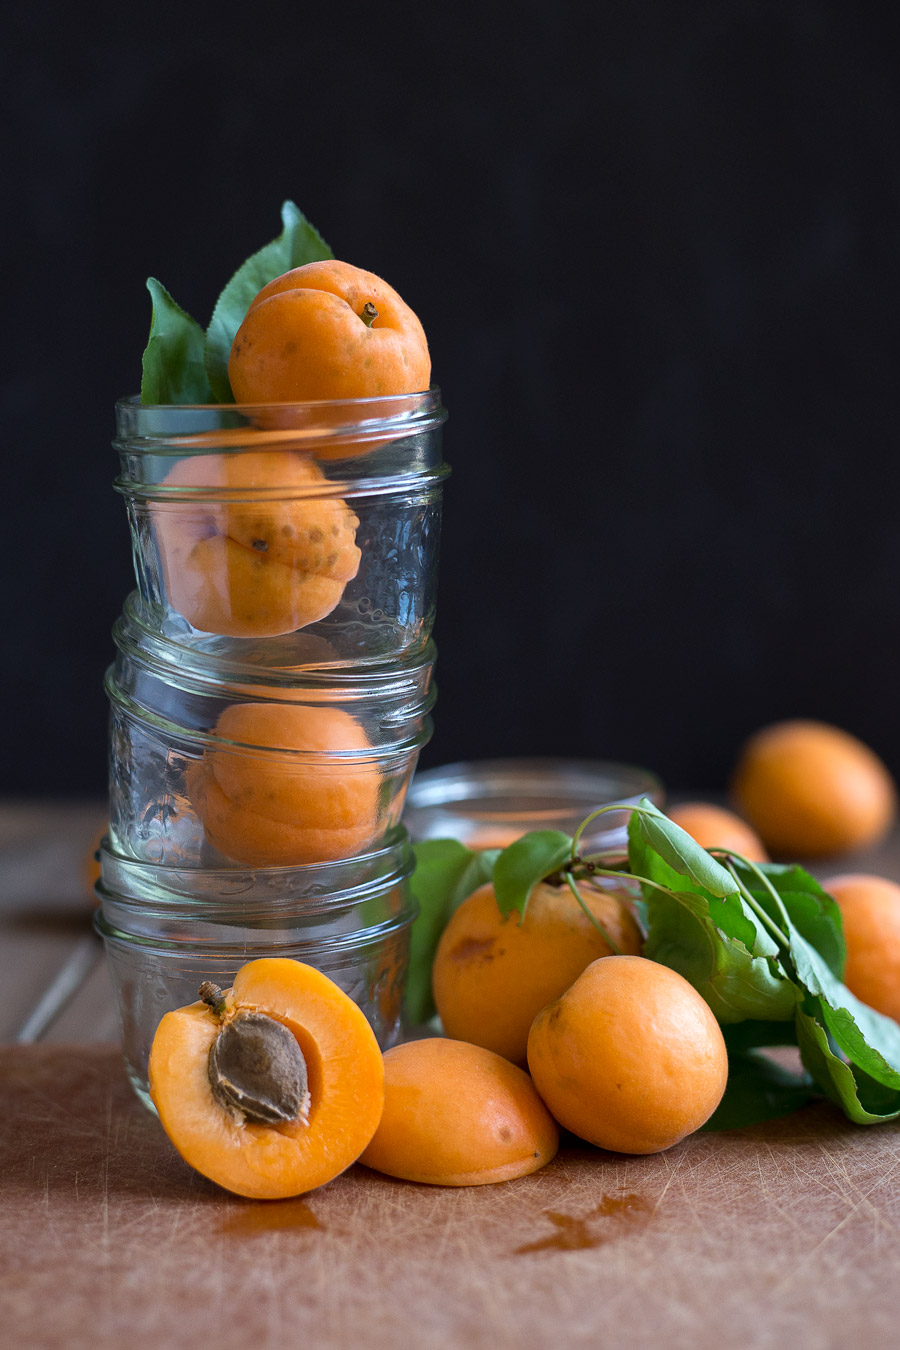
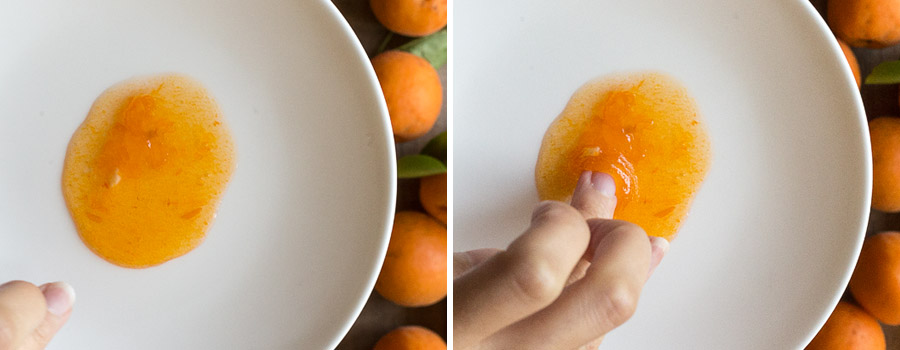
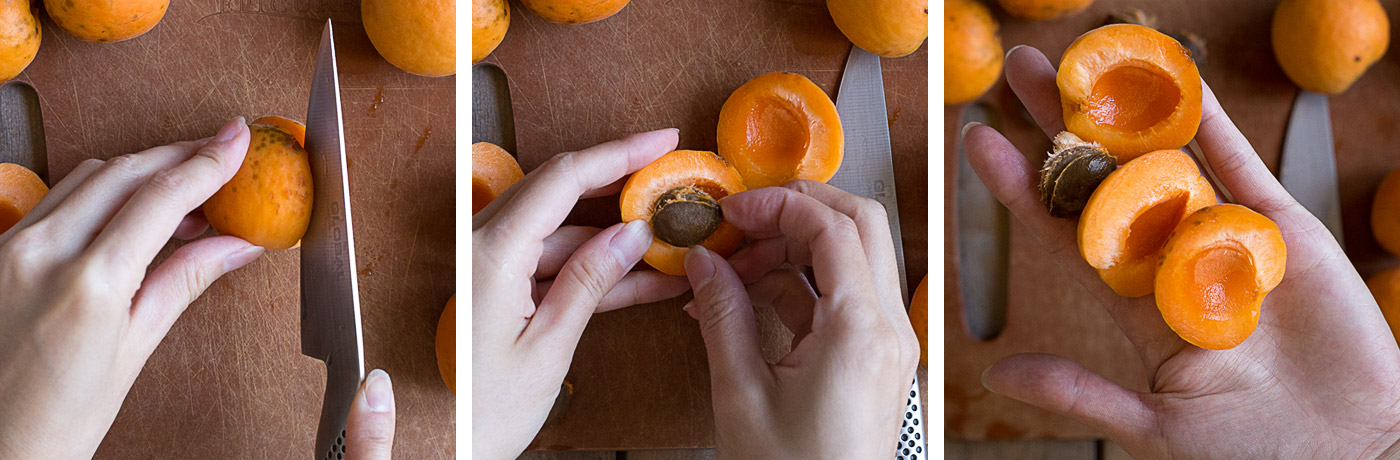
For the first time ever, I made jam—specifically, apricot jam using freshly picked, completely organic apricots! Never really having adopted the ‘think local’ and ‘seasonal cooking’ attitude, this was an exciting experience for me. There’s something to be said about adapting your cooking to what mother earth provides at that given moment—it feels incredibly rewarding.
It began with my parents bringing over a few apricots, telling me that their neighbour’s tree had an overabundance of these tiny orange fruits ripe for the picking and that they were giving them away.
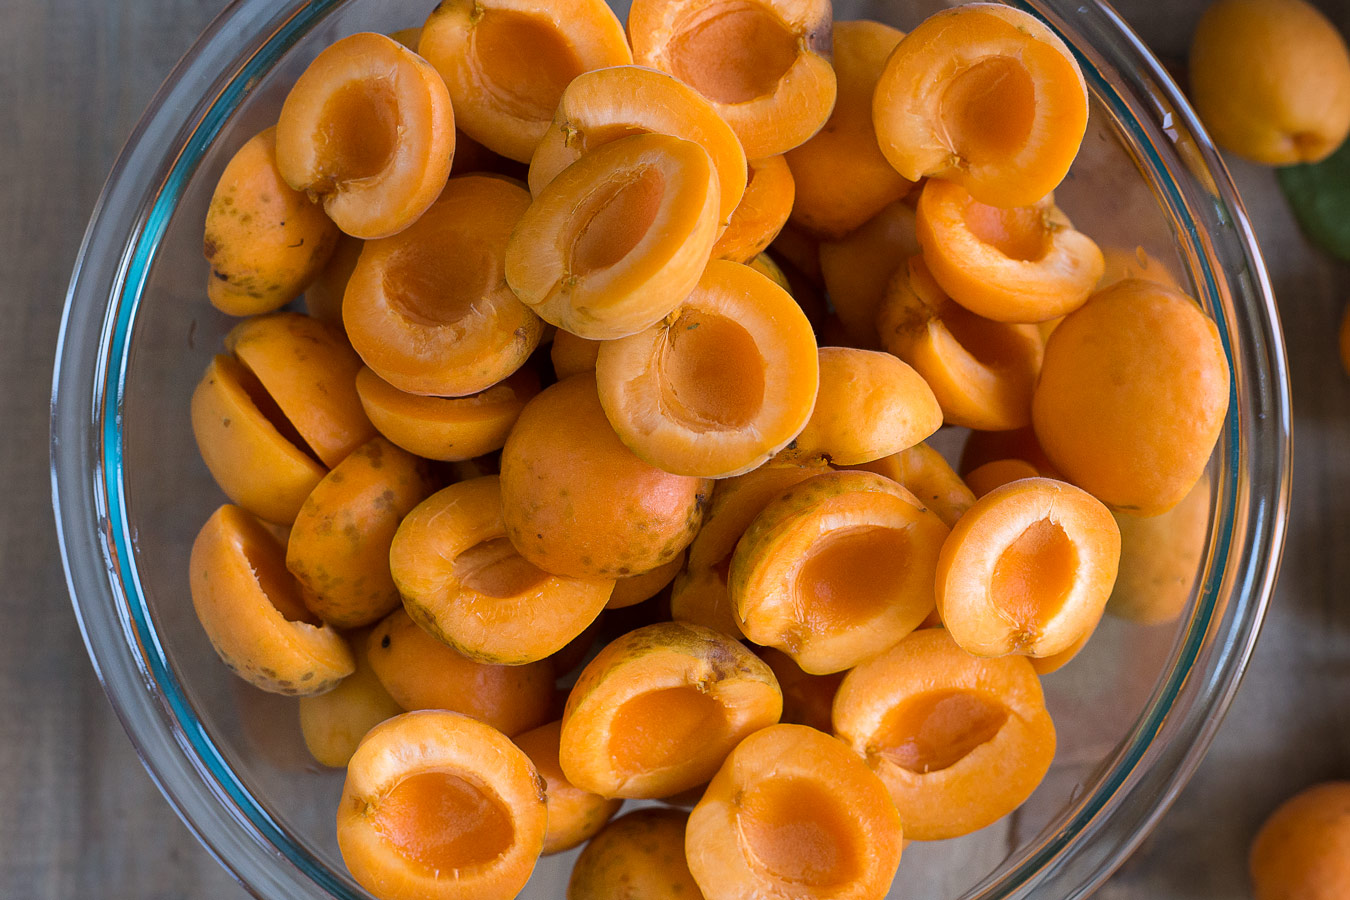
I asked if there were anymore and they said there were so many that they could probably get me several pounds, which they did. I was then faced with a dilemma, I wasn’t able to eat all of them in time which would be quite wasteful. So I thought, why not make jam? Here’s how I did it.

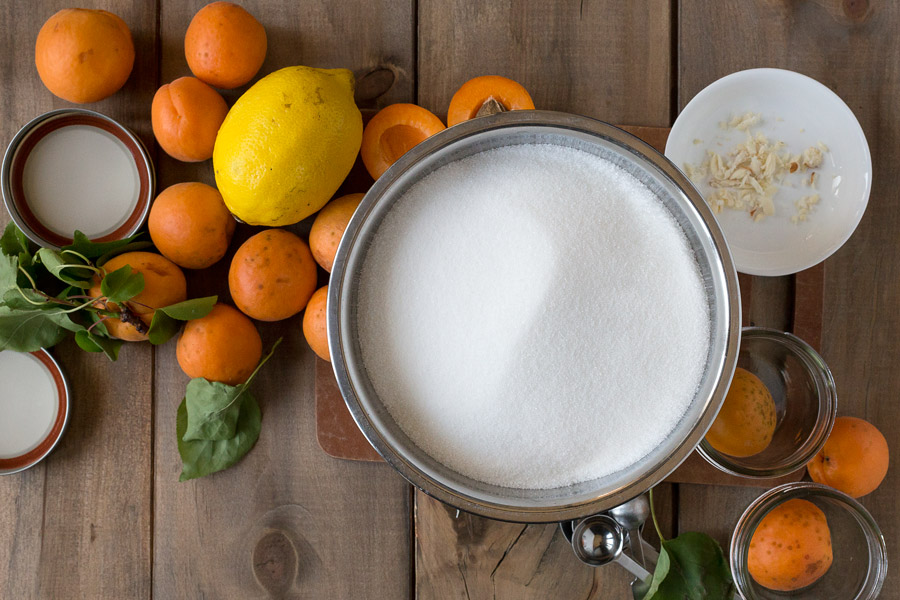
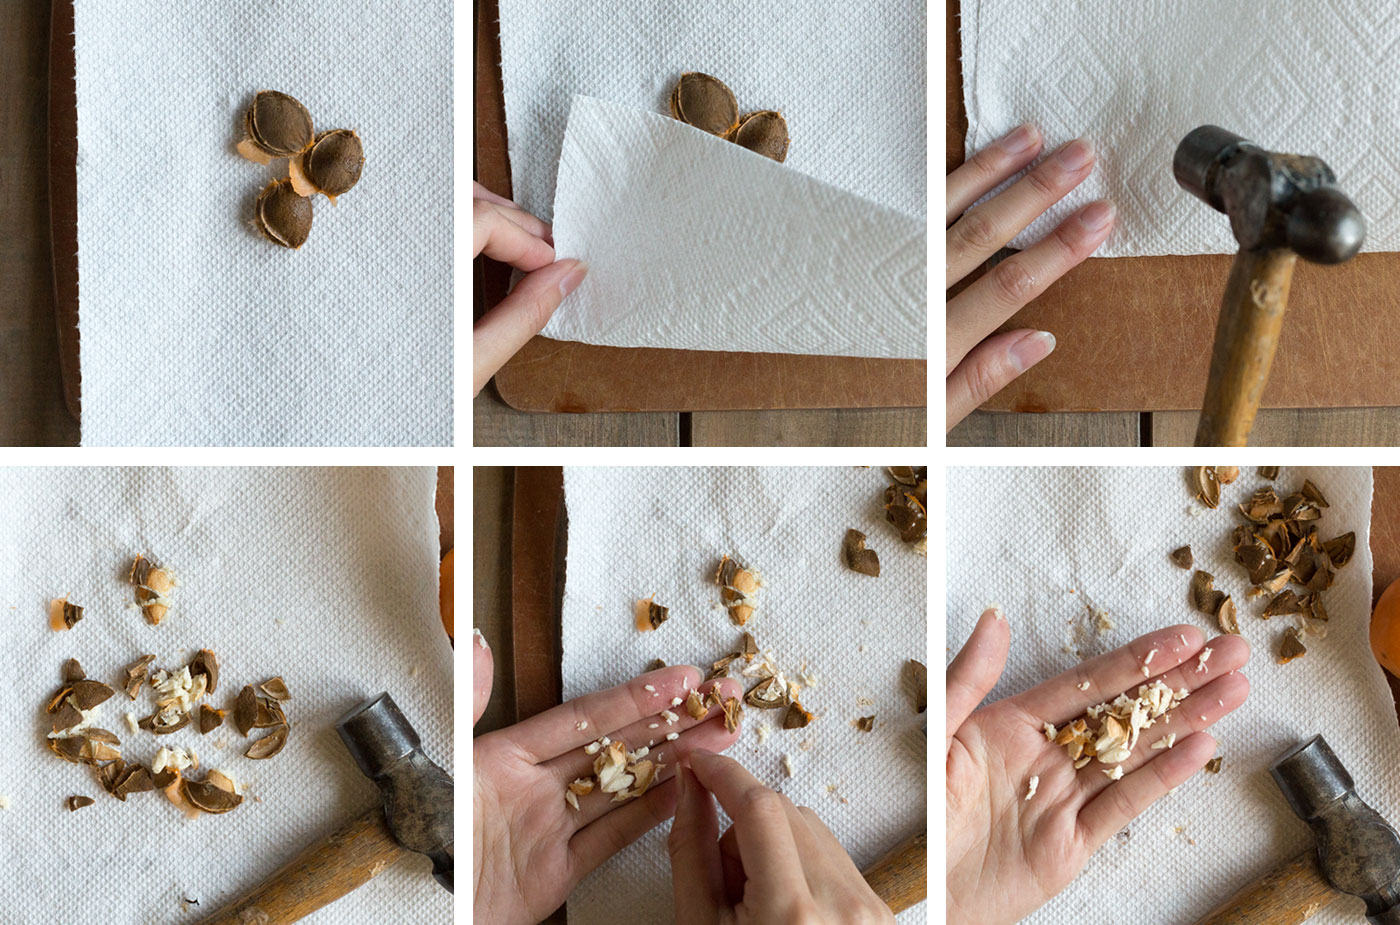
First, I googled ‘Apricot Jam Recipe’ and of course, David Lebovitz’s ‘Apricot Jam’ recipe was the first result on the page. I am a big fan of his writing and I purchased his book ‘My Paris Kitchen’ a while back (quite an entertaining read, although I am guilty of having yet tried any of the recipes in it!).
With confidence, I followed the recipe to a tee (with scaled ingredient measurements), although I also watched Martha’s Stewart’s Apricot Jam instructional video for additional research. As for the canning process, there are many online resources available and I decided to use the canning beginner’s guide published on ‘Food in Jars’.
I used the Bernadin’s 125 ml canning jars (available at Walmart and Canadian Tire), which were the perfect size to give as gifts to friends and family. There are a lot of ‘canning kits’ for sale which include tongs specifically to fit around glass jars, a rod with a magnet on the end for picking up jar covers, and a funnel for filling the jars. These kits were tempting, but in the end, I stuck with getting an ordinary funnel and using regular cooking tongs to manoeuvre the jars and jar covers. For me, this worked out fine and I now have 12 jars of Apricot jam (some already handed out) which pair wonderfully with toast or scones.
From this experience, I learned two new skills—how to make jam (incredibly easy), and how to ‘can’ jam so it will have a longer shelf life. I wish I had done this sooner because this is definitely a notch on my culinary belt that I’m proud of! I hope you try it too!