What if I told you that you can easily make your own strawberry jam at home, without preservatives and added pectin? It’s true! Making strawberry jam is a super easy process and just requires a bit of time and patience. You will ask yourself why you didn’t try it sooner!
Fruit jams are essentially fruit, sugar, and some sort of acid component cooked together. This strawberry jam recipe is no different. You have your strawberries, your sugar and your lemon juice. These things are required to create the chemical reaction that results in the ‘jelling’ of a jam.

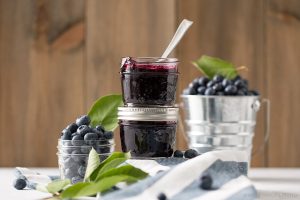
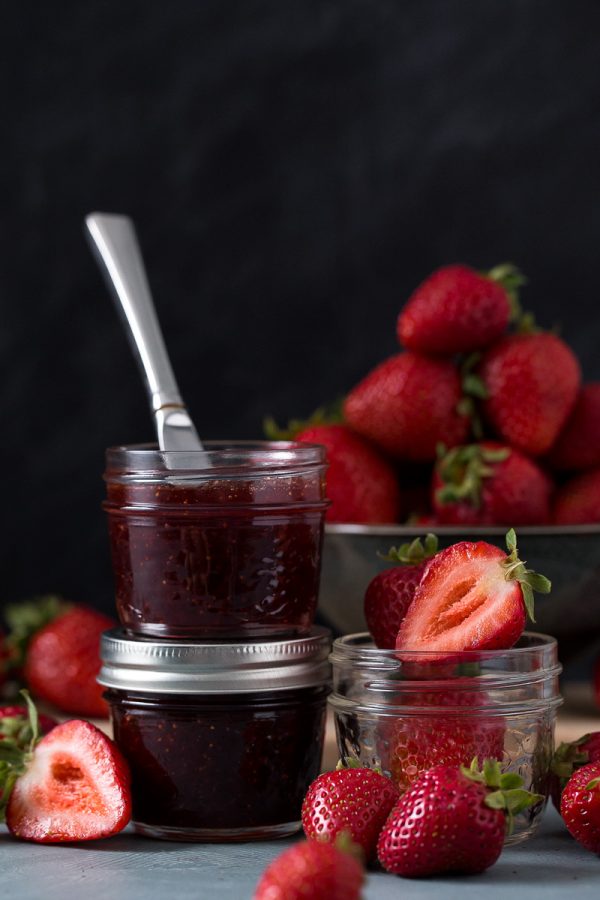
I took an easy approach to this recipe, being that I dumped all the ingredients in the pot, cooked them for 40 minutes and lo and behold—my jam was ready! Fresh, homemade jam that can be canned and distributed as tasty gifts, spread on crackers, toast or scones. This particular batch was made to be party favours at a Baby Shower.
No two batches of homemade jam are the same—and that’s okay! That’s the beauty of being able to make your own jam which provides you the opportunity to control the thickness and sweetness. If I feel a particular batch of jam is too thick, I will add a bit of water, bring it back to a boil and test again. If I feel it is too runny, I will continue to heat and stir until it is cooked down to the consistency I like. There are other ways to fix jams to the desired consistency but these are the simple methods that I use.
Once you learn the fundamentals of jam making, you can create your own variations with little effort. Serious Eats has an excellent article discussing the basics of jam making which was an entertaining and informative read, I highly suggest you take a look!
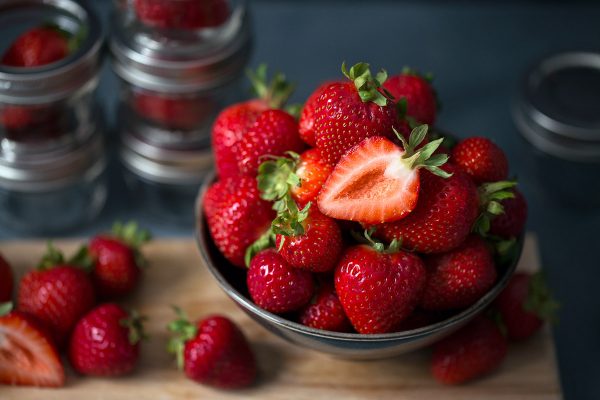
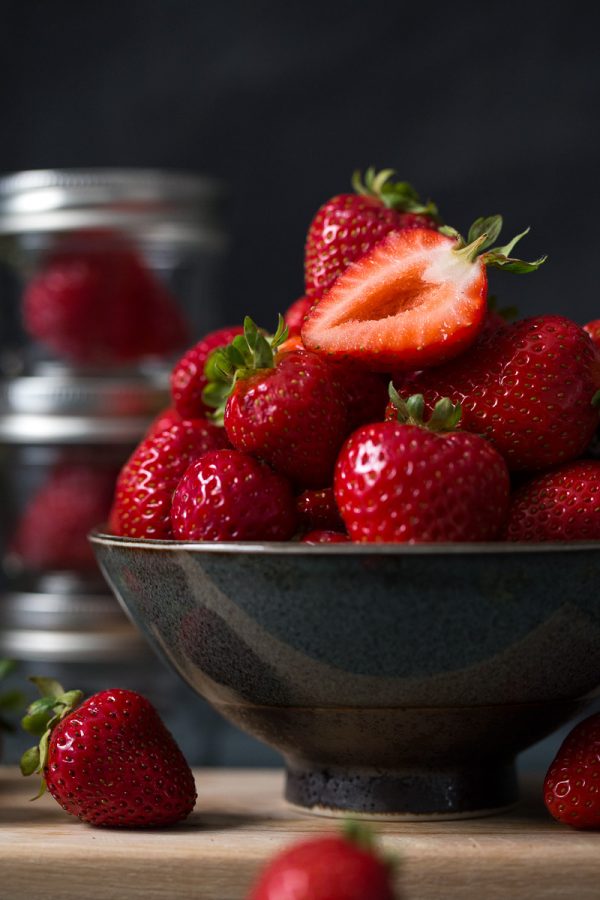
Before weighing your strawberries, make sure they are hulled, otherwise the measurements will be off. A big thanks to Steven for hulling 4.5 pounds of strawberries for me. We had much fun picking out the ‘hero’ strawberries (aka the most photogenic strawberries of the bunch) for these photos. There were so many handsome berries in this batch, I was quite indecisive during the strawberry auditions!

Tools used:
- Bernardin’s 125 ml canning jars (available at Walmart and Canadian Tire), which are the perfect size to give as gifts to friends and family.
- Bernardin Secure-Grip Jar Lifter to help lift the jars out of boiling water. You can use tongs which is what I did in my Apricot jam recipe, but trust me, it’s so much easier with this tool! (available at Walmart and Canadian Tire)
- Stainless Steel Funnel to help transfer the jam from the pot to the bernardin jars, I cannot imagine canning without this funnel! (available at Canadian Tire)
Strawberry Jam
YIELD: 1000ml Jam
ACTIVE TIME: 40 mins
TOTAL TIME (active + inactive time): 1 hr (timing for every batch of jam is slightly different)
CREDITS: Frances Lam
INGREDIENTS
- 900 g fresh strawberries (hulled)
- 500 g sugar (2.5 cups)
- 5 tbsp lemon juice (about 1.5 medium lemons)
INSTRUCTIONS
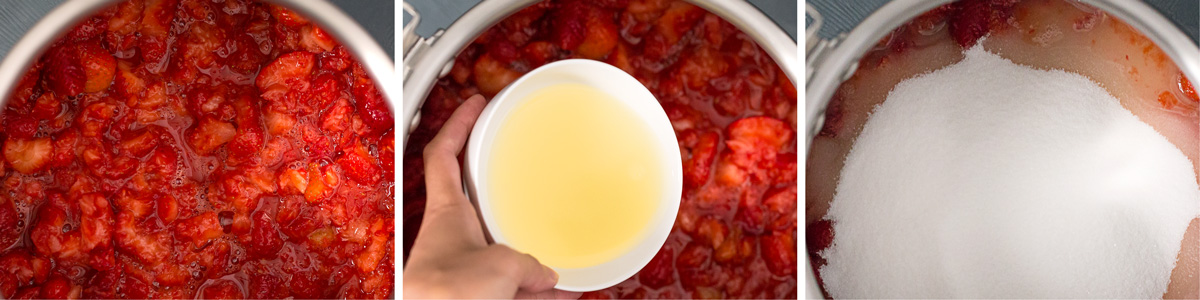
- Mash the strawberries with a potato masher until broken up and releasing juices. Place two small plates in the freezer.
- Stir together strawberries, sugar and lemon juice in a deep pot and bring to a full rolling boil for one minute. Reduce heat to a low controlled boil (see notes) and skim any light coloured foam off the top. Cook for about 30 – 40 minutes stirring frequently, or until the jam has changed to a dark ruby red and the strawberries are mainly dissolved.
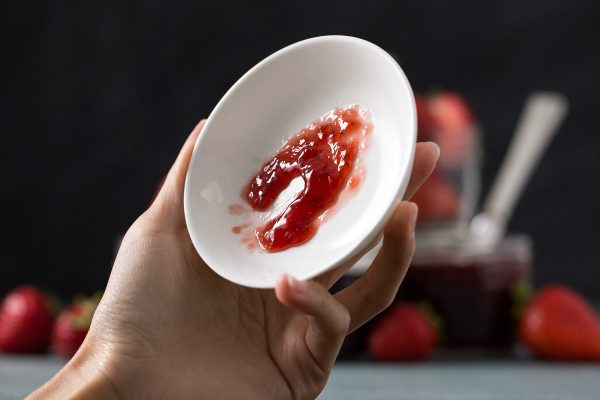
- To test the jam, transfer a teaspoon onto the plate in the freezer and freeze for 4 minutes. Nudge your finger through the jam and if it wrinkles where your finger is pushing, it is ready. If you release your finger and the line refills quickly and the jam feels too watery, keep cooking and test at 5 minute intervals until you get the desired consistency.
- Use a funnel and distribute the jam into the canning jars. Follow the canning instructions/guidelines you have on hand.
NOTES
- It is not absolutely necessary to use a deep pot, but doing so is easier to control the boil without the jam spilling over.
- Stirring the jam mixture while cooking allows for moisture to be released more frequently therefore cutting down cooking time.
- Remember to always test the consistency using the plate test which chills the jam similar to how people normally store jam in the fridge. Hot jam will always be much runnier and difficult to accurately judge the viscosity.
- A full rolling boil means that the jam is bubbling vigorously at the surface and the bubbles are large (most likely your stove is on high heat). A low boil means that the jam still bubbles frequently, but the bubbles are smaller and the surface is not as disturbed (most likely your stove is on medium to high heat). Please note a low boil is just above a high simmer where you will see activity inside the mixture but the bubbles are relatively small. More on boiling vs simmering.
- These are the canning instructions I used: beginner’s guide published on ‘Food in Jars’.
STORAGE
- Keeps for 1 year unopened if canned. Best used within 2 months of opening, although I’ve had people tell me that they last way beyond 2 months after opening. (use your best judgement, jams can last pretty long because of the sugar and acid content).
For Pinterest: