Bunny Butter Cookie
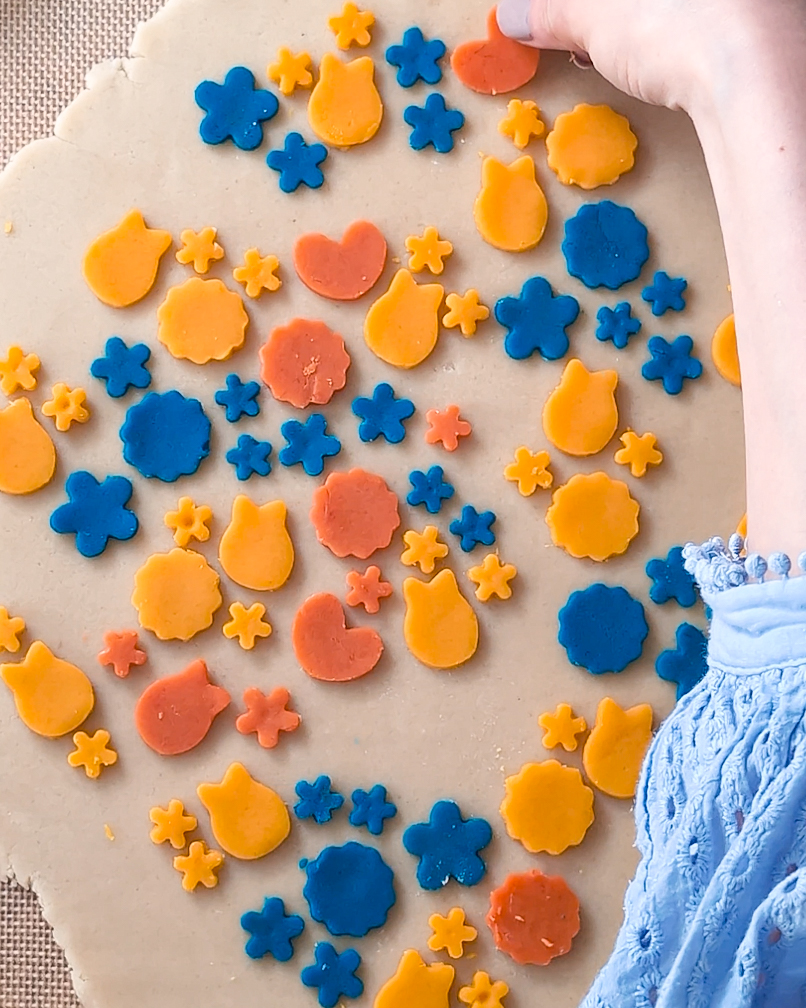
Click to Skip to the Bunny Butter Cookie Recipe Baking a little slice of calm in a very chaotic world—and that’s exactly what inspired today’s recipe: Bunny Butter Cookies.
Continue Reading Click to Skip to the Bunny Butter Cookie Recipe Baking a little slice of calm in a very chaotic world—and that’s exactly what inspired today’s recipe: Bunny Butter Cookies.
Continue Reading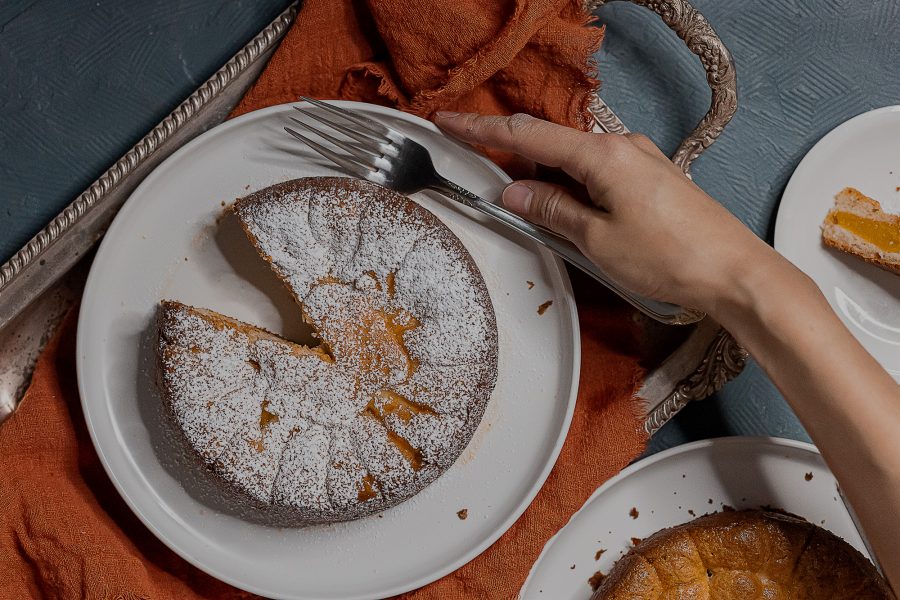
This Peach Almond Dacquoise Cake makes the perfect gluten free afternoon tea dessert!
Continue Reading
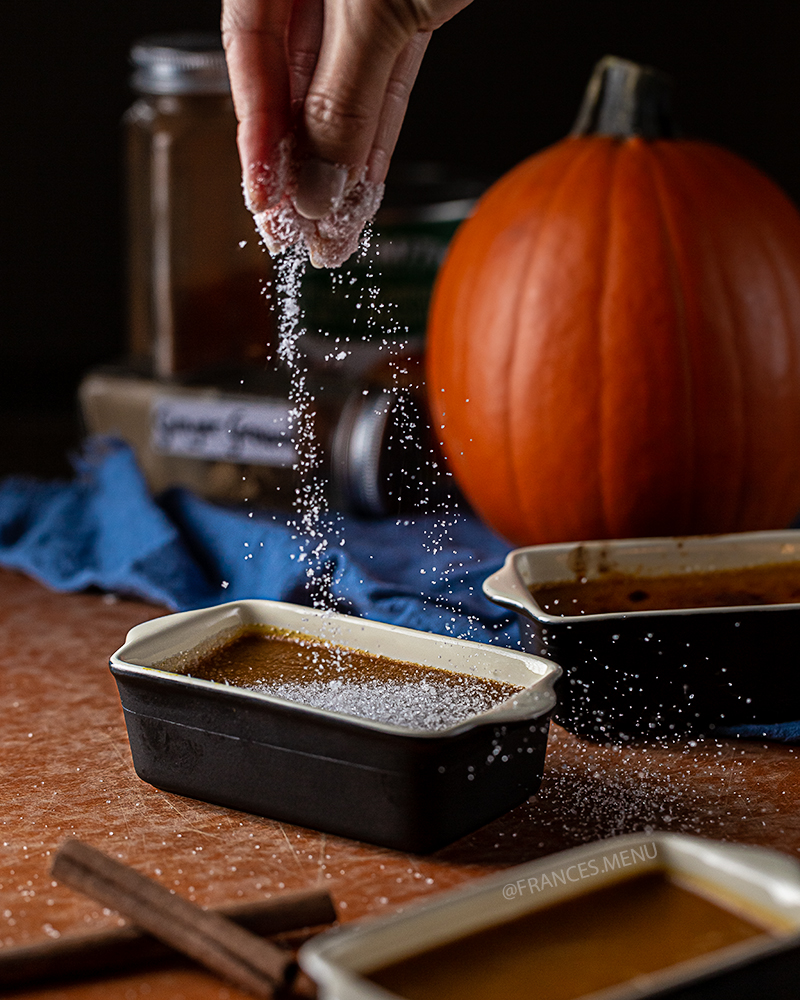
Looking for that perfect 🦃Thanksgiving party dessert that is both impressive and easy to make? This pumpkin creme brulee recipe will transform your Fall parties forever!
Continue Reading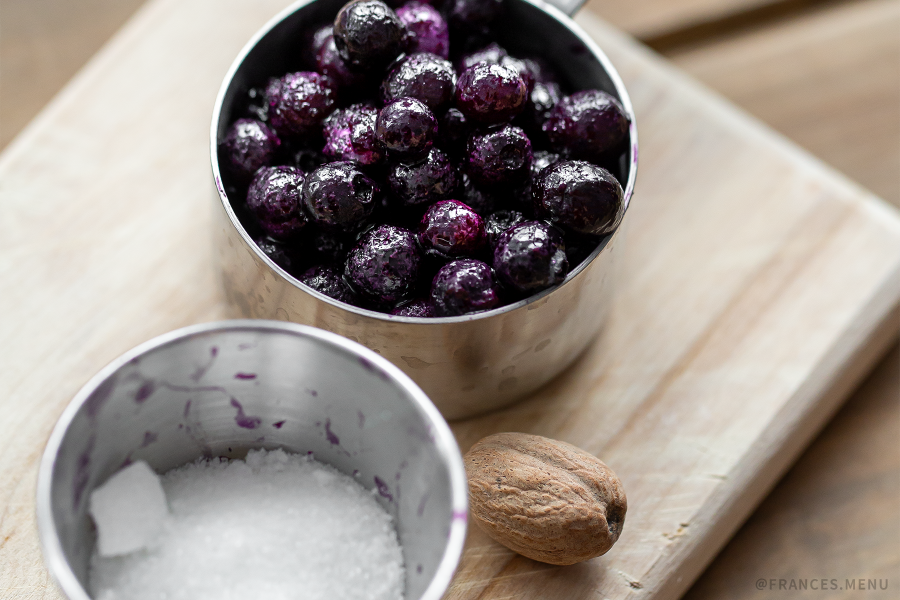
This easy recipe creates an impressive Earl Grey Panna Cotta complimented by a delicious Blueberry Compote! Make ahead to impress your date or for a house party!
Continue ReadingClick to Skip to the Bunny Butter Cookie Recipe
Baking a little slice of calm in a very chaotic world—and that’s exactly what inspired today’s recipe: Bunny Butter Cookies.
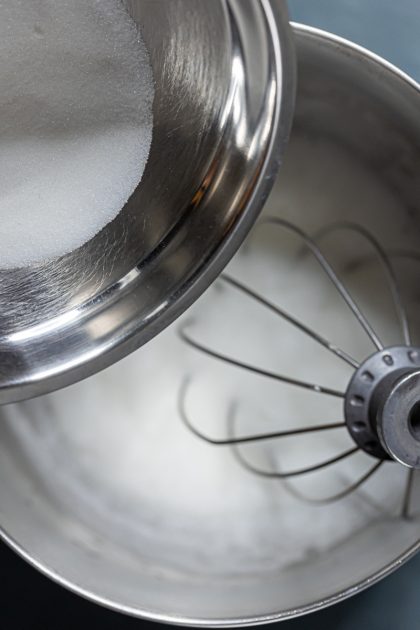
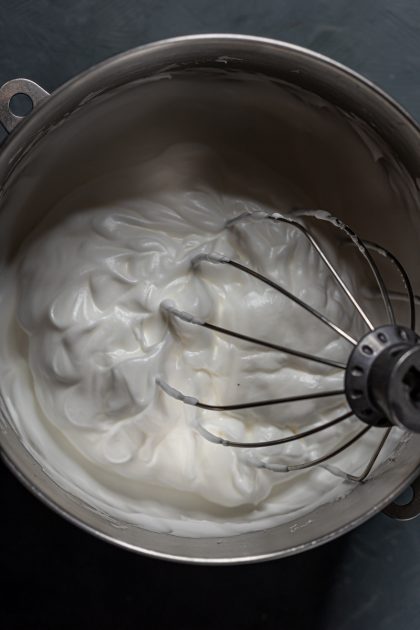
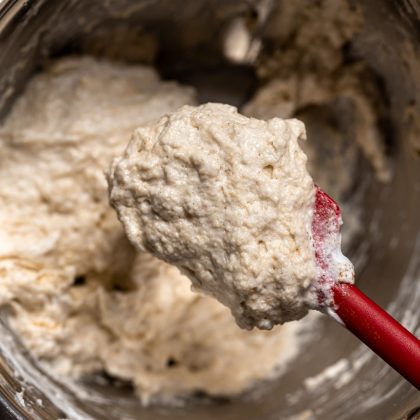
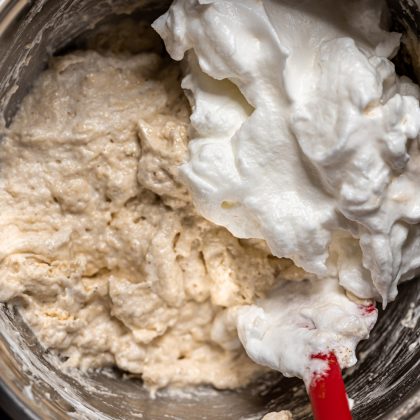
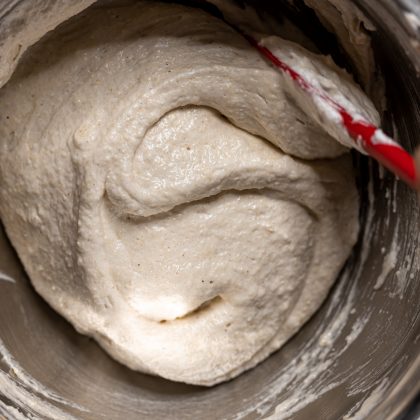
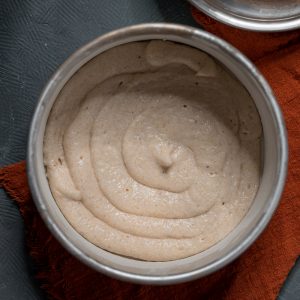
If the state of the economy/world right now feels like being strapped into a roller coaster blindfolded… same. Whether it’s inflation, tech layoffs, or the ever-rising cost of groceries, a lot of us are feeling a bit wobbly these days. In moments like this, I turn to one of my favorite rituals: baking.
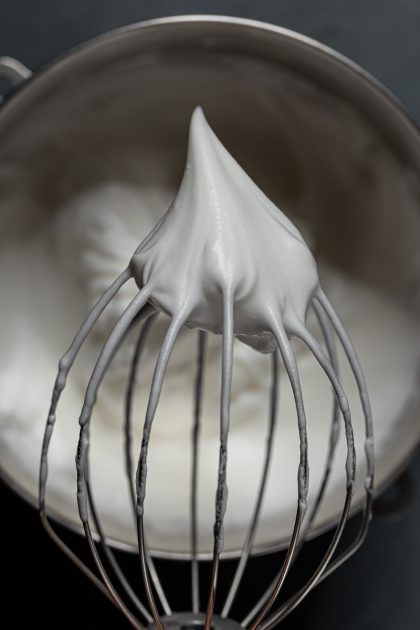
There’s something so grounding about measuring flour, creaming butter and sugar, and watching a batch of homemade cookies come to life in the oven. Baking a little slice of calm in a very chaotic world—and that’s exactly what inspired today’s recipe: Bunny Butter Cookies.
These cookies are bright, buttery, and full of colorful joy—perfect for Easter weekend, but honestly? They’re great anytime you need a dose of cozy comfort and creativity.


Cheers to a good culinary therapy session,
-Frances


For Pinterest:


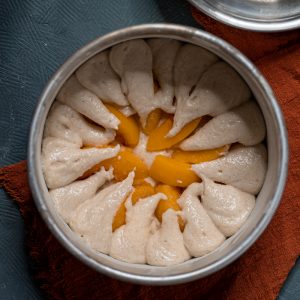
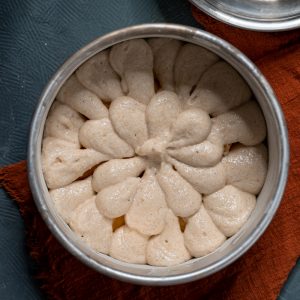
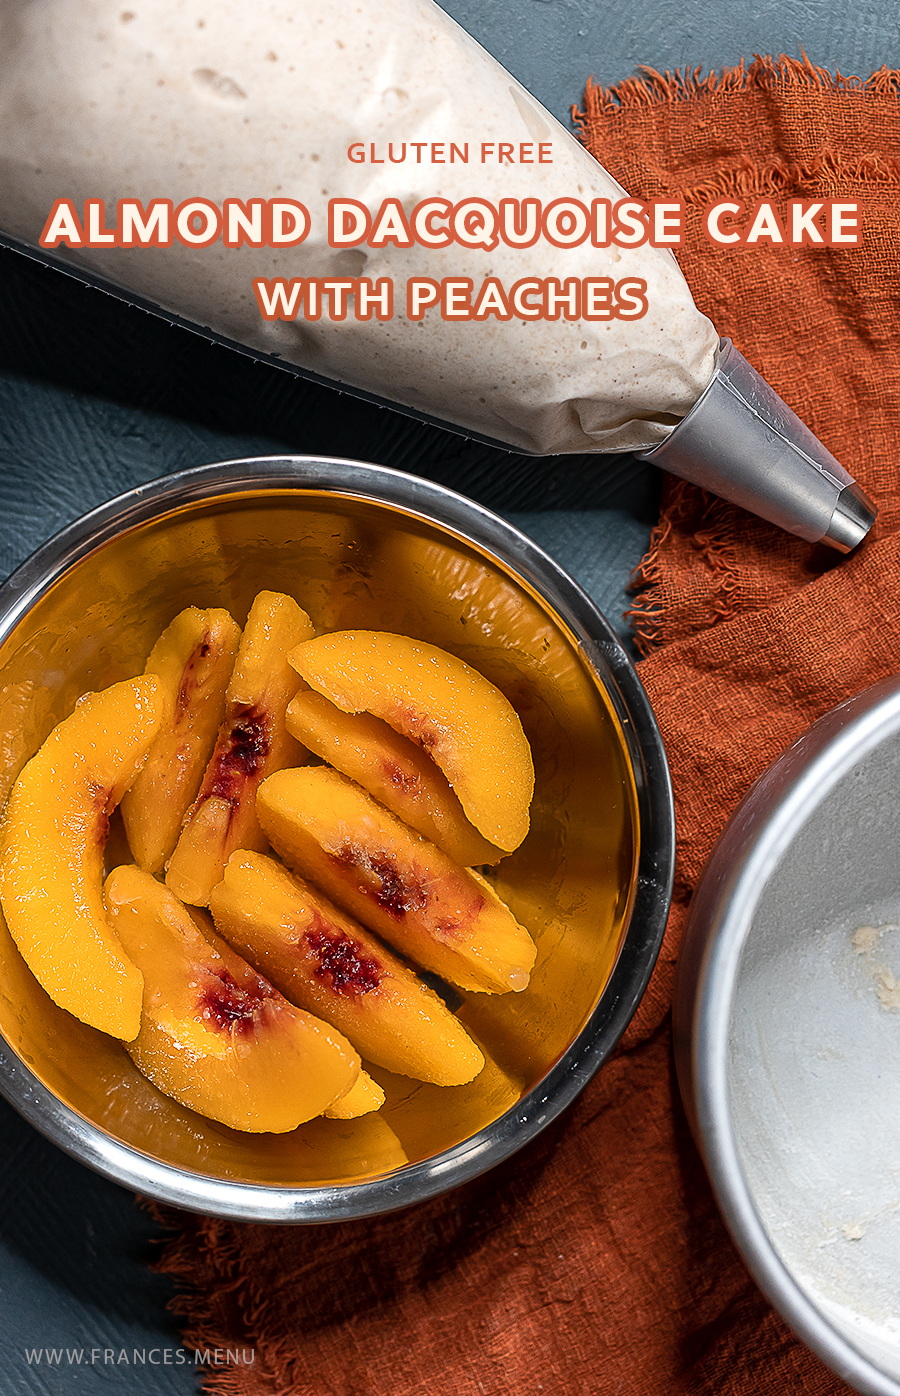
Click to Skip to the Almond Dacquoise Cake (with Peaches) Recipe
As the holiday ramps up, I wonder—how did the first world society as a whole become trapped in a never ending cycle of materialism and nihilism? I ponder for a good minute before I shake my head and pop onto the amazon app to add more to cart. Holiday Frances might be stressed and experiencing seasonal depression from the dreary weather, but this Almond Dacquoise Cake with Peaches turns my frown upside down.
What is a dacquoise? Pronounched ”Dä-ˈKwäz’, in the context of this recipe, we are refering to a nut meringue cake base. Like its cousin, the macaron, it involves folding ground nuts into whipped egg whites, but it does not require as much finesse in the handling. A dacquoise can be described as a cross between a bisuit and a sponge cake. It is slightly crisp on the outside, and soft and moist on the inside, although the ground almonds providing a chewier texture than a sponge cake.

The term dacquoise can also be used to refer to a ‘dessert cake made with layers of almond and hazelnut meringue and whipped cream or buttercream on a buttery biscuit base.’-Wikipedia.
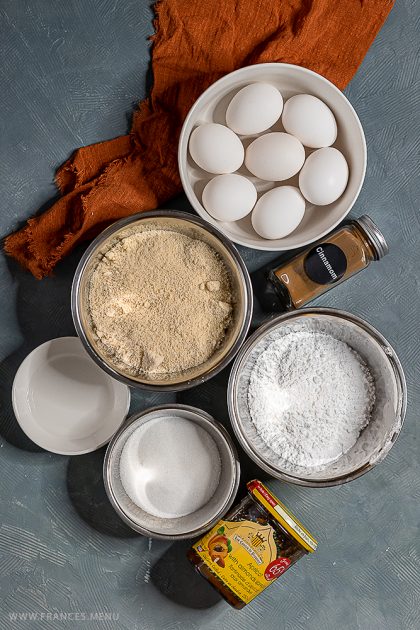
This recipe was born of a need to use up a batch of ‘soon to expire’ almond meal, the knowledge from baking school that I could turn it into a cake base, and some frozen fruits at my disposal. It was a rather happy accident that it also is gluten free, which makes it more inclusive for various crowds!
The almond dacquoise base shared in this recipe is very versatile and can be paired with my types of fruits such as frozen peaches, blueberries, strawberries etc. I have only use frozen fruits with this recipe, however if you are using fresh fruits, know that they hold more water content so this might puddle or soak into the cake. (And if you try them, please do share your results with me!)
Cheers to a good culinary therapy session,
-Frances


Behind the Scenes:
From the photo, you can probably tell that I did not have much space to work with on this shoot, as the other parts of my home were being used that day.
Recently I’ve boldly stepped into continuous lighting territory as my work into video has increased. Instead of using a softbox (which would take up too much room) I used the ringlight and propped a reflector across from it with the subject in the middle.
There are different ways to handle harsh lighting to make it look more natural and using a reflector is one of them.
Playing with the distance between the light and the subject is another one of them, the farther you are, the less intense the light, and usually the softer the shadows will be.
For Pinterest:


This easy Pumpkin Spice Creme Brulee recipe will transform your fall parties forever. It’s both impressive and easy to make!
We live in this world of PSL that sneaks up on us in the fall and has us in its grasp until sometime after winter starts. And then it happens all over again the next year, and the year after that, and the year after that.
Once upon a time I spurned the pumpkin spice thrall that Starbucks had over society but I’ve come to accept and rejoice it (If you’re wondering when this switch happened, it was after my third PSL). This affection of pumpkin spice eventually led me to thinking about the various ways I could PSL my current recipes.

This Pumpkin Spice Crême Brûlée recipe has a 1:1 ratio of pumpkin and cream, so if a silky dense creme brulee with only a slight pumpkin flavour is what you’re looking for, this isn’t it.
I’ve tried this recipe with whole eggs and less cream and it just wasn’t the same as using egg yolks and a 1:1 cream to pumpkin ratio. Egg yolks made it richer, which is neccesary becasue the pumpkin puree has a lot of liquid in it to begin with.
Cheers to a good culinary therapy session,
-Frances