Click to Skip to the Almond Dacquoise Cake (with Peaches) Recipe
As the holiday ramps up, I wonder—how did the first world society as a whole become trapped in a never ending cycle of materialism and nihilism? I ponder for a good minute before I shake my head and pop onto the amazon app to add more to cart. Holiday Frances might be stressed and experiencing seasonal depression from the dreary weather, but this Almond Dacquoise Cake with Peaches turns my frown upside down.
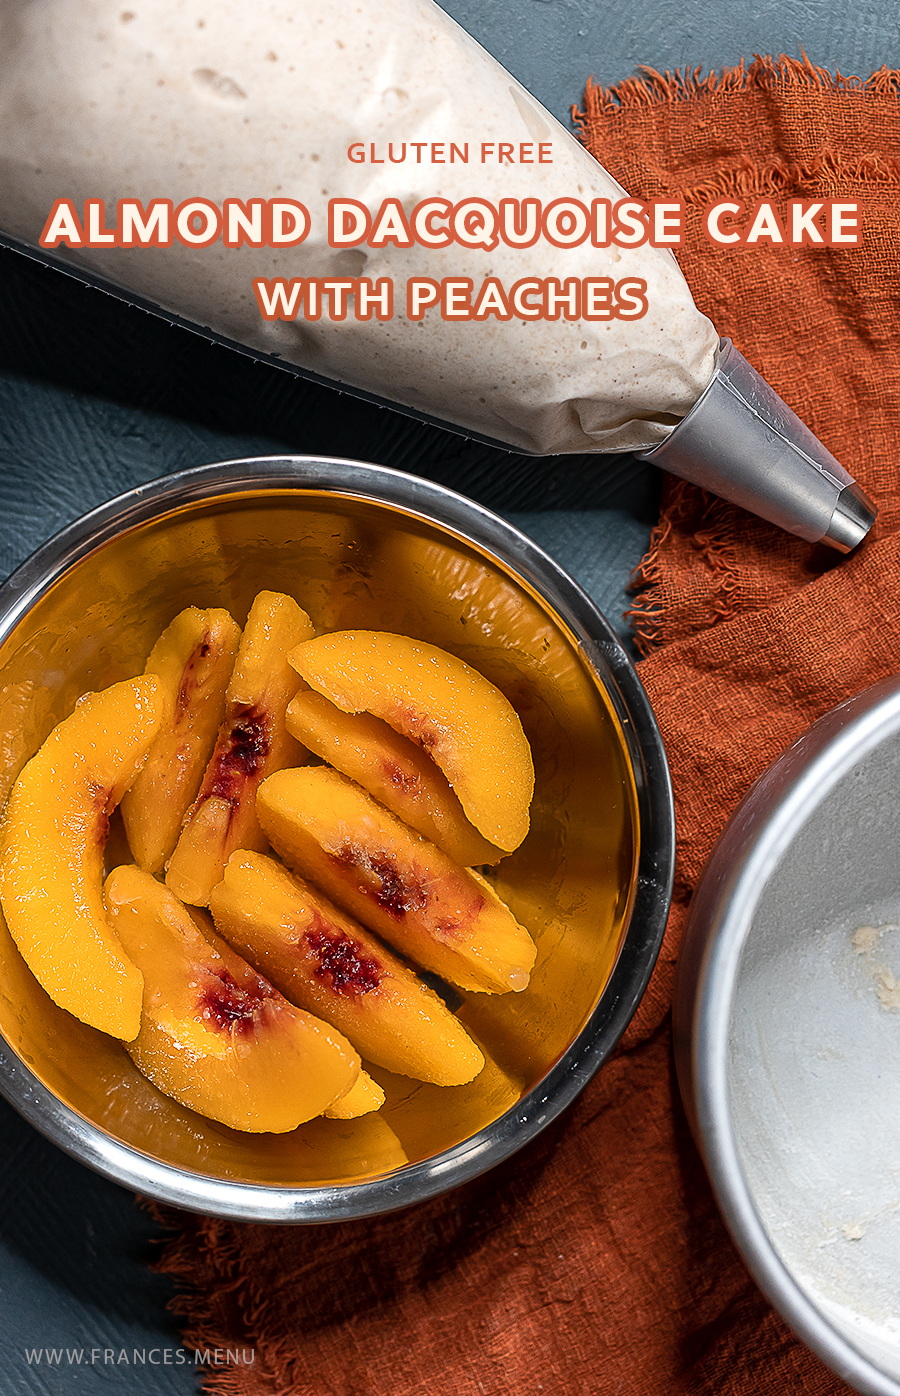
What is a dacquoise? Pronounched ”Dä-ˈKwäz’, in the context of this recipe, we are refering to a nut meringue cake base. Like its cousin, the macaron, it involves folding ground nuts into whipped egg whites, but it does not require as much finesse in the handling. A dacquoise can be described as a cross between a bisuit and a sponge cake. It is slightly crisp on the outside, and soft and moist on the inside, although the ground almonds providing a chewier texture than a sponge cake.

The term dacquoise can also be used to refer to a ‘dessert cake made with layers of almond and hazelnut meringue and whipped cream or buttercream on a buttery biscuit base.’-Wikipedia.
This recipe was born of a need to use up a batch of ‘soon to expire’ almond meal, the knowledge from baking school that I could turn it into a cake base, and some frozen fruits at my disposal. It was a rather happy accident that it also is gluten free, which makes it more inclusive for various crowds!
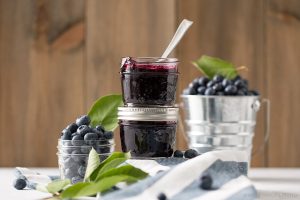
The almond dacquoise base shared in this recipe is very versatile and can be paired with my types of fruits such as frozen peaches, blueberries, strawberries etc. I have only use frozen fruits with this recipe, however if you are using fresh fruits, know that they hold more water content so this might puddle or soak into the cake. (And if you try them, please do share your results with me!)
Cheers to a good culinary therapy session,
-Frances
Almond Dacquoise Cake with Peaches
YIELD: 2 x 6-inch cakes
ACTIVE TIME: 25 min
TOTAL TIME (active + inactive time): 1.5 hours
CREDITS: Frances Lam
SUMMARY: This Almond Dacquoise Cake (with Peaches) is not too sweet and contains a rich nutty flavour! It makes for an absolutely delicious gluten free dessert! The peaches can be replaced by other fruit such as blueberries, strawberries etc.
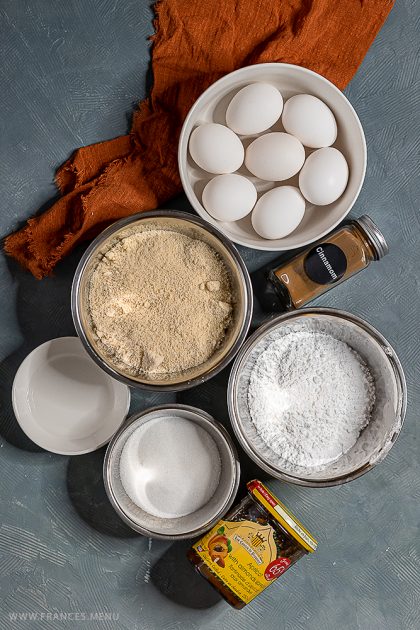
INGREDIENTS
Almond Dacquoise Cake
- 200 g egg whites (3/4 cup + 2 tbsp)
- 0.5 tspn cream of tartar (optional, helps with egg white structure)
- 70 g White sugar (1/3 cup)
- 100 g icing sugar (3/4 cup + 2 tbsp)
- 180 g almond meal (1.75 cups + 2 tbsp)
- 1 tspn cinnamon
- 1-2 Peaches (sliced) or 14-16 frozen peach slices
- Butter or oil spray (for cake pan prep)
- Cornstarch (for cake pan prep)
Glaze + Serving
- 2-3 tsp apricot jam
- 1 tbsp water
- Extra Icing sugar (for decoration)
Tools needed
- Mixer with whisk attachment, or whisk
- Spatula
- 2×6-inch cake pan
- Piping Bag + Tip
- Brush (for glaze)


INSTRUCTIONS
Peach Almond Dacquoise Cake
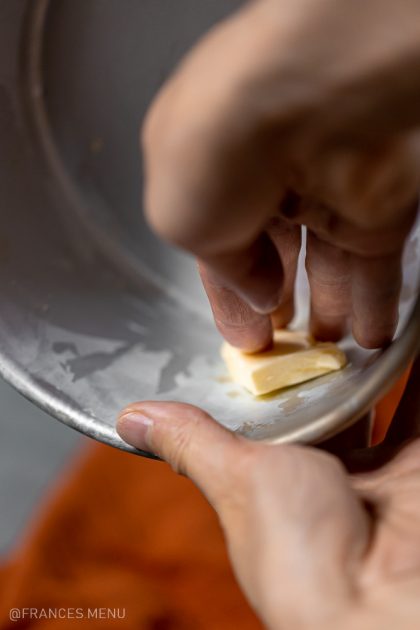
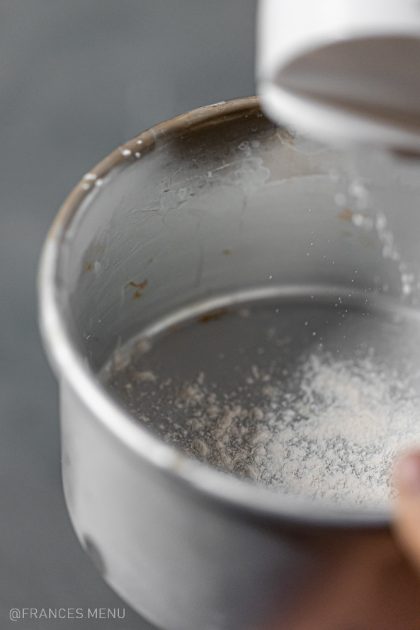
- Preheat the oven to 180°C (350 F). Prepare your cake pans by greasing/spraying with oil/butter and covering with cornstarch.
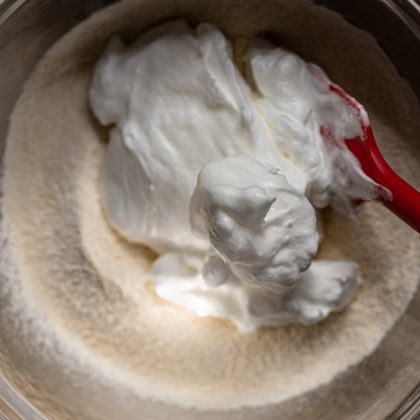
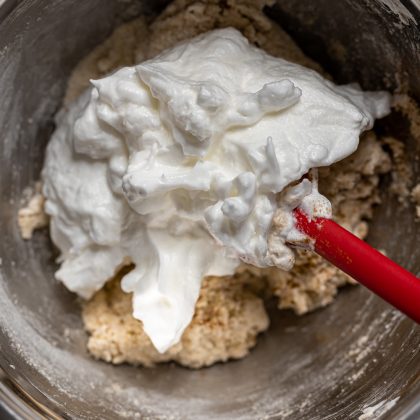
- Whisk the almond meal, cinnamon, and icing sugar together.
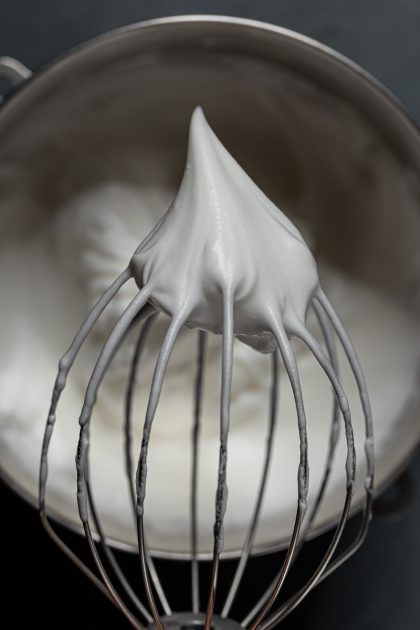
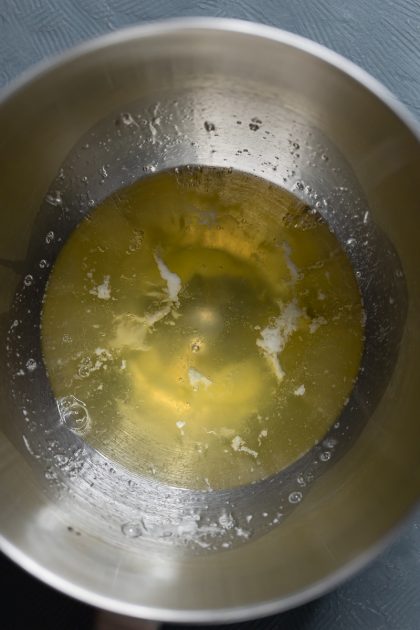
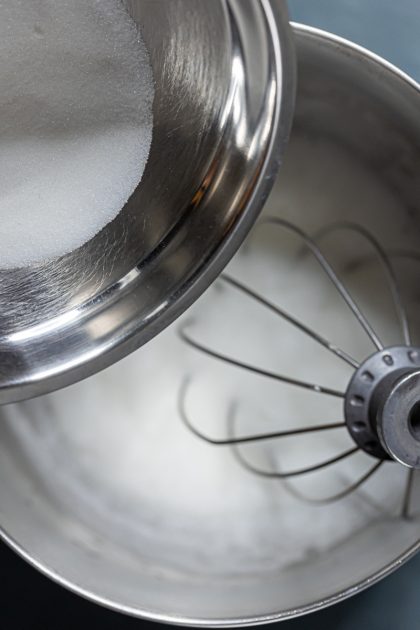
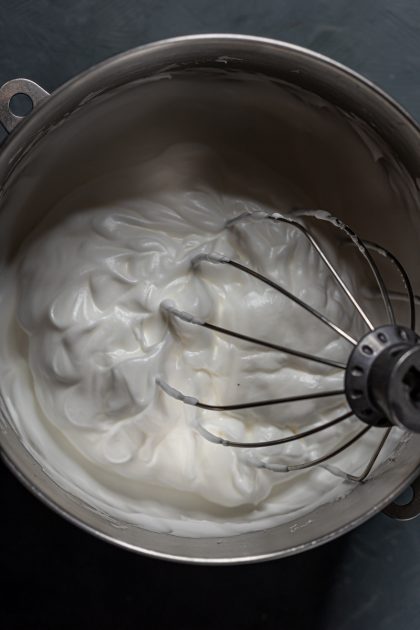
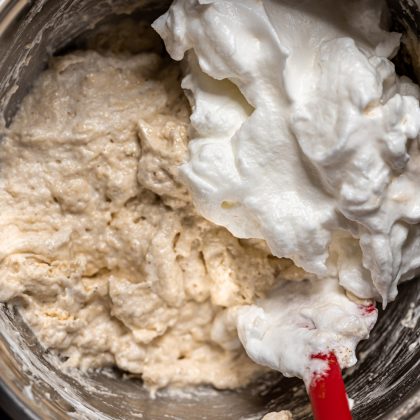
- Using the whisk attachment on a stand mixer, beat the egg whites and cream of tartar on medium speed. Once the egg whites are mostly frothy and white, slowly add the white sugar while continuing to beat. You will know the meringue is ready when it forms stiff peaks (see notes).
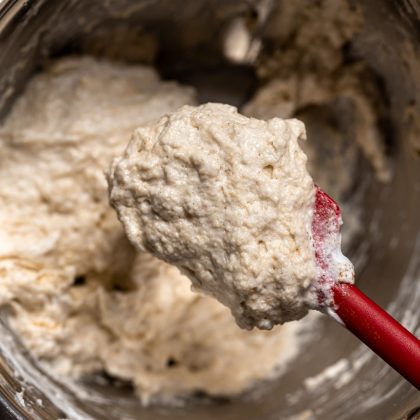
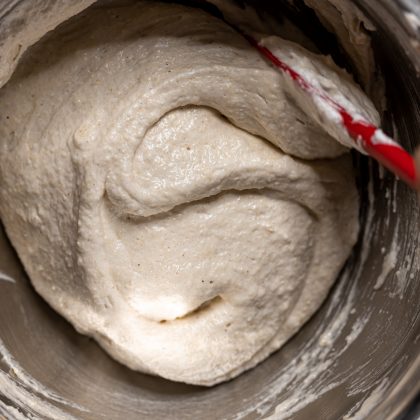
- Fold the meringue into the dry mixture until just evenly combined, do not overmix otherwise it will deflate!
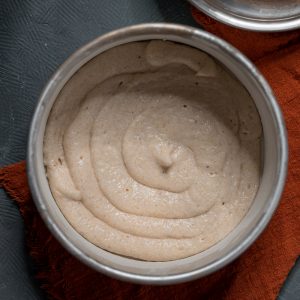
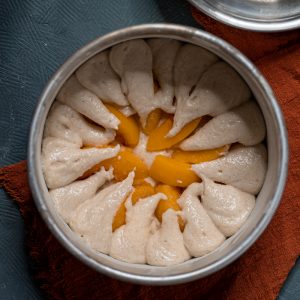
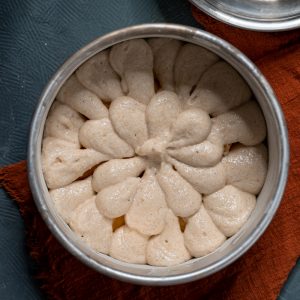
- Pipe one layer of the almond meringue into a greased 6-in cake pan (I pipe the outter circle and move inwards still piping in a circular shape). This layer should be roughly 1 cm tall. Spread the peaches onto the piped mixture in whatever decorative pattern you want to use and add another ring of the meringue along the inside edge of the cake pan. Repeat with the second cake pan.

- Bake for 20 minutes and turn the heat down to 325 F, continue to bake for another 35-45 minutes or until the edge has pulled away from the pan and the cake is firm and golden brown. Depending on how thick your piping is, it may take more or less time to reach this stage.
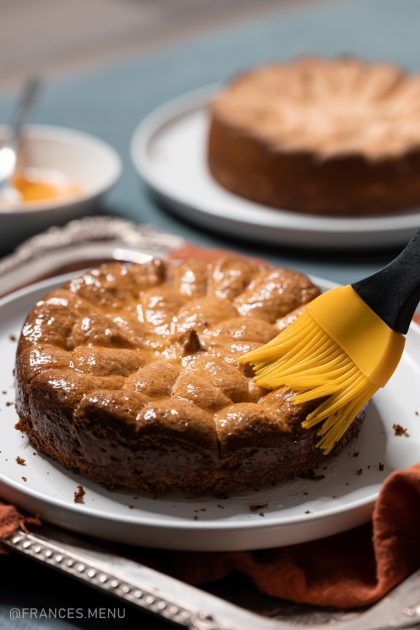
- To make the glaze, mix the apricot jam with 2 tsp of water, if it is not mixing well, heat the mixture in the microwave, stopping every 5 seconds to stir.
- Remove the cake from the oven and allow it to cool for 10 minutes before unmolding it and brushing the apricot mixture onto the entire surface. This will help seal the moisture in.
To Serve or Store
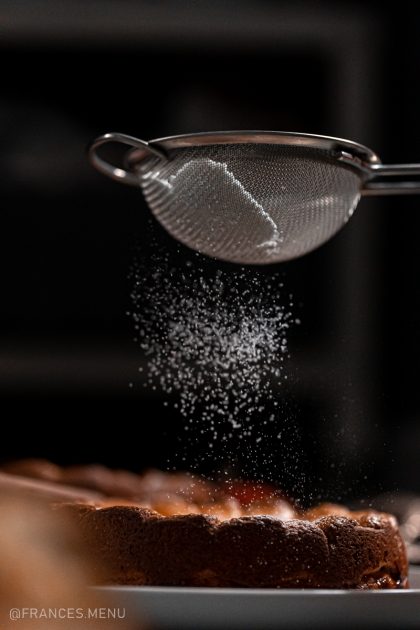
- To serve: Sift icing sugar on top to decorate. Cut and serve. Goes well with whipped cream!
- For storage: This cake can also be stored at room temperature for 1-2 days in an airtight container. If freezing, wrap well with plastic wrap and eat within 4 weeks. Defrost in refridgerator before eating.
NOTES
- Cornstarch is wheat free, hence it is okay to use it for cake pan prep for a gluten free dessert.
- A stiff meringue peak can be checked by dipping your whisk into the meringue and pulling it out. If the meringue stands straight up, it is at a stiff peak. However it if curves over, it is a soft peak.
- ‘Folding’ is a technique used to gently integrate a light, airy component with a heavier mixture with the air bubbles in the light mixture intact, such as whipped egg whites with a batter. A spatula is often used to cut through the centre of the mixture, and then the mixture is scooped up from the bottom and folded over the top.

Behind the Scenes:
From the photo, you can probably tell that I did not have much space to work with on this shoot, as the other parts of my home were being used that day.
Recently I’ve boldly stepped into continuous lighting territory as my work into video has increased. Instead of using a softbox (which would take up too much room) I used the ringlight and propped a reflector across from it with the subject in the middle.
There are different ways to handle harsh lighting to make it look more natural and using a reflector is one of them.
Playing with the distance between the light and the subject is another one of them, the farther you are, the less intense the light, and usually the softer the shadows will be.
For Pinterest: