
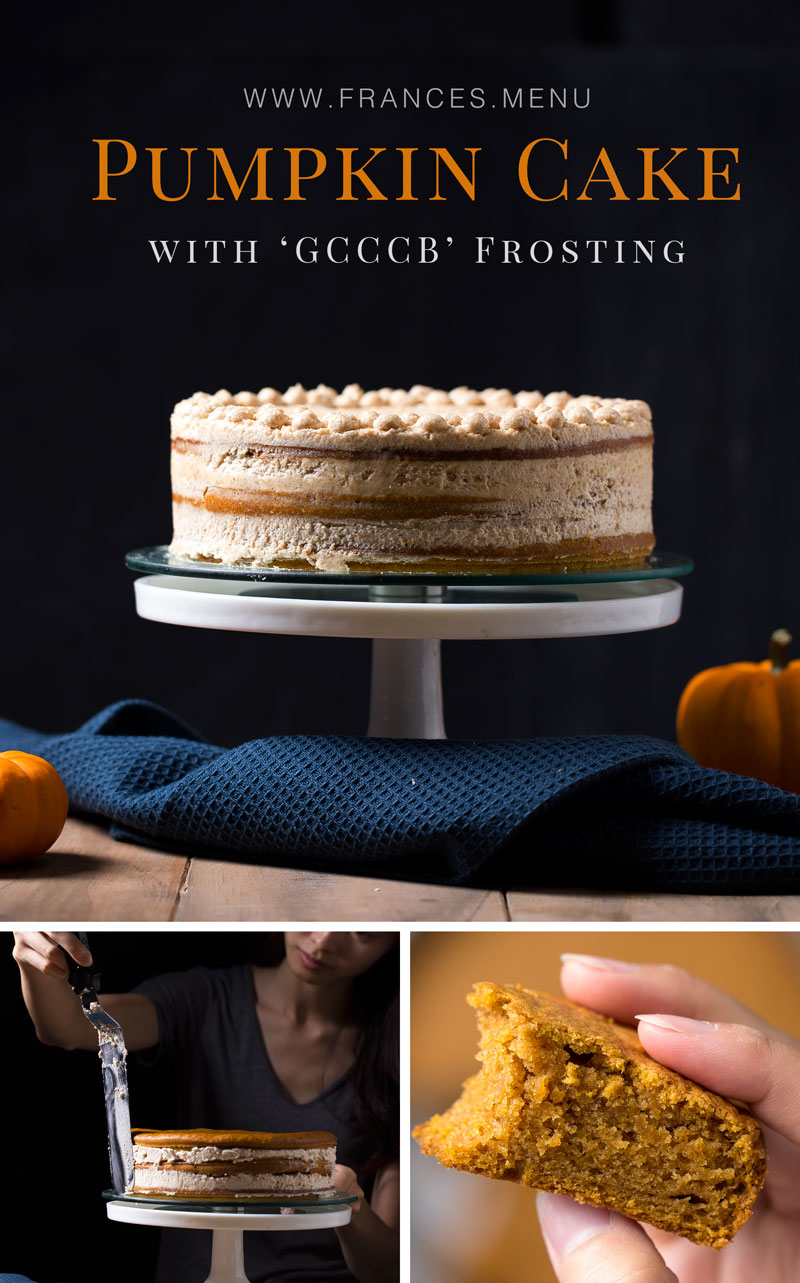
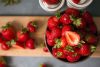
Mes amis, this is it, my hands are trembling in anticipation as I type this. A lot of pumpkin puree and eggs were sacrificed in the search for this recipe but nevertheless here it is—the perfect combination of Pumpkin cake and Graham Cracker Cream Cheese Buttercream (GCCCB) frosting. It is abso-freaking-lutely delicious.
The usual pumpkin cake recipe available online or purchased at the grocers will taste achingly sweet topped off with a frosting that is more sugar than anything else. If you prefer your desserts that way, you will want to steer clear of this cake. Those who know me, know that I have developed an anti-sweet tooth in the sense that the desserts I am starting to enjoy the most, are those that are subtle and ‘just-sweet-enough’. For those people with the same appreciation for subtle sweets, you will more than enjoy this cake!
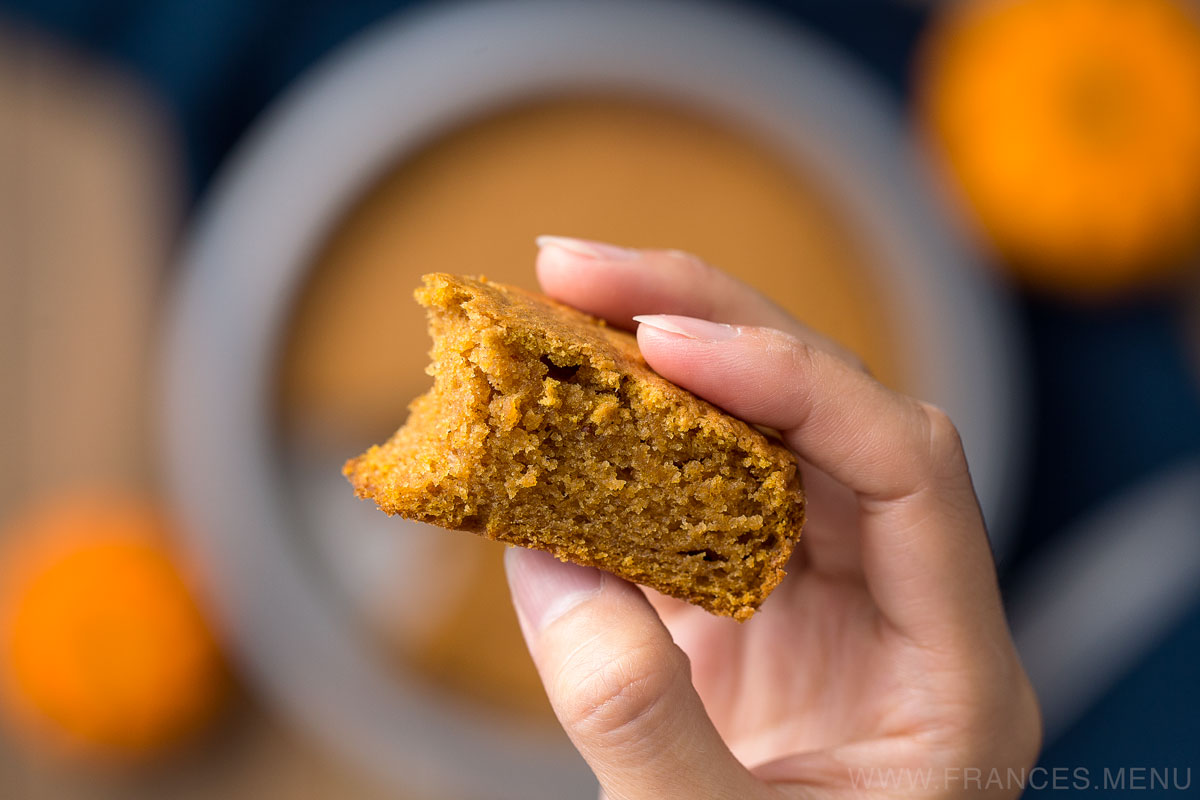
There are a lot of pumpkin cake recipes out there use vegetable oil as the fat and I’ve tried many of them, however, they just don’t produce the same results that Cleobuttera’s recipe does with butter. I was going for a fluffy, moist cake that still held its structure so it could be layered—Cleobuttera’s recipe (with adjustments to fit my tastes and method) gave me just that.
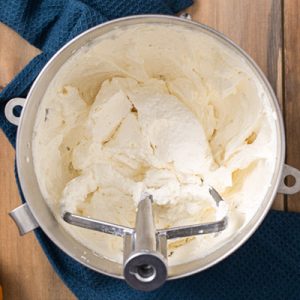
The key to achieving a light and fluffy cake texture is to ‘cream‘ the butter for a long time; ideally 10 minutes on a stand mixer. In layman’s terms, to ‘cream’ butter is the act of vigorously mixing the butter, creating minuscule air pockets. This incorporates air into the fat structure and also increases the volume of the batter—so remember, if you’re doing it right, it gets bigger.
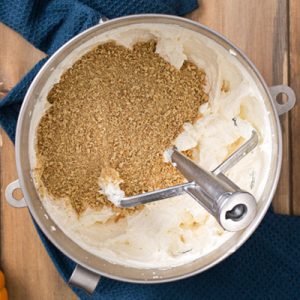
For the frosting, I was looking for that extra ‘zing’ and the addition of the graham cracker crumbs was just what it needed. This was inspired by one of the frostings in Tessa Huff’s book ’Layered: Baking, Building, and Styling Spectacular Cakes’. It definitely gives the cream cheese buttercream a new texture and appearance which I love! The taste reminds me of a less-sweet Mcdonald’s McFlurry/oreo ice-cream. It pipes easily using tips with extra large holes for the crumbs to get through and not so well with smaller or patterned tips.
Please note that you need three cake pans of the same size to make this cake. Although not absolutely necessary, the reason for three pans is so that you can simultaneously bake all of the cake batter right away to take full advantage of the chemical reaction between the baking soda and buttermilk. This chemical reaction makes the cake rise and helps with the fluffiness. If you don’t put the batter in the oven right away, it may not rise as it should and you will be left with a dense cake. An alternative to having three pans is to prepare the batter three separate times using the same baking pan, a much more time-consuming method, but still doable!
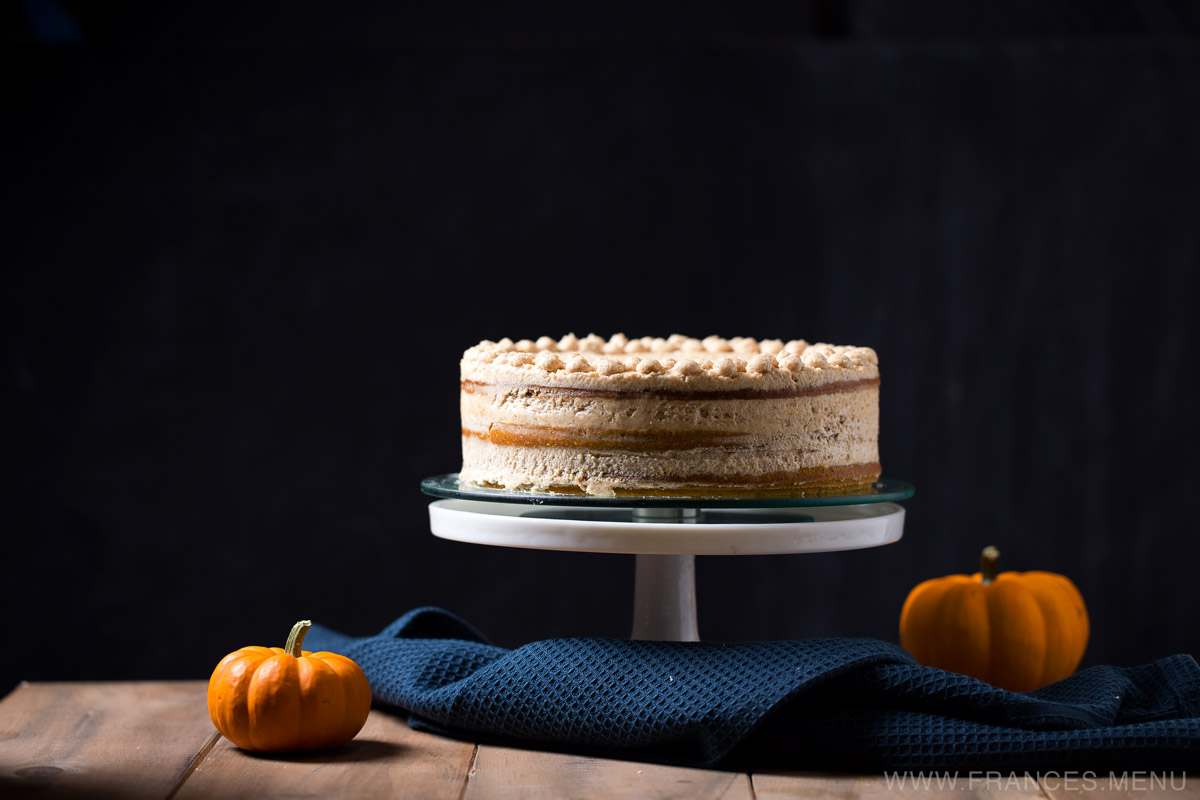
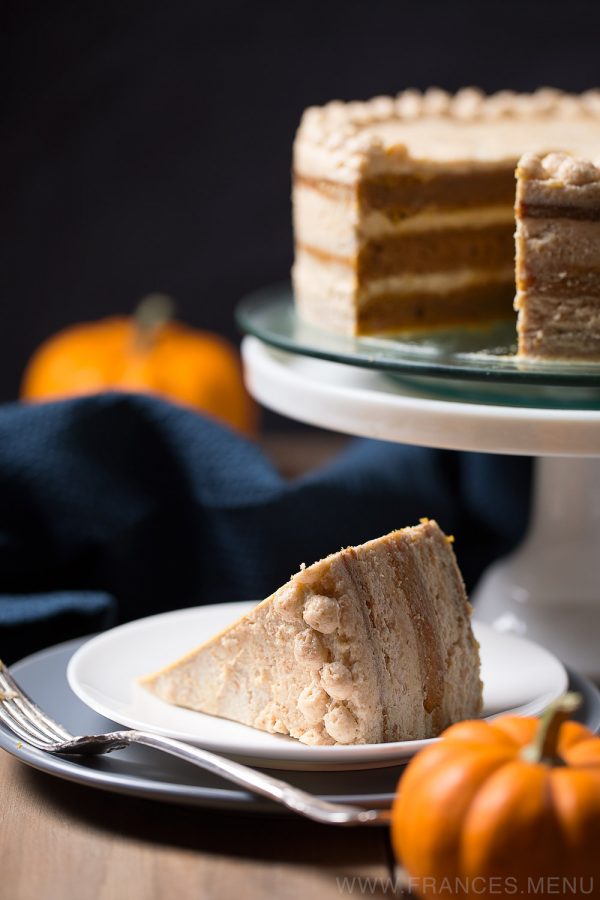
Little else is more fitting than a Pumpkin Cake with Graham Cracker Cream Cheese Buttercream frosting served as dessert during thanksgiving celebrations! Imagine how impressed your family and friends will be when they take a bite out of this gorgeous three-layer cake!
I would love to hear about and see your own results! Please hashtag #francesmenu on Instagram,Twitter or Facebook!
Pumpkin Cake with GCCCB Frosting
(Graham Cracker Cream Cheese Buttercream)
YIELD: 1 x 9-in cake (3 layers)
ACTIVE TIME: 1 hr 30 min
TOTAL TIME (active + inactive time): 2 hrs 15 mins
CREDITS: Cake adapted from Cleobuttera’s ‘The Ultimate Pumpkin Cake‘. Frosting loosely inspired by Tessa Huff.
SUMMARY: This recipe makes a gorgeous three-layer naked Pumpkin cake frosted with Graham Cracker Cream Cheese Buttercream. It is moist, fluffy and subtle in its sweetness. Excellent for Thanksgiving and any fall occasion!
INGREDIENTS
Pumpkin Cake
- 3 1/2 cups all-purpose flour
- 2 tsp baking powder
- 1 1/4 tsp baking soda
- 1 tsp salt
- 2 1/2 teaspoons cinnamon
- 3/4 tsp ground nutmeg
- 3/4 tsp ginger
- 1 1/4 cups unsalted butter (room temp)
- 5-6 tbsp butter (for coating cake pans)
- 1 cup granulated sugar
- 1 cup brown sugar
- 4 eggs (room temp)
- 1 1/2 tsp vanilla extract
- 2 cups (500 ml) canned pumpkin puree (room temp)
- 1/2 cup buttermilk (room temp)
GCCCB Frosting (Graham Cracker Cream Cheese Buttercream)
- 225 g (1 cup) cream cheese (room temp)
- 170 g (3/4 cup) unsalted butter (room temp)
- 1 cup confectioner’s sugar
- 1 tsp vanilla extract
- 2 tbsp heavy cream
- 140 g finely crushed graham crackers
Tools
- 3 x Mrs. Fields 9-inch round pans
- Wilton 13-in offset spatula
- Kitchenaid stand mixer or Kitchenmaid Hand Mixer
- Piping bag
- Wilton decorating tip size 12 and 1A
INSTRUCTIONS
Pumpkin Cake
- Preheat the oven to 350F (180C). Butter and flour three 9-in cake pans (see notes).
- Whisk together the flour, baking powder, salt, baking soda, cinnamon, nutmeg and ginger, then set aside. In a separate bowl, stir together the pumpkin puree, buttermilk and vanilla, then set aside.
- Using a stand mixer with the paddle attachment, cream the butter, granulated sugar and brown sugar on medium-high speed until lightened in color and fluffy, about 8-10 minutes. If you are using a hand mixer, this will take longer.
- On low speed, add the eggs one at a time to the butter mixture, mixing well after each addition. Continue on low speed and add the ingredients in the following order: 1/3 of the flour mixture, 1/2 of the pumpkin mixture, 1/3 of the flour mixture, final 1/2 pumpkin mixture, final 1/3 of the flour mixture. Scrape down the sides of the bowl with a spatula between each addition. Stop mixing once you see the batter just combined. Do not overmix.
- Divide the batter evenly into the cake pans and bang them against a flat surface to level the batter. Bake for 30-35 minutes or until the cake is done, when it shrinks slightly from the edges of the pan and a toothpick comes out clean when inserted into the center. Another sign is that the cake springs back when you push down slightly on the center of the cake with your finger.
- Remove the cake pans from the oven and rest for 15 minutes before transferring the cakes from the pans onto a cooling rack. When the cakes are cool to touch, they are ready to be assembled or wrapped in plastic and stored in the fridge to be used another day.
GCCCB Frosting (Graham Cracker Cream Cheese Buttercream)
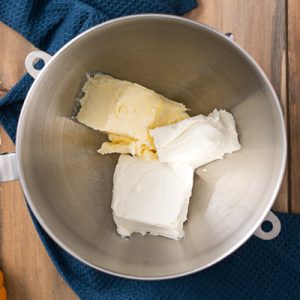
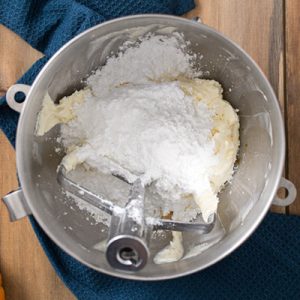
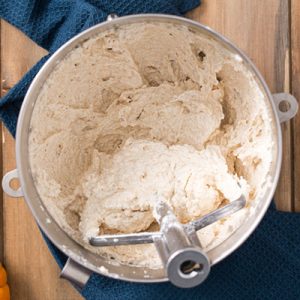
- Using a stand mixer with the paddle attachment, mix the butter and cream cheese together on low speed until thoroughly combined, about 1 minute. Stir in the sugar, heavy cream and vanilla extract, followed by mixing on medium-high speed until light and fluffy, about 7 – 10 minutes. Add the graham cracker crumbs and stir together until combined. The buttercream will have a grainy texture which makes it an absolute delight to eat.
Cake Assembly
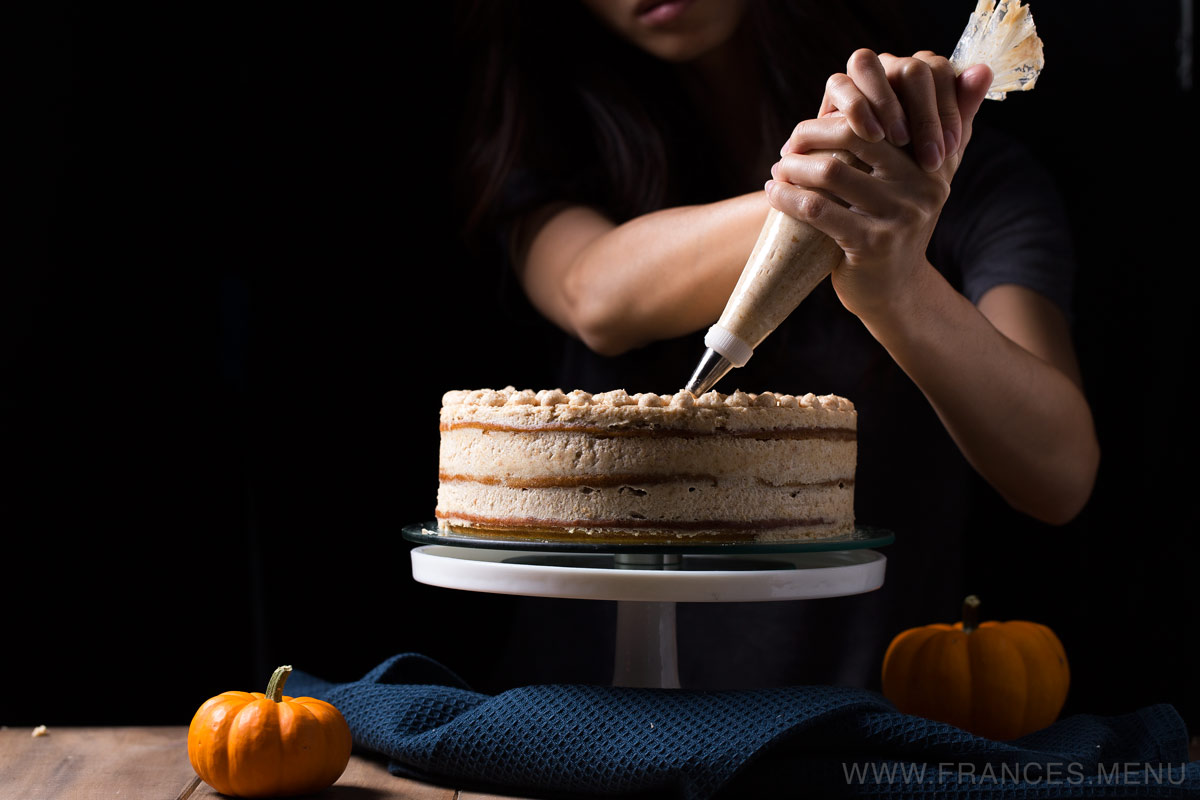
- Place the first layer of cake on a cake turntable. Using a piping bag fitted with a large round tip (such as Wilton 1A tip), pipe a large circle of frosting onto the top along the edge. Fill in this circle with increasingly smaller circles of frosting until you reach the middle. Use an offset spatula to smooth and level this frosting. Center the second layer of cake on top and repeat frosting in the same manner followed by the last level of cake and frosting in the same manner.
- To smooth the sides, press the bottom side of the spatula against the side of the cake while rotating the turntable until you get a smooth finish. The goal is to scrape away any extra frosting so that the sides are smooth and straight. If you find that it is difficult getting sharp edges because the frosting is too soft, place the cake and frosting in the fridge for 10 – 15 minutes to create a firmer working surface before proceeding.
- Decorate the top of the cake using a size 12 Wilton decorating tip. Pipe pea-sized pearls with a slight tail in a zigzag pattern along the edge of the cake.
STORAGE
- Store the cake in the fridge after assembly. Before serving, let the cake sit for 15-30 minutes in room temperature.
- The cake and frosting can be stored separately in the fridge before assembly, up to 3 days (wrapped in plastic wrap). Both can be stored in the freezer for up to 2 months, as long as the cake is wrapped in double layers of plastic wrap and the frosting is sealed. Defrost in the fridge before use.
NOTES
- To butter and flour a pan, take a tablespoon of butter and run it along the inside surface of the pan followed by adding flour and moving the pan around so that it sticks to where the butter is. The purpose of doing this is to keep the cake batter from sticking to the pan and ensure easy removal.
- DO NOT: skip the step of ‘creaming’ your butter for 10 minutes. This can be done by using a stand mixer fitted with the paddle attachment turned to medium high speed. Creaming will aerate the butter and is a crucial step to creating a fluffy and light cake texture, as well as increasing the volume of the cake batter. More on the necessity of creaming here.
- DO: Bake the cake batter immediately after mixing to take full advantage of the chemical reaction between the baking soda and buttermilk. This reaction causes the cake to be tall and fluffy. The best way to do this is to preheat the oven and prepare the three cake pans before you start mixing anything. Mise-en-place! Mise-en-place!
- DO: alternate the mixing of the flour and pumpkin mixtures when adding to the creamed butter.
- DO NOT: overbeat the batter once you’ve started adding flour otherwise the cake will be tough.
- Use a piping tip with a large opening so the crumbs in the GCCCB frosting can squeeze through easily, such as the Wilton size 1A or 12 or 10 decorating tip. This frosting does not pipe well with patterned tips or small openings.
Behind the Scenes:
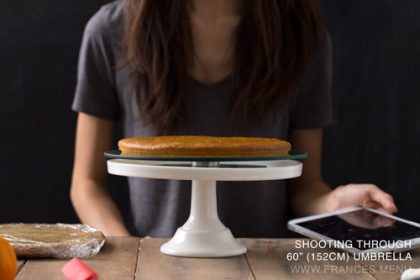
Photographing this recipe was an exercise in stepping out of my comfort zone and MacGvyer-ing some lighting setups. I was inspired by a style of food photography I saw on Pinterest that places a person behind a tabletop and in the shadows with the focus on a well-lit work station in front.
For the lighting on the body of the person (me), I was trying to achieve a balance between ‘hands floating in a sea of darkness’ versus ‘fully lit upper body and hands’. My thinking was a fully lit body would distract away from the ingredients, which is the focus. If my body was completely shrouded in darkness, my hands would extend out of a sea of black. I felt this would draw attention towards the illusion that they were floating, once again distracting from the ingredients.
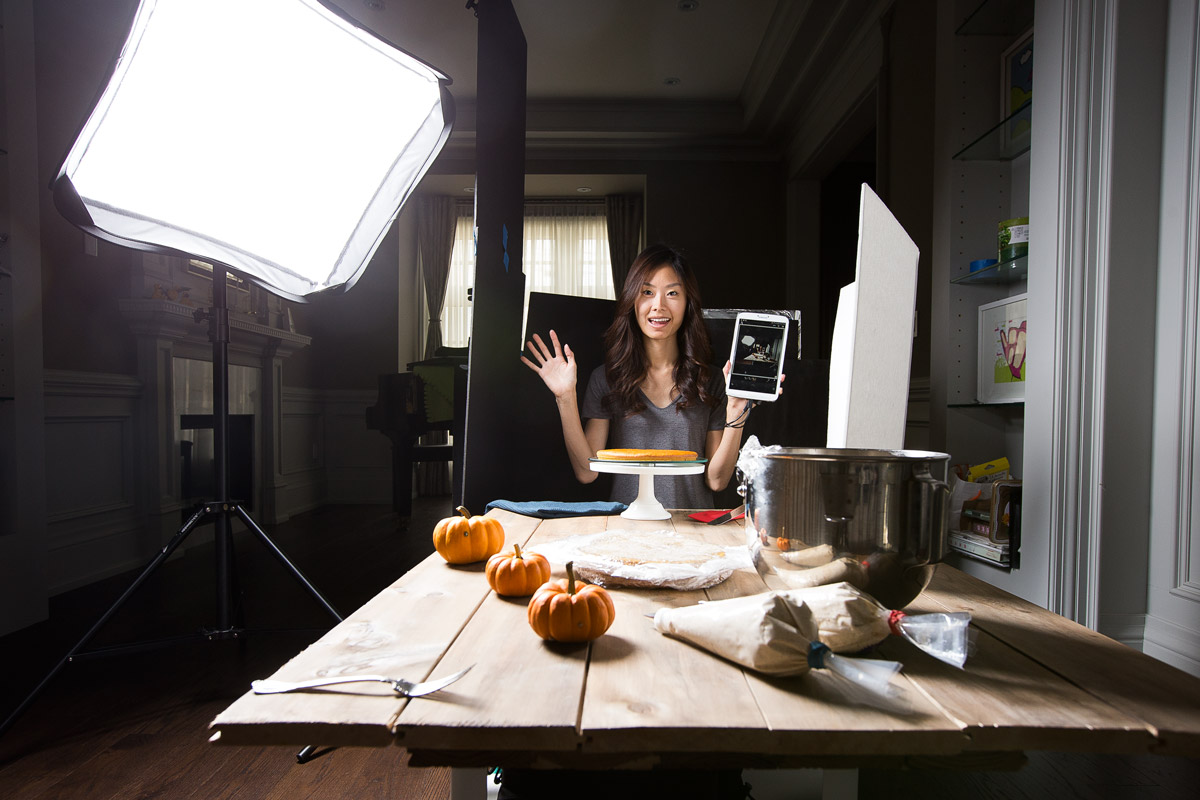
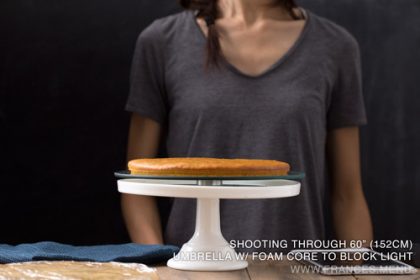
Playing around with the lighting, I figured that I needed to direct the light so that it only hit the table (let’s call it the middle ground) and with very little light spill over to my body (background). Initially, I used an umbrella, but light was spilling everywhere and I was unable to control the darkness of the background.
I switched to a softbox, knowing this would help me focus the light but not to the degree I wanted. Unfortunately, I did not have a grid for my softbox, which would help prevent light spill to the sides, however I did have several foam core boards in black. I taped these together and propped them up using a lightstand, positioned right against the background and just touching the edge of the tabletop. This effectively stopped the light spill into the background, resulting in the desired effect—a well-lit middle ground and dim background. You can see these boards to the left of me in the photo above.
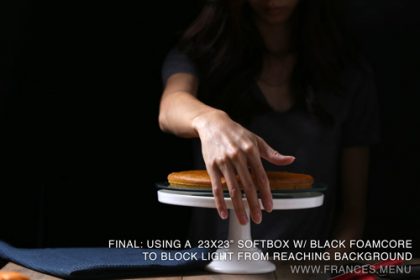
I am guessing that with a larger softbox, I would be able to achieve a more natural ‘window-lit’ diffused look, but I was pleased with the results nonetheless. I’m interested in trying this style again to see where I could go with it, also open to suggestions!
For Pinterest:


![@Frances.menu This 3-in-1 Thai🇹🇭 experience brings together @piinong_thai (named one of Toronto Life’s Best New Restaurants of 2025), @lamaimassage.toronto upstairs, and a Thai marketplace, all in one spot ✨
The Thai massage seriously loosened up my joints, I felt more mobile and flexible afterwards! You can choose between a tabletop massage or the traditional Thai mat, which we went with for a more authentic experience.
Package options:
👥Couple's Retreat $299 (we did this one)- 60 min Thai massage + 3 course meal for 2
👤Solo Serenity $149 - 60 min Thai massage + 3 course meal for 1
👤Royal Thai Indulgence $225 - 120 min Thai massage + 3 course meal for 1
👤Midday Recharge $49 - 30 min Thai massage + 3 course lunch for 1
Thank you for having us @piinong_thai and @lamaimassage.toronto! (sponsored)
[#torontoeats #torontofoodie #datenightyyz toronto thai food, authentic thai massage, thai massage and meal, soft shell crab curry, buo loy, award winning restaurant]](https://frances.menu/wp-content/plugins/instagram-feed/img/placeholder.png)