Ten years ago, if you told me that I would be making my own delicious Blueberry Vanilla Jam for breakfast, I would have thought you were crazy. I had zero cooking experience and even less motivation to step into the kitchen. Just this past summer, I made 40 jars of this easy Blueberry Vanilla Jam recipe as favours for a friend’s baby shower and couldn’t be happier with the result!
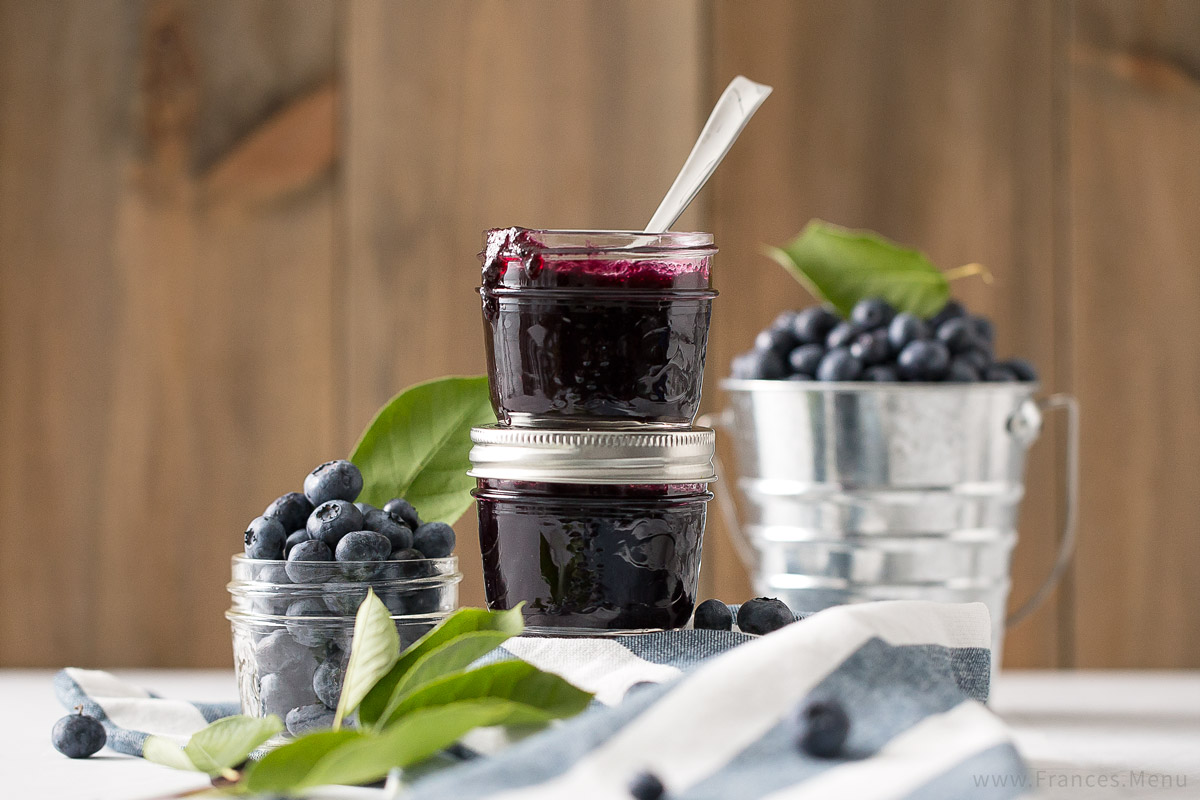
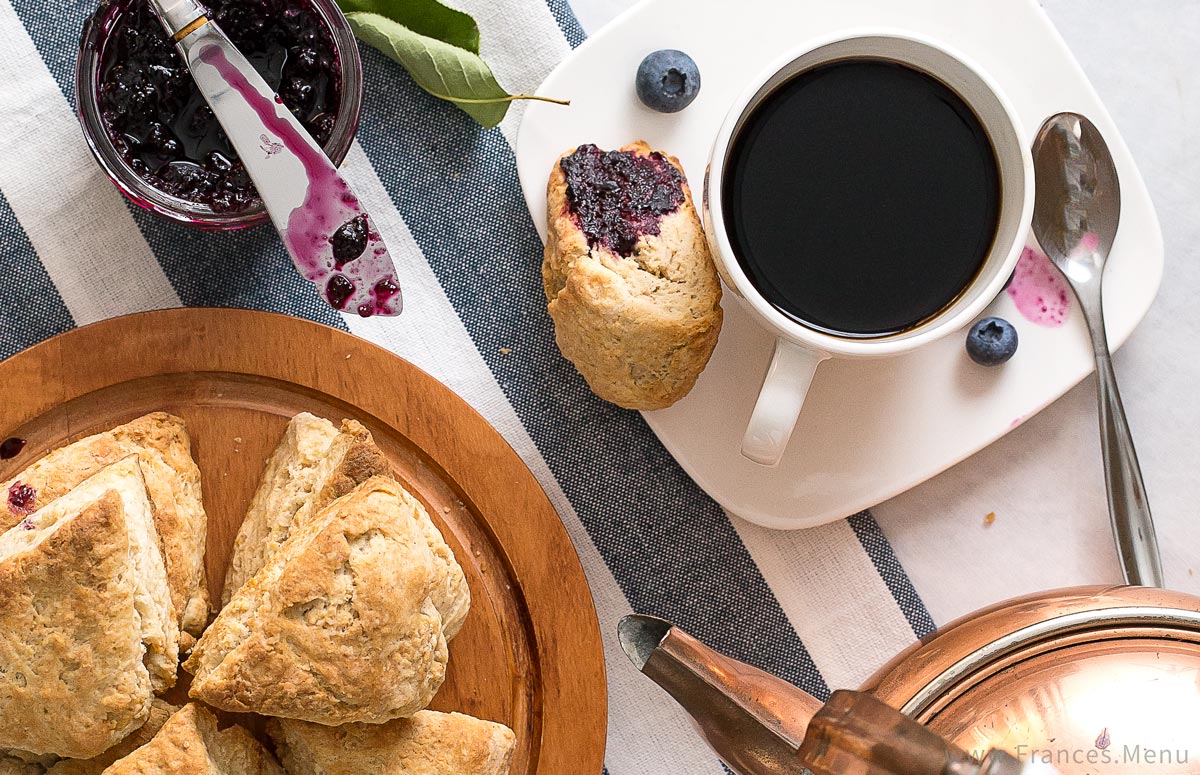
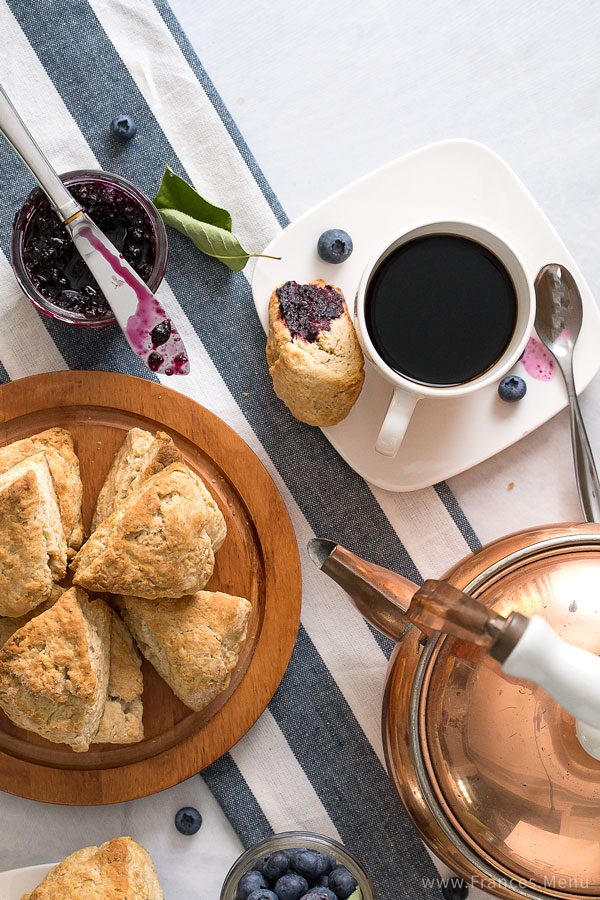
This recipe is super easy and if I could, I would tell my past self to get off my lazy behind and follow it for some super impressive homemade jam. They are a wonderful compliment to scones, toast or tea-time biscuits. If you’re looking for a unique do-it-yourself gift idea, fill some 125ml Bernardin canning jars with this jam and hand them out!
In this recipe I use an ingredient called ‘vanilla bean paste’ which can be explained as a sweet liquid containing vanilla bean seeds. Since it is pre-bottled and available with the scoop of a spoon, it saves me the time and trouble of cutting open a vanilla pod and scraping out the seeds. The result is arguably identical as it still produces that wonderful flavour and speckled look in desserts and baked goods.
Another reason I use vanilla bean paste rather than vanilla pods because it is much cheaper, at least here in Canada. Generally, 1 tbsp of vanilla bean paste can substitute 1 vanilla bean pod, although this might be further clarified by the labeling on the jar. I use Madagascar Bourbon Vanilla Bean Paste from PC Black Label which is available at Loblaws.
I hope you enjoy this Blueberry Vanilla Jam recipe as much as I do and remember to share your results with me using #francesmenu on instagram, twitter and Facebook!
Blueberry Vanilla Jam
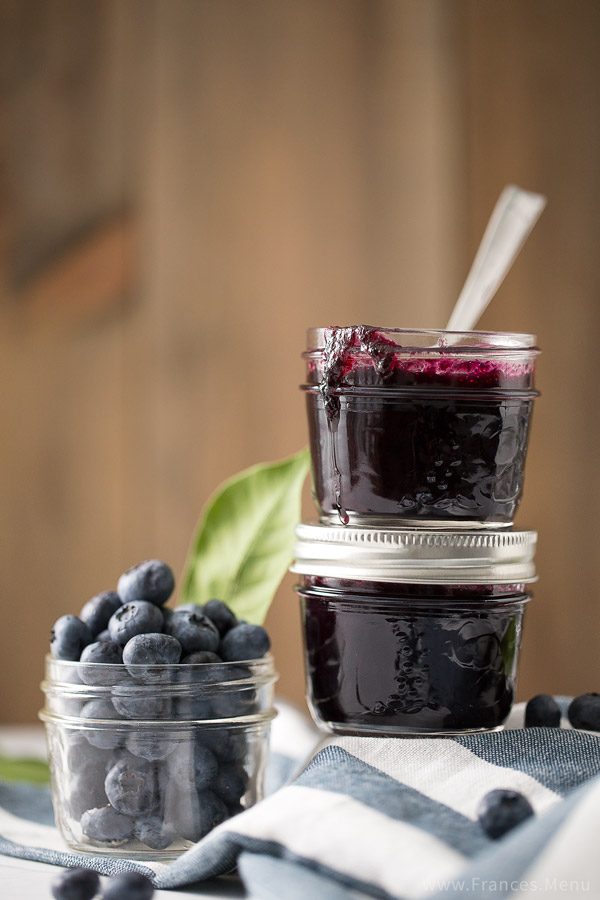
YIELD: approx. 1200 ml
ACTIVE TIME: 40 min
TOTAL TIME (active + inactive time): 1 hr 10 15 mins
CREDITS: Frances Lam
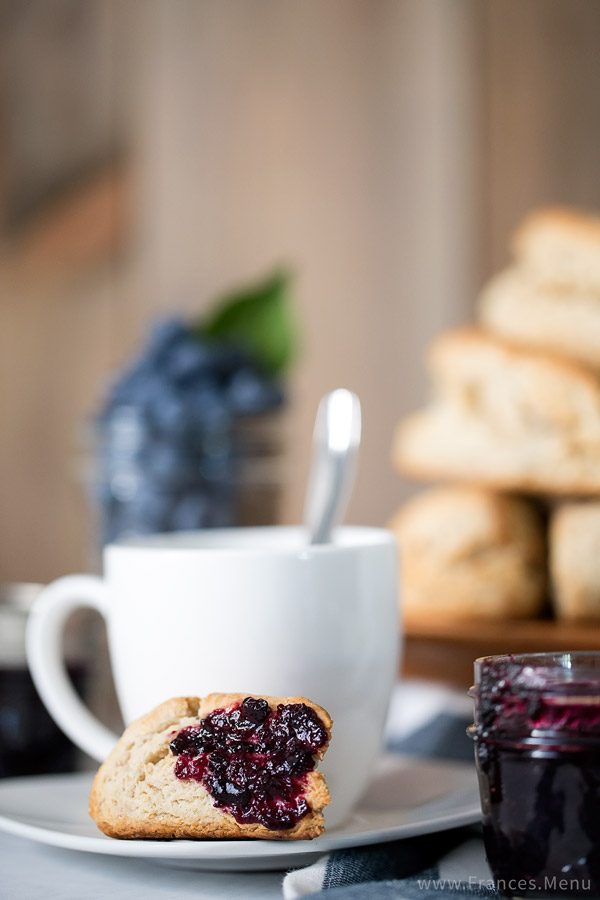
SUMMARY: This easy recipe combines the sweet taste of blueberries and the lovely flavour of vanilla beans to make a Blueberry Vanilla Jam! Fresh, homemade jam that can be canned and distributed as tasty gifts, spread on crackers, toast or scones!
INGREDIENTS
Blueberry Vanilla Jam
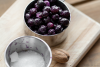
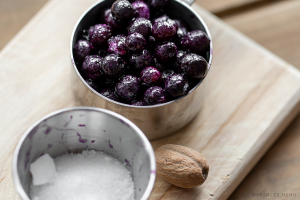
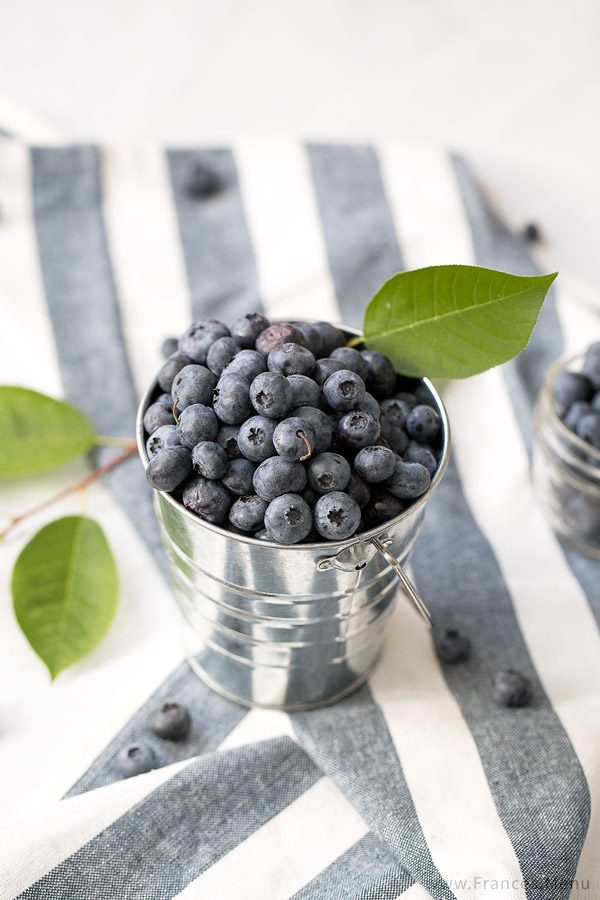
- 900 g (6 cups) blueberries
- 1 tbsp vanilla bean paste (I used Madagascar Bourbon Vanilla Bean Paste from PC Black Label)
- 475 g (2 1/3 cups) white sugar
- 60 ml (4 tbsp) lemon juice (I used ‘ReaLemon’ bottled lemon juice)
- 150 ml (1/2 cup + 2 tbsp) water
Tools
- Large stockpot
- Stirring utensil
- Plate
- Potato masher (optional)
INSTRUCTIONS
- Put a small plate in the freezer. In a large stockpot, mash the blueberries with a potato masher for 1-2 minutes. Add lemon juice and water to the blueberries and cook on high heat, bringing to a hard rolling boil for 1 minute (it takes about 5 – 10 minutes to get to the boil). Reduce heat to a low boil and cook for 40 minutes, stirring frequently. Reduce to low heat, stir in the sugar and vanilla paste, then bring to a hard boil for 10 minutes.
- To test the jam, transfer a teaspoon onto the plate in the freezer and freeze for 3-4 minutes. Nudge your finger through the jam and if it wrinkles where your finger is pushing, it is ready. If you release your finger and the line refills quickly and the jam feels too watery, keep cooking and test at 5 minutes intervals until you get the desired consistency.
NOTES
- In this recipe, I used blueberries that were very tarte. If your blueberries are very sweet, you need not add as much sugar. Add 80-85% of the sugar and do a taste test. Remember that you will be cooking down the jam after the taste test so it is okay if it is not as sweet. You can always add more sugar later.
- Always test your jam cold which is the reason for placing a plate in the freezer. This will replicate the temperature which jam will be stored at so you can get an accurate idea of the jam consistency.
- If you do not have a potato masher, skip the mashing step altogether, although you may need to cook the bluberries for longer (haven’t tried without mashing before).
- Stirring the jam mixture while cooking allows for moisture to be released more frequently, therefore cutting down cooking time.
- A full rolling boil means that the jam is bubbling vigorously at the surface and the bubbles are large (most likely your stove is on high heat). A low boil means that the jam still bubbles frequently, but the bubbles are smaller and the surface is not as disturbed (most likely your stove is on medium to high heat).
- These are the canning instructions I used: beginner’s guide published on ‘Food in Jars’.
STORAGE
- Keeps for 1 year unopened if canned. Best used within 2 months of opening, although I’ve had people tell me that they last way beyond 2 months after opening. (use your best judgement, jams can last pretty long because of the sugar and acid content).
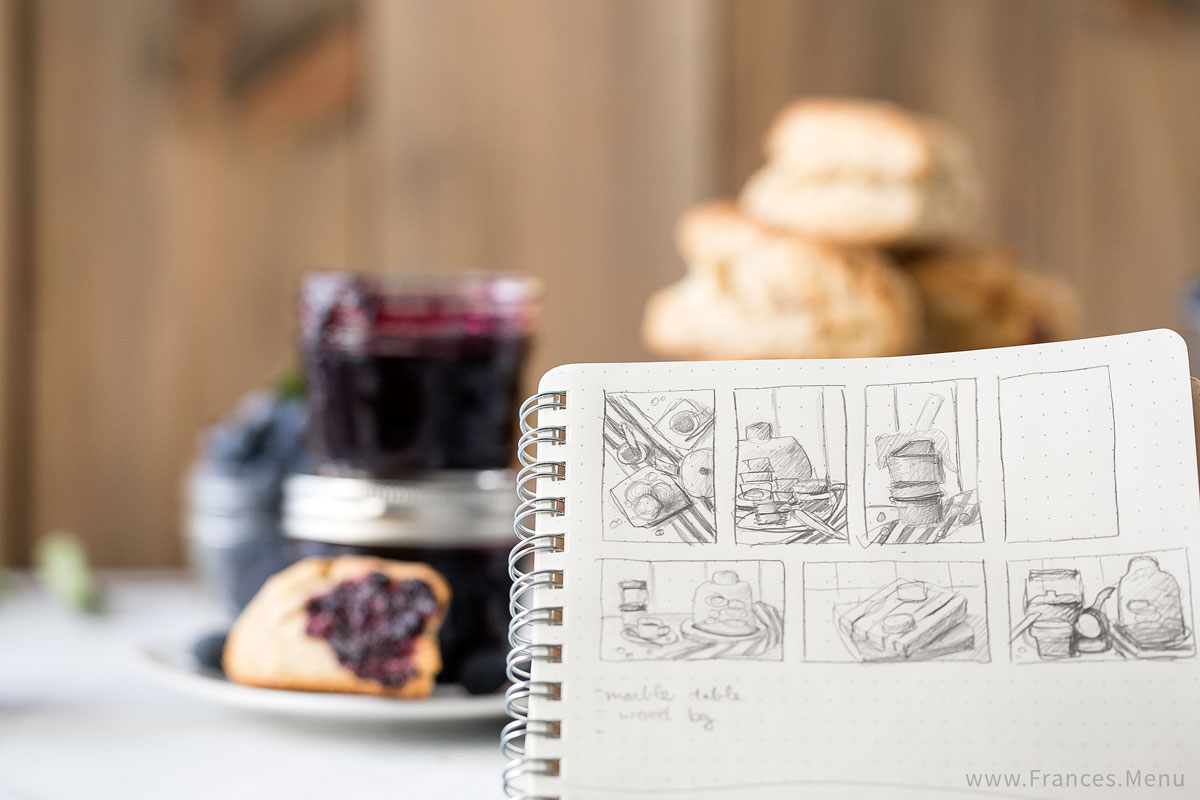
Behind the Scenes:
Here’s some food for thought: When effort is put into the food styling, it cuts down time spent on photographing and post-editing. So even if it takes that extra 5 – 10 minutes to style your food, do it, because it may save you 40 minutes later on in the process. If you don’t know how, then research, look at other work and try out different styles to gain more experience. Try different ways to create contrast, repetition, emphasis and other principles of design in your styling. This is something I am constantly learning and it can be incredibly challenging.
For this shoot, a 60-in umbrella was placed to the back-left of the photography area and a white foam core board on the opposite side to reflect the light and fill in shadows. For the marble tabletop, 3 floor tiles were pushed next to each other, using the rough side of the tile to create a non-reflective surface. To make it look like one seamless table, I used photoshop to remove the lines in between each tile.
Reviewing the photos from this particular shoot, I learned two things. The first thing I learned was that a shallow depth of field can bring a sense of ‘a-pro-did-this’ feeling to the untrained eye. However, pushing it too far (making it too shallow) can make a photo look unplanned, unprofessional and distract from the focal point. The second thing I learned was that having extremely reflective copper items in the shoot can disturb the ‘natural window light’ style. The copper colour is much warmer to the neutral light temperature that was used and its warm colour had a far reach to the other items on the table. This made it seem as if light sources with different temperatures were being used, making it look messy at times. Please note that this is only undesirable in the ‘natural window light’ style that I was going for and maybe useful in other styles.
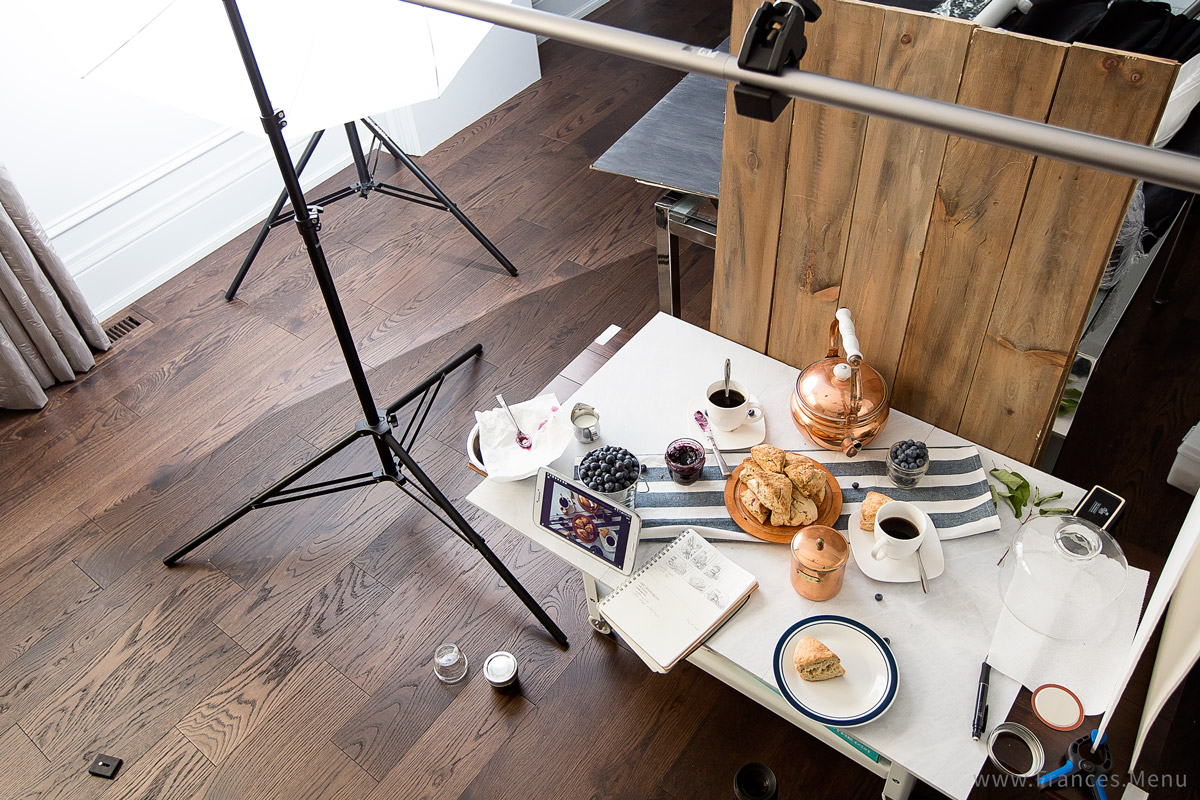
In hindsight, I should have probably done something to dull the reflective surface of the teapot to avoid the bright hotspots that compete with the focal point for attention. Vaseline maybe? If I used a dulling spray it probably wouldn’t be food safe to use afterwards. Will experiment further.