Click to Skip to the Bunny Butter Cookie Recipe
Baking a little slice of calm in a very chaotic world—and that’s exactly what inspired today’s recipe: Bunny Butter Cookies.
If the state of the economy/world right now feels like being strapped into a roller coaster blindfolded… same. Whether it’s inflation, tech layoffs, or the ever-rising cost of groceries, a lot of us are feeling a bit wobbly these days. In moments like this, I turn to one of my favorite rituals: baking.
There’s something so grounding about measuring flour, creaming butter and sugar, and watching a batch of homemade cookies come to life in the oven. Baking a little slice of calm in a very chaotic world—and that’s exactly what inspired today’s recipe: Bunny Butter Cookies.
These cookies are bright, buttery, and full of colorful joy—perfect for Easter weekend, but honestly? They’re great anytime you need a dose of cozy comfort and creativity.


✨ Why You’ll Love This Bunny Butter Cookie Recipe
- Simple but stunning: One dough, three colours, and a fun cookie cutter are all you need.
- Therapeutic to make: Great for slowing down, zoning in, and letting yourself play with colour and shapes.
- Totally customizable: Don’t have a bunny cutter? No problem. Use flowers, hearts, stars—whatever you’ve got in your drawer. This dough is your canvas.
- It keeps its shape: This cookie batter doesn’t spread while baking and ruin your design!
Cheers to a good culinary therapy session,
-Frances


Bunny Butter Cookie
YIELD: 24 cookies
ACTIVE TIME: 90 min
TOTAL TIME (active + inactive time): 2 hours
CREDITS: Frances Lam
SUMMARY: These colourful Bunny Butter Cookies are the perfect Easter treat—easy to make, customizable with fun shapes and colours, and ideal for stress-relief baking. Get the full recipe!
INGREDIENTS
- 222 g (1 cup) unsalted butter at room temperature
- 200 g (1 cup) granulated sugar
- 2 tsp vanilla extract
- 1 egg
- 390 g (3 cups) flour
- 1.5 tsp baking powder
- 3 different food colour dyes (I used peach, sky blue, canary yellow)
Tools needed
- Rolling pin
- Various cookie cutters (small and large)
- Baking sheet
- Parchment paper
- food-safe colouring
INSTRUCTIONS
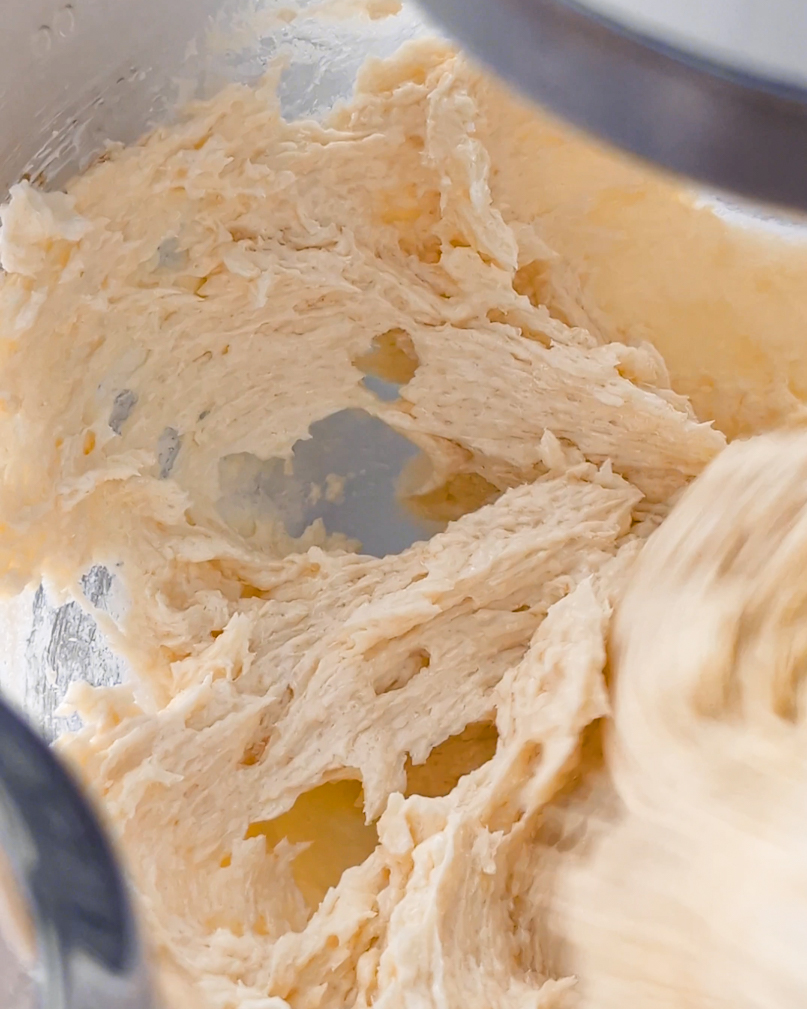
- In a mixing bowl, beat the butter and sugar together until it’s light and fluffy—this should take about 2–3 minutes with an electric mixer.
- Add the egg and vanilla extract. Scrape down the sides of the bowl to make sure everything is well combined.
- In a separate bowl, mix the flour and baking powder. Slowly add this to the butter mixture. Start on low speed (so you don’t get a flour explosion!) then increase the speed until the dough JUST comes together.
- The dough should feel like playdough—not too sticky, not crumbly. If needed, add a spoonful of flour or a splash of water to get it just right.
- Take about ⅓ of the dough and split that into 3 portions. Add a different food colouring to each, then knead with your hands until the colour is evenly mixed in.
- Roll all the dough (plain and coloured) to about ⅛-inch (4mm) thick on individual pieces of parchment paper. If it gets too soft or sticky from overworking, pop it in the fridge for a few minutes. (See notes)
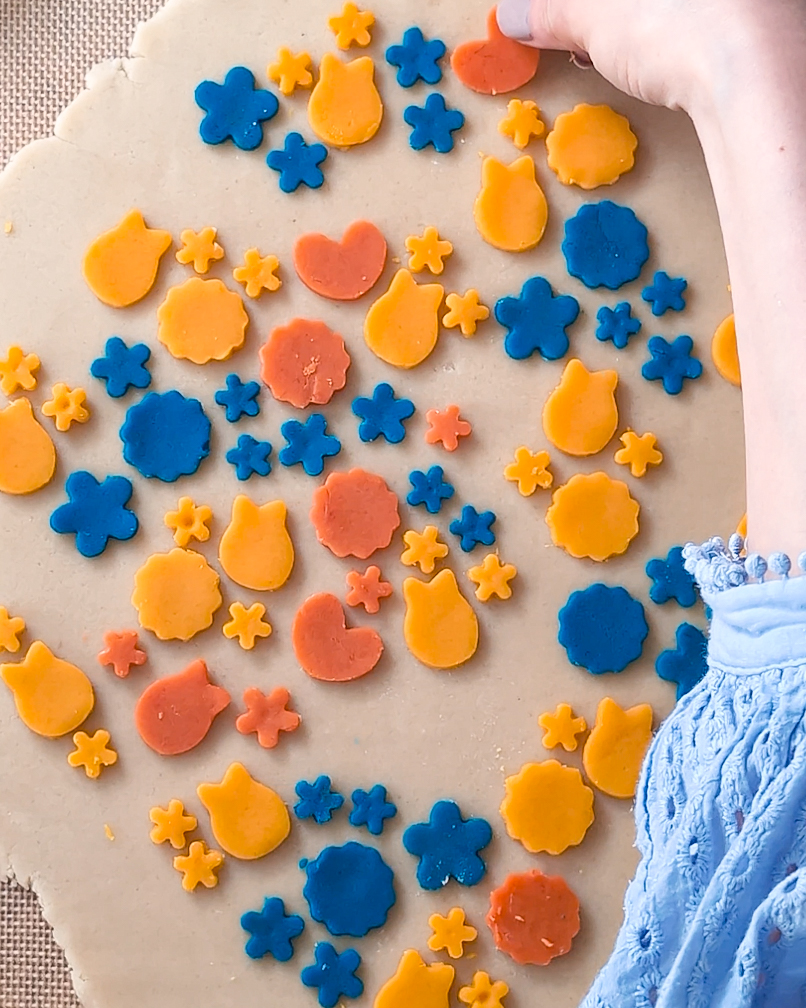
- Use small cookie cutters to cut shapes from the coloured dough. Arrange the coloured shapes however you like on the plain dough—this is your moment to shine. Once your pattern is done, lightly flour the surface, place parchment paper/silicone mat on top, and gently roll over everything to press the shapes into the base.
- Use a bunny-shaped cookie cutter to cut out cookies. Transfer to a lined baking sheet, chill in the fridge for 10 minutes, and then bake at 350°F (175°C) for 8–10 minutes. Take them out just before they start turning golden—once they brown, they’ve gone too far.
- Let cool on a rack and store in an airtight container. They’ll stay cute and fresh for a few days!
NOTES
- This cookie can also be used as a royal icing cookie base.
- Rolling your dough on top of parchment paper allows you to move it from counter to fridge easily. Slide a large cutting board under it when you need to manoeuvre from surface to surface.
- I encourage you to experiment with different cookie-cutter shapes instead of the bunny shape!
For Pinterest: