Bunny Butter Cookie
Click to Skip to the Bunny Butter Cookie Recipe Baking a little slice of calm in a very chaotic world—and that’s exactly what inspired today’s recipe: Bunny Butter Cookies.
Continue Reading Click to Skip to the Bunny Butter Cookie Recipe Baking a little slice of calm in a very chaotic world—and that’s exactly what inspired today’s recipe: Bunny Butter Cookies.
Continue Reading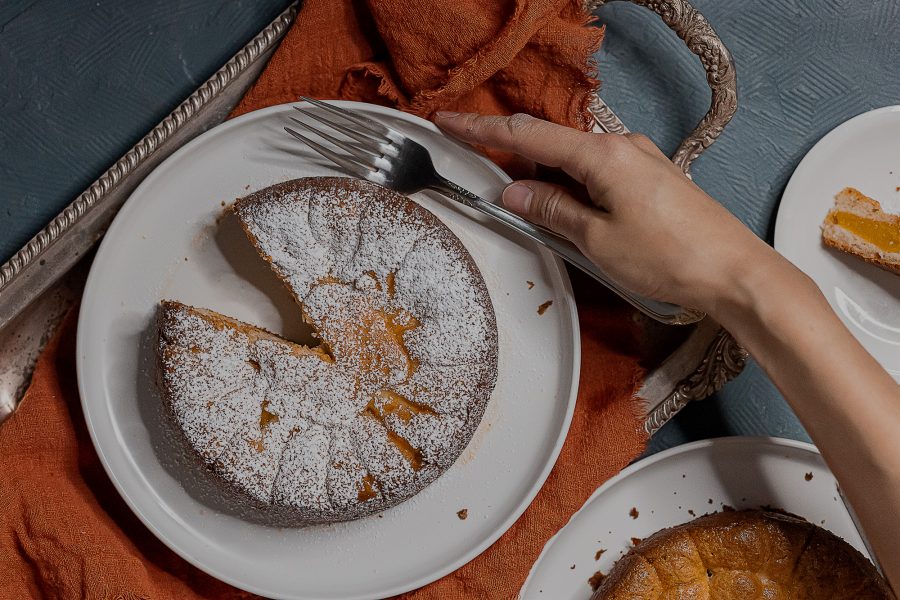
This Peach Almond Dacquoise Cake makes the perfect gluten free afternoon tea dessert!
Continue Reading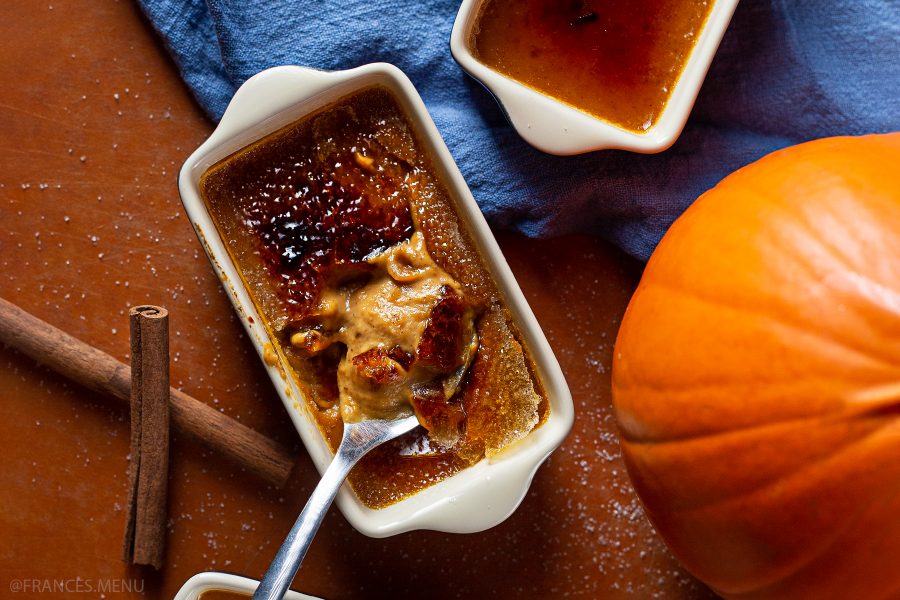
Looking for that perfect 🦃Thanksgiving party dessert that is both impressive and easy to make? This pumpkin creme brulee recipe will transform your Fall parties forever!
Continue Reading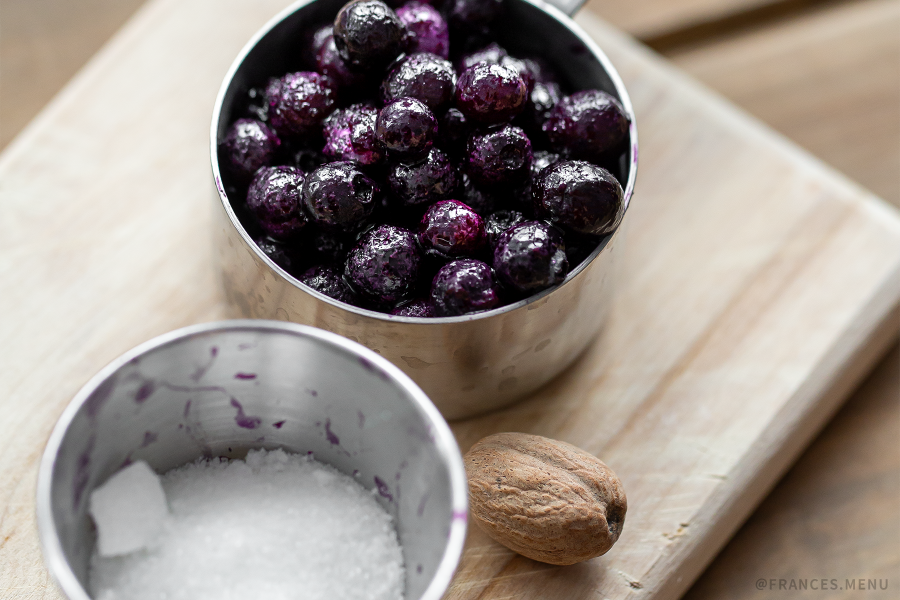
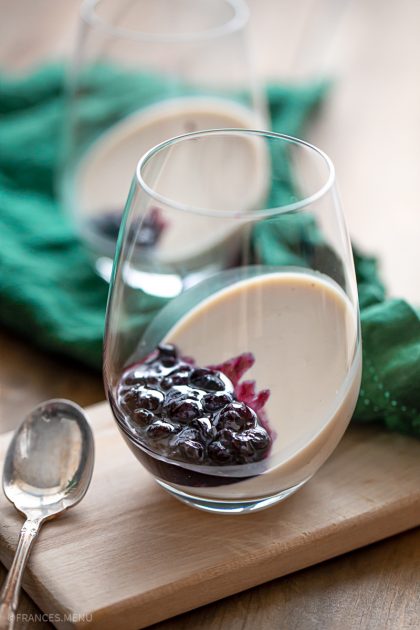
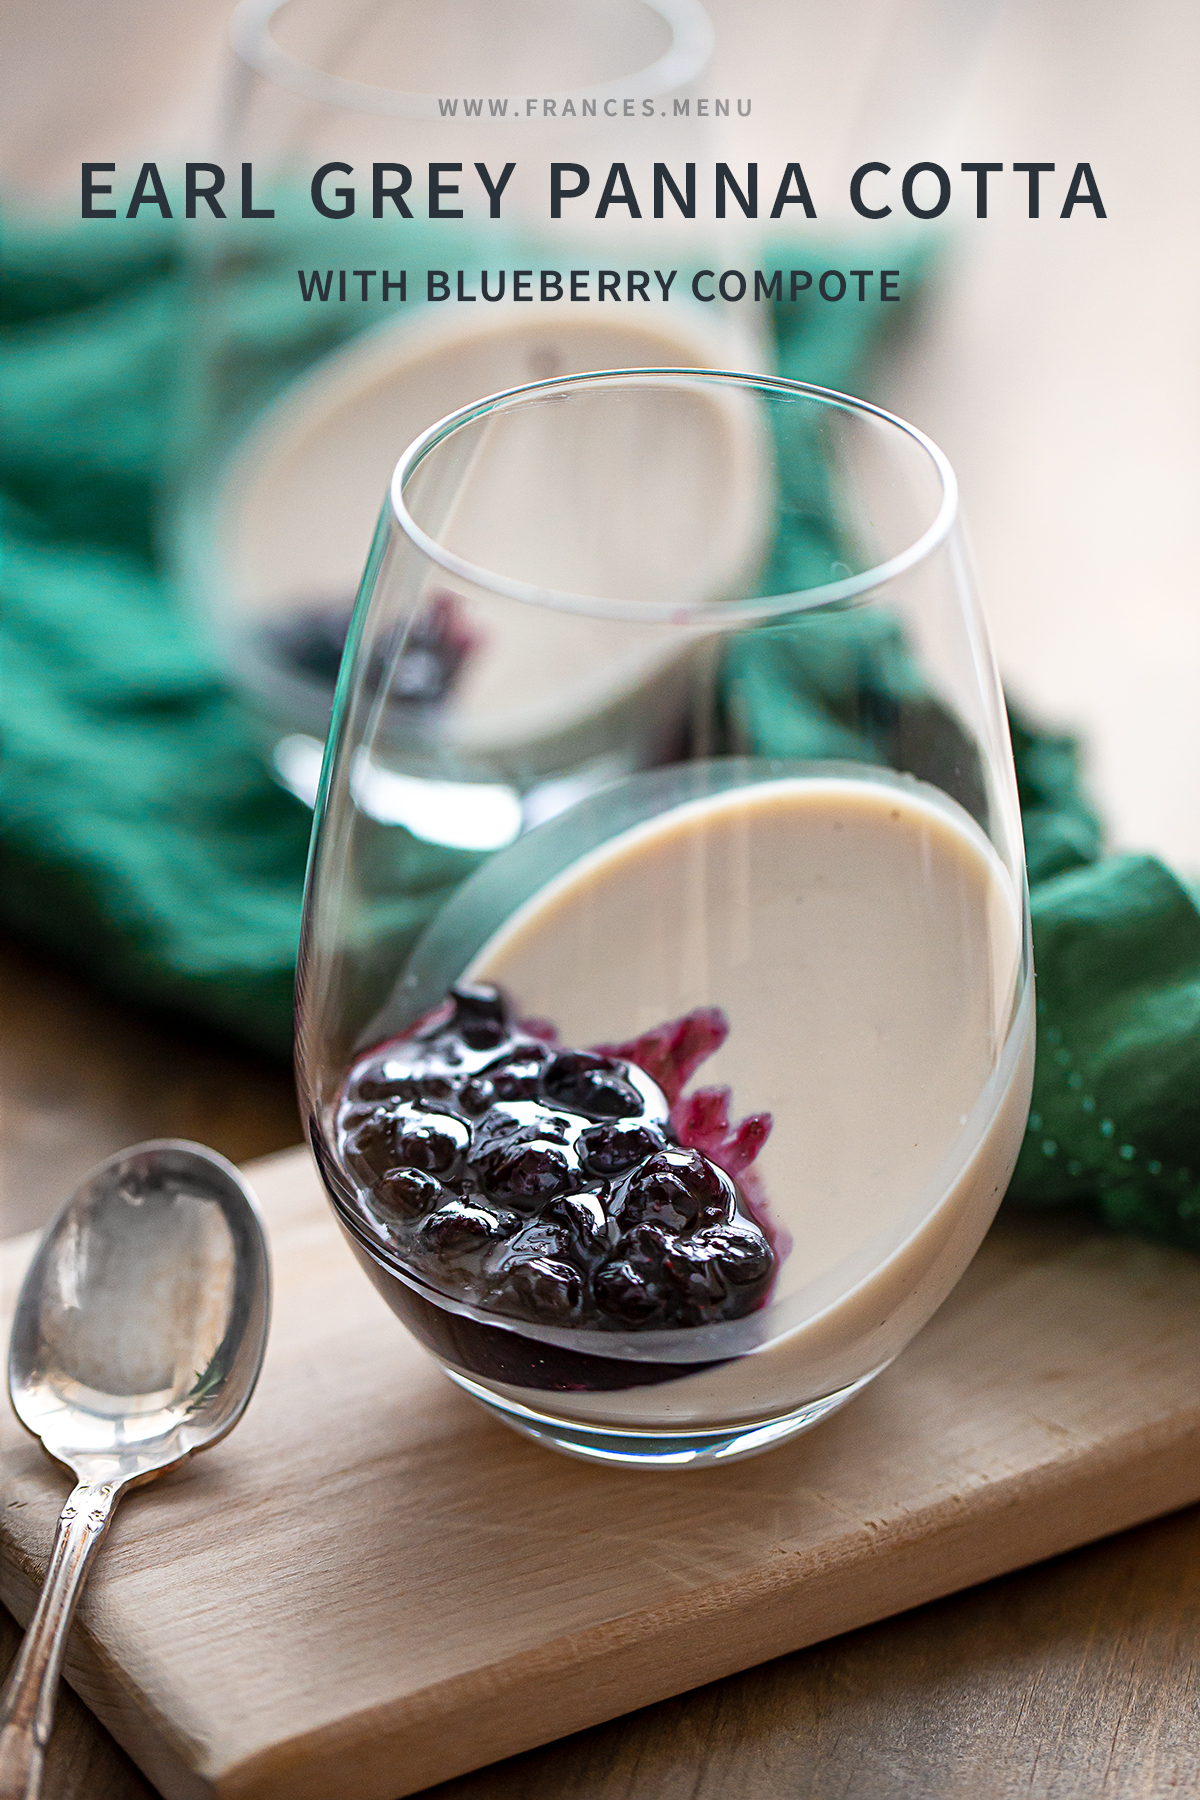
This easy recipe creates an impressive Earl Grey Panna Cotta complimented by a delicious Blueberry Compote! Make ahead to impress your date or for a house party!
Continue ReadingHi! It’s been a minute. How are you?
Despite my absence from this blog for the past 4 years, I never stopped thinking about it, and all of you who keep subscribing everyday. I never stopped working on my love for food. It didn’t feel right for me to jump into a new recipe without giving you an update on what’s changed and how deeply my relationship with food runs now.
A lot has happened since the last blog post: going back to school (baking and pastry arts), moving into a new career (food photography), traveling, moving into my own space, gaining new skills, new relationships, new friends, finishing school, moving into yet another career (marketing/project management), and this COVID lockdown. I consider myself lucky to have the opportunity to chase my dreams and experience so much—I look back at who I was 4 years ago, and I realize I am far cry from that young girl who felt awkward around people and unable to communicate my feelings.
It has been a wild roller coaster ride of putting myself out there, being unafraid to fail with the love and support of family and friends. Honestly I would not have been able to do it without the community around me, lifting me up to where I’m at today. Sometimes I complain about my day to day, but if I actually think about it, I am in my dream industry, and I had no idea I was going to end up here 10 years ago starting off as a young graphic designer.
If there’s anything I learned, it is that you need to fail to succeed. Success looks different to every person and everyone around you is only human. Be kind to one another and learn how to talk to people and navigate disagreements in a respectful manner. Don’t run away from your problems, tackle them straight on and tackle them with the grit that people around you deserve!

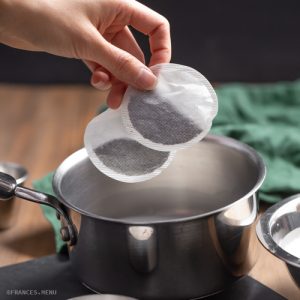
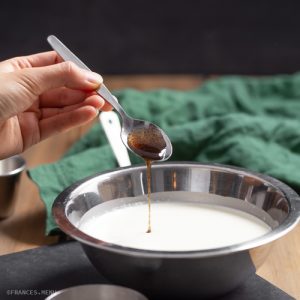
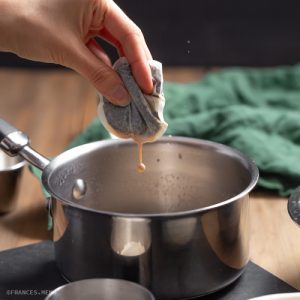
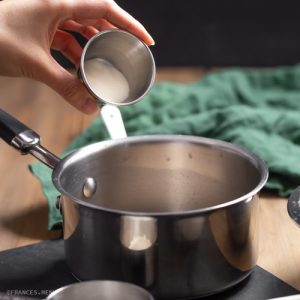
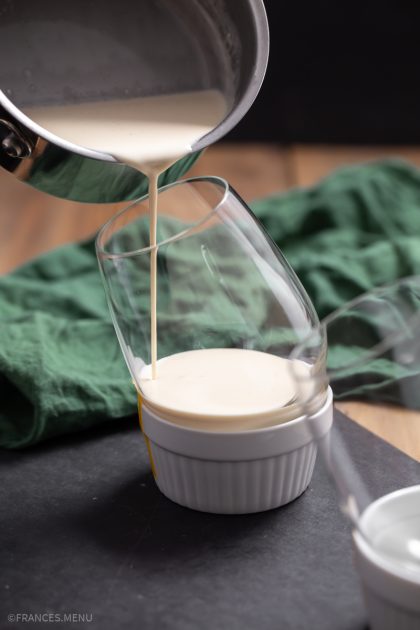
Enough about me and my preaching, without further ado, here is a Panna Cotta recipe that you can make ahead of time for your party prep!
What is Panna Cotta you ask? It’s classically an Italian dessert of sweetened cream set with gelatin in some sort of mold (no cooking required despite the name meaning ‘cooked cream’ in Italian). I see it as a jello made of milk/cream that stands up on its own. Having gone through 4 semesters of school for Baking and Pastry Arts, I can tell you, it’s what chefs make at restaurants for an impressive but easy and delicious gluten-free dessert option. Panna Cotta can be flavoured in many different ways and Earl Grey is just one of my favourite! So scale down for date night or scale up for a house party.
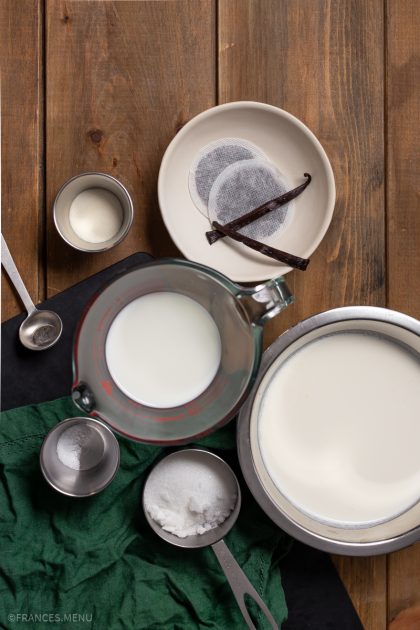
In an endeavor to bring more consistency to my recipe results (and also partially because this is the way we did things in baking school), I’ve started to include the measurement in weight for ingredients. Measuring in weight is much more accurate than the use of cups and teaspoons (volume) because everyone packs a cup differently. For example, a cup of brown sugar can vary from 200 to 300 grams depending on how tightly you pack it! Hopefully you can use a scale to try out these recipes but just in case you don’t, I’ve left the volume measurements in as well.
Cheers to a good culinary therapy session,
-Frances
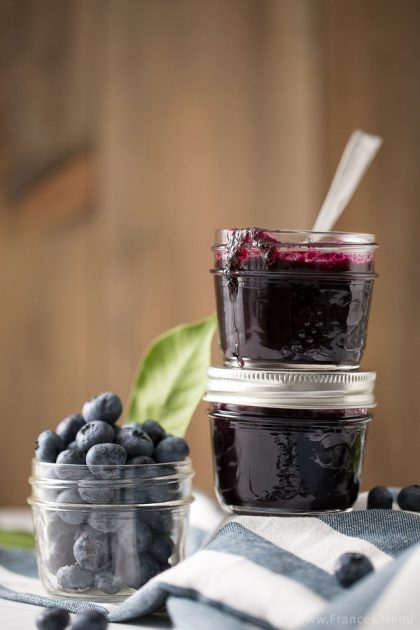
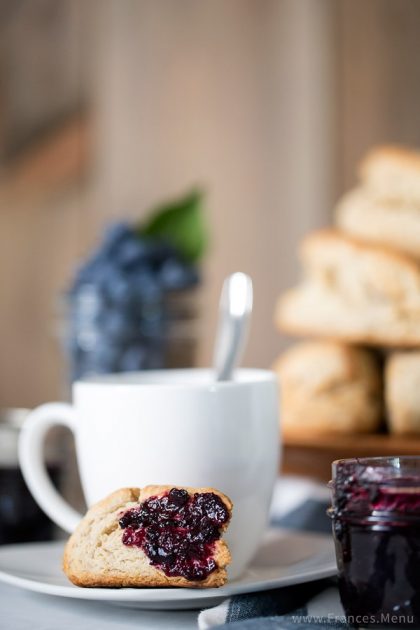
Ten years ago, if you told me that I would be making my own delicious Blueberry Vanilla Jam for breakfast, I would have thought you were crazy. I had zero cooking experience and even less motivation to step into the kitchen. Just this past summer, I made 40 jars of this easy Blueberry Vanilla Jam recipe as favours for a friend’s baby shower and couldn’t be happier with the result!
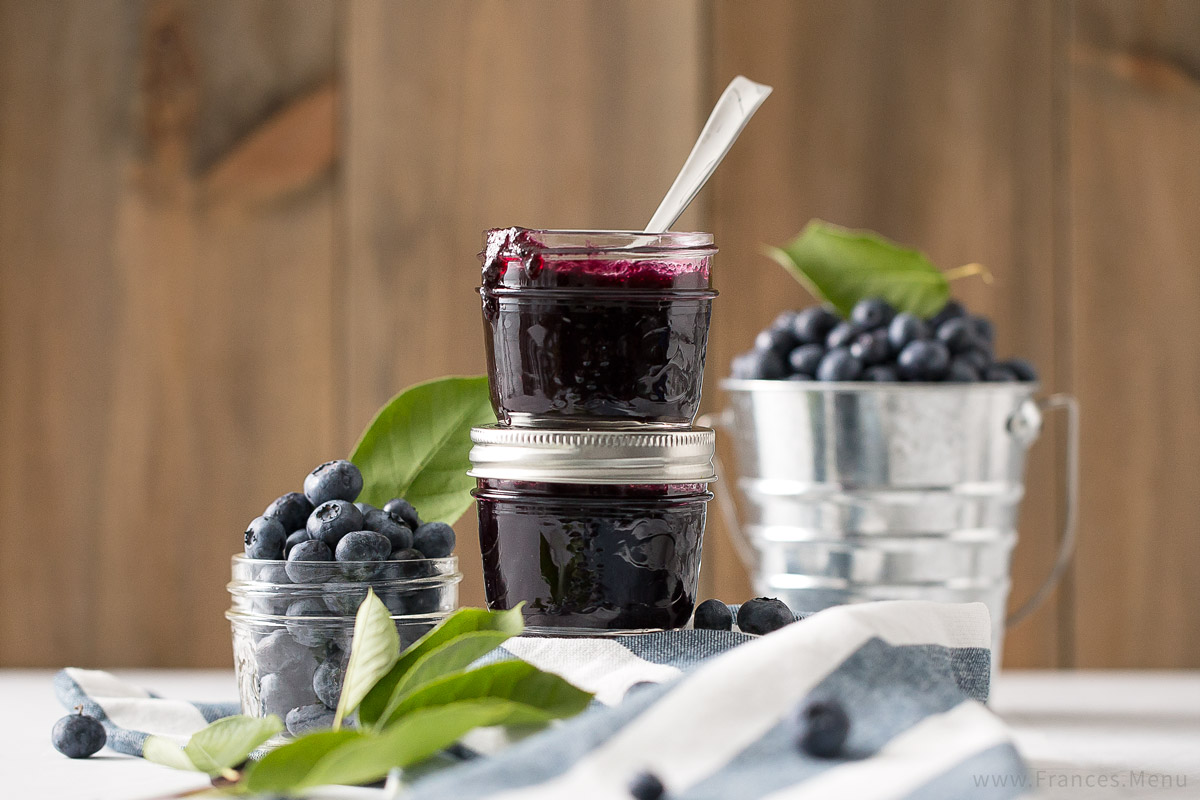
This recipe is super easy and if I could, I would tell my past self to get off my lazy behind and follow it for some super impressive homemade jam. They are a wonderful compliment to scones, toast or tea-time biscuits. If you’re looking for a unique do-it-yourself gift idea, fill some 125ml Bernardin canning jars with this jam and hand them out!
In this recipe I use an ingredient called ‘vanilla bean paste’ which can be explained as a sweet liquid containing vanilla bean seeds. Since it is pre-bottled and available with the scoop of a spoon, it saves me the time and trouble of cutting open a vanilla pod and scraping out the seeds. The result is arguably identical as it still produces that wonderful flavour and speckled look in desserts and baked goods.

Another reason I use vanilla bean paste rather than vanilla pods because it is much cheaper, at least here in Canada. Generally, 1 tbsp of vanilla bean paste can substitute 1 vanilla bean pod, although this might be further clarified by the labeling on the jar. I use Madagascar Bourbon Vanilla Bean Paste from PC Black Label which is available at Loblaws.
I hope you enjoy this Blueberry Vanilla Jam recipe as much as I do and remember to share your results with me using #francesmenu on instagram, twitter and Facebook!
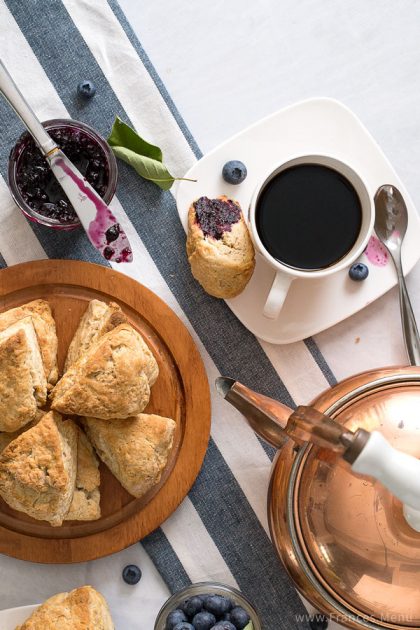
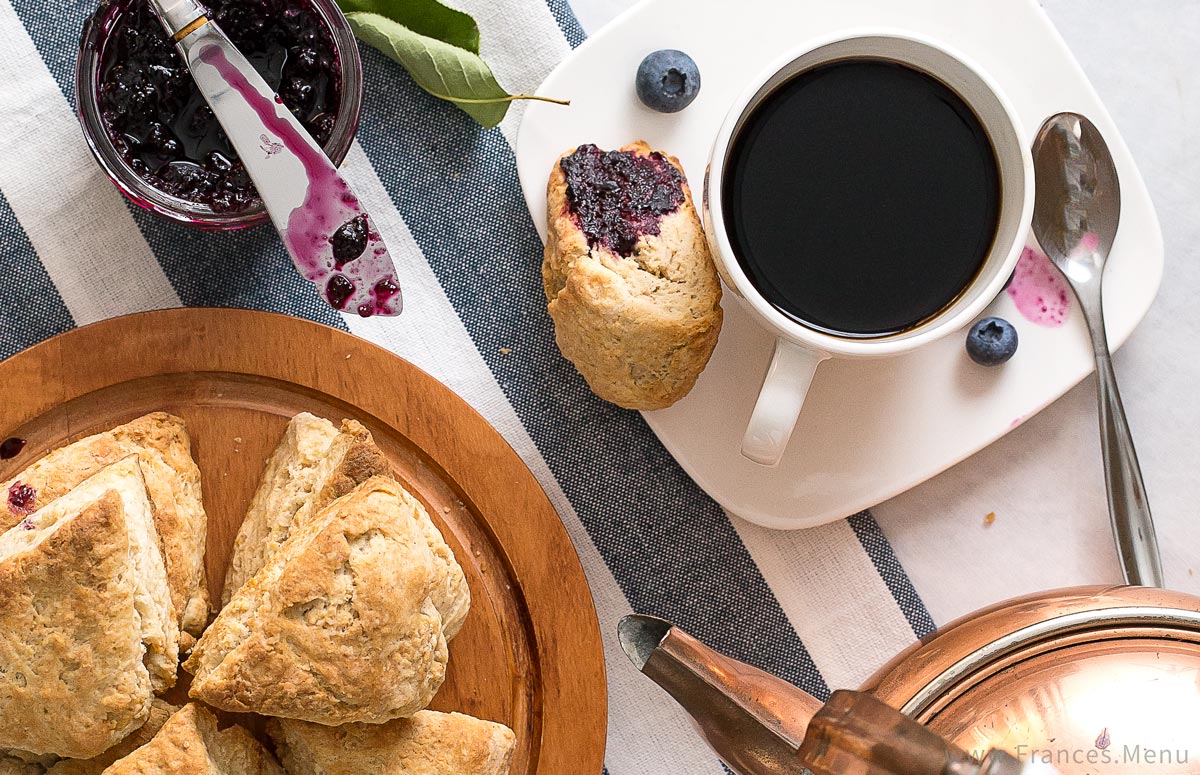
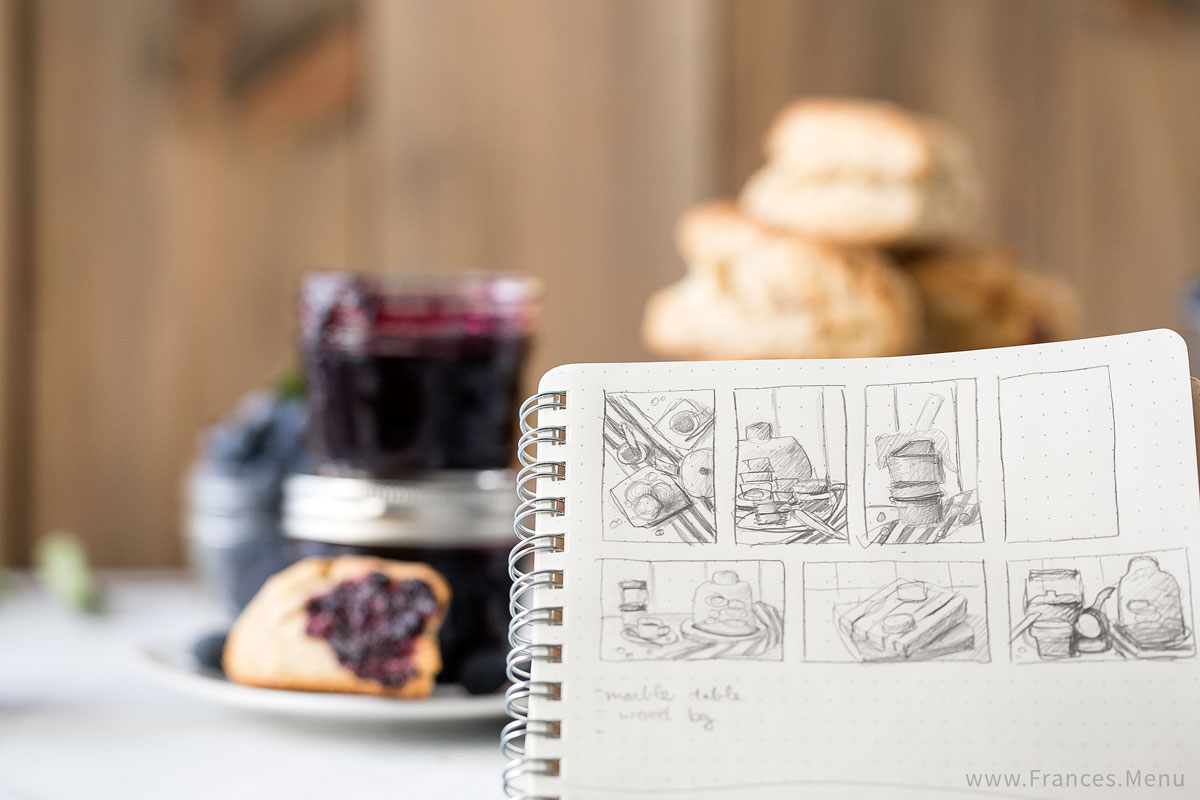
Here’s some food for thought: When effort is put into the food styling, it cuts down time spent on photographing and post-editing. So even if it takes that extra 5 – 10 minutes to style your food, do it, because it may save you 40 minutes later on in the process. If you don’t know how, then research, look at other work and try out different styles to gain more experience. Try different ways to create contrast, repetition, emphasis and other principles of design in your styling. This is something I am constantly learning and it can be incredibly challenging.
For this shoot, a 60-in umbrella was placed to the back-left of the photography area and a white foam core board on the opposite side to reflect the light and fill in shadows. For the marble tabletop, 3 floor tiles were pushed next to each other, using the rough side of the tile to create a non-reflective surface. To make it look like one seamless table, I used photoshop to remove the lines in between each tile.
Reviewing the photos from this particular shoot, I learned two things. The first thing I learned was that a shallow depth of field can bring a sense of ‘a-pro-did-this’ feeling to the untrained eye. However, pushing it too far (making it too shallow) can make a photo look unplanned, unprofessional and distract from the focal point. The second thing I learned was that having extremely reflective copper items in the shoot can disturb the ‘natural window light’ style. The copper colour is much warmer to the neutral light temperature that was used and its warm colour had a far reach to the other items on the table. This made it seem as if light sources with different temperatures were being used, making it look messy at times. Please note that this is only undesirable in the ‘natural window light’ style that I was going for and maybe useful in other styles.
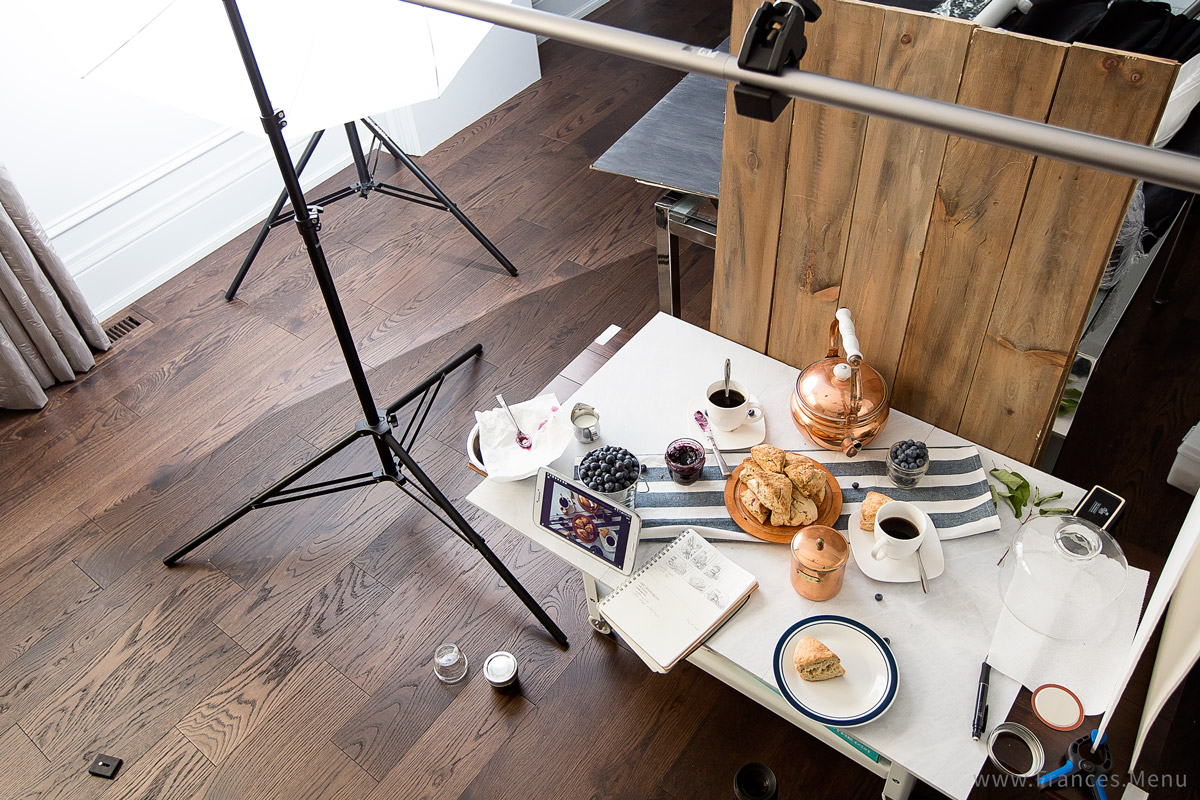
In hindsight, I should have probably done something to dull the reflective surface of the teapot to avoid the bright hotspots that compete with the focal point for attention. Vaseline maybe? If I used a dulling spray it probably wouldn’t be food safe to use afterwards. Will experiment further.
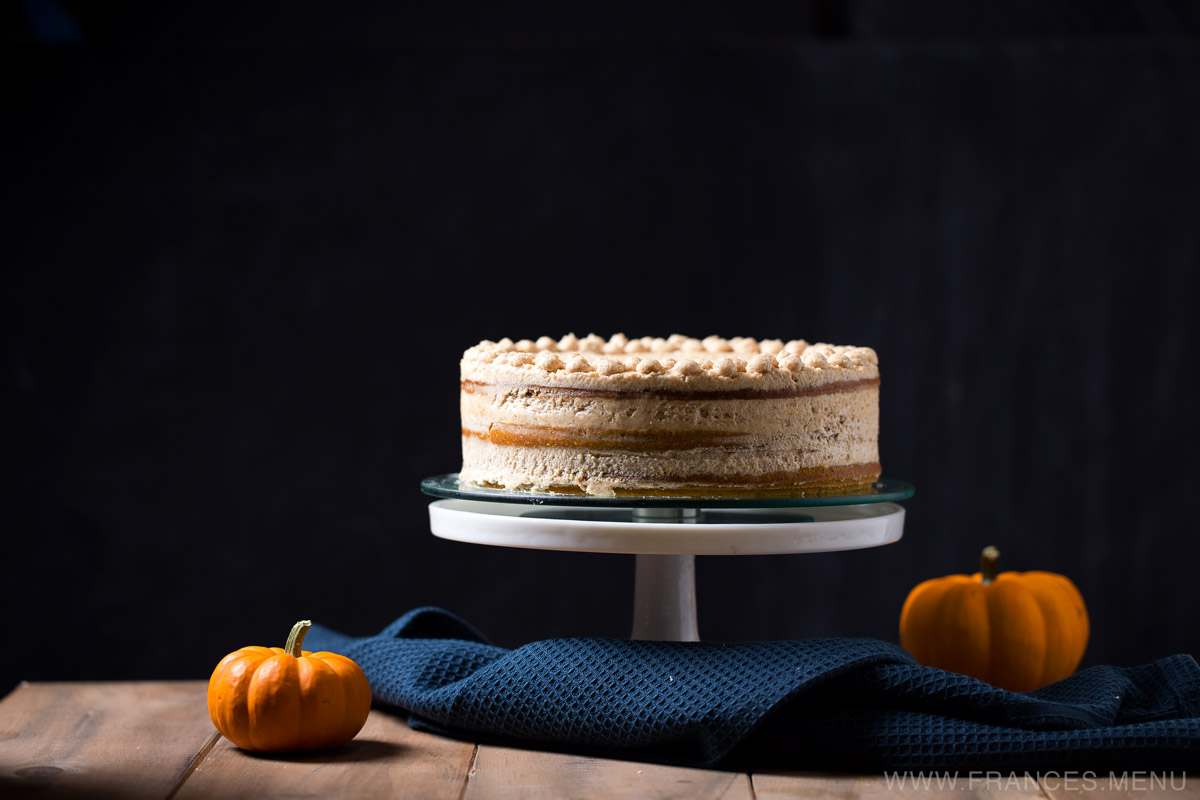
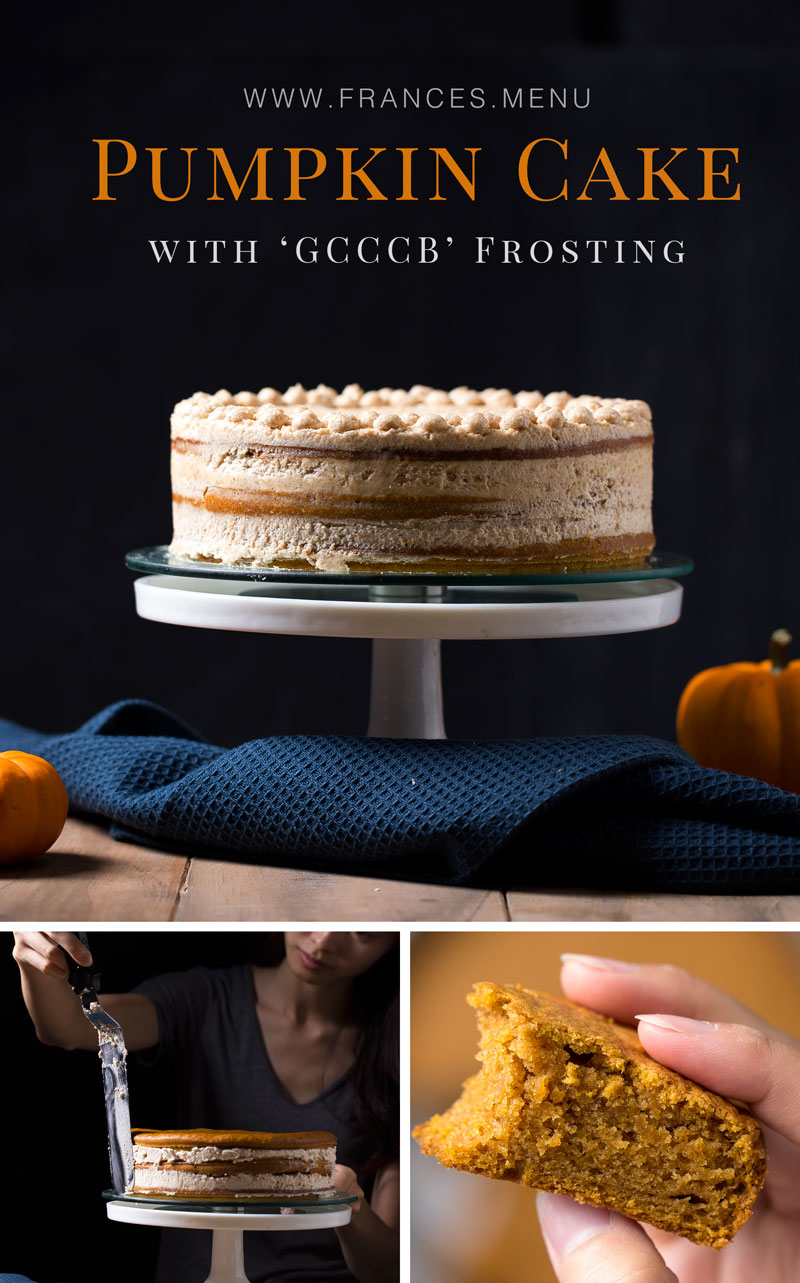
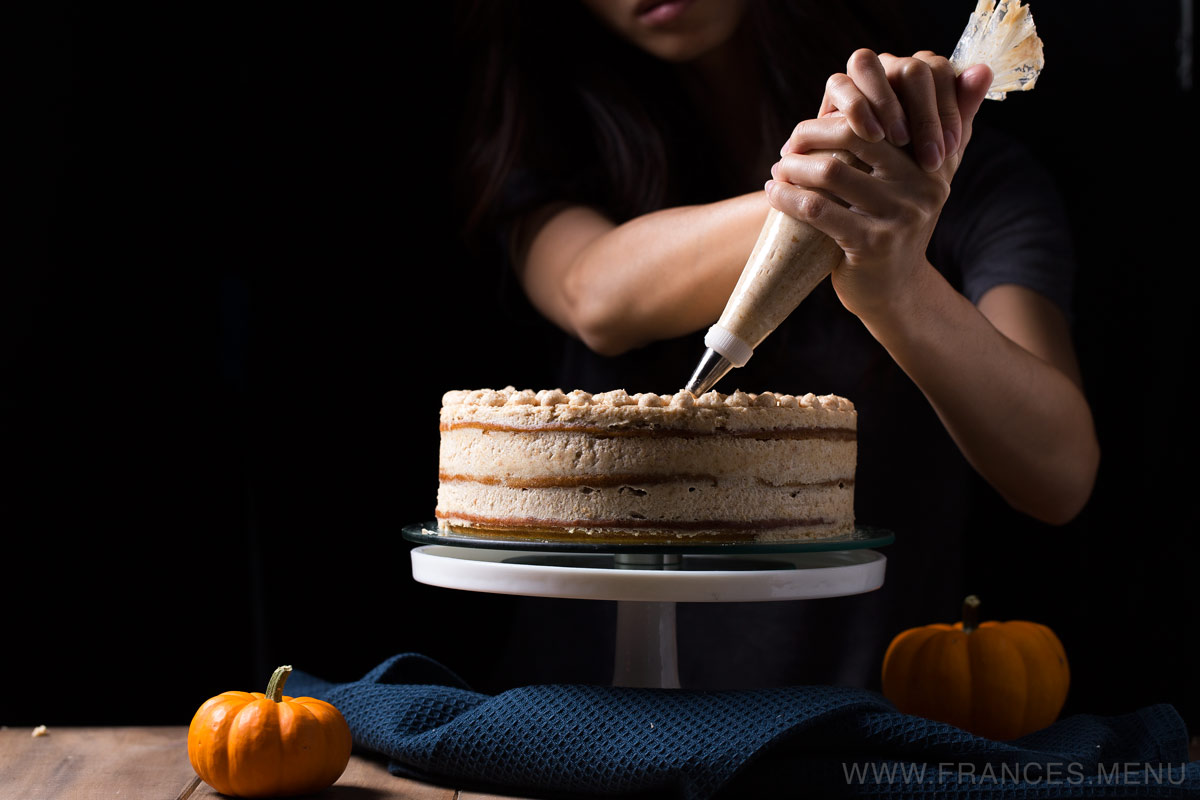
Mes amis, this is it, my hands are trembling in anticipation as I type this. A lot of pumpkin puree and eggs were sacrificed in the search for this recipe but nevertheless here it is—the perfect combination of Pumpkin cake and Graham Cracker Cream Cheese Buttercream (GCCCB) frosting. It is abso-freaking-lutely delicious.
The usual pumpkin cake recipe available online or purchased at the grocers will taste achingly sweet topped off with a frosting that is more sugar than anything else. If you prefer your desserts that way, you will want to steer clear of this cake. Those who know me, know that I have developed an anti-sweet tooth in the sense that the desserts I am starting to enjoy the most, are those that are subtle and ‘just-sweet-enough’. For those people with the same appreciation for subtle sweets, you will more than enjoy this cake!
There are a lot of pumpkin cake recipes out there use vegetable oil as the fat and I’ve tried many of them, however, they just don’t produce the same results that Cleobuttera’s recipe does with butter. I was going for a fluffy, moist cake that still held its structure so it could be layered—Cleobuttera’s recipe (with adjustments to fit my tastes and method) gave me just that.
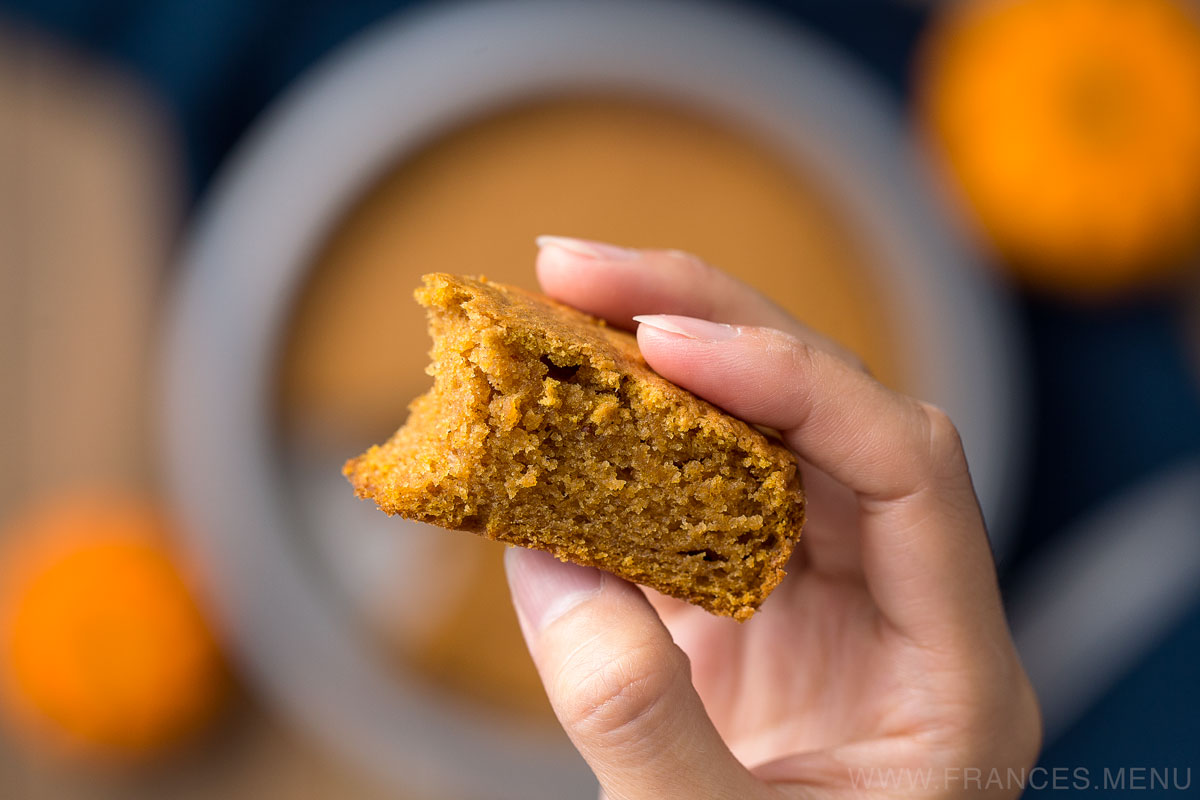
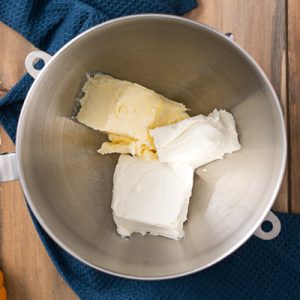
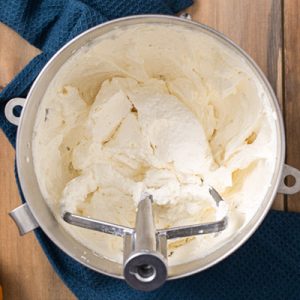
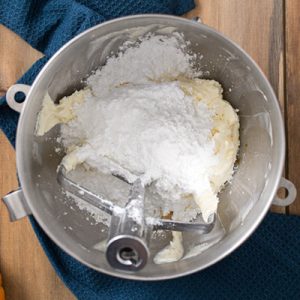
The key to achieving a light and fluffy cake texture is to ‘cream‘ the butter for a long time; ideally 10 minutes on a stand mixer. In layman’s terms, to ‘cream’ butter is the act of vigorously mixing the butter, creating minuscule air pockets. This incorporates air into the fat structure and also increases the volume of the batter—so remember, if you’re doing it right, it gets bigger.
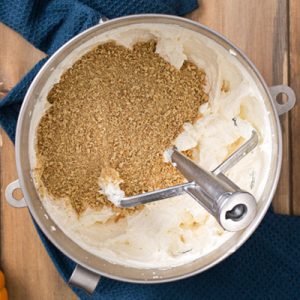
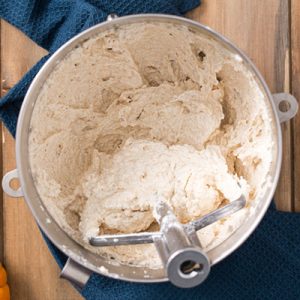
For the frosting, I was looking for that extra ‘zing’ and the addition of the graham cracker crumbs was just what it needed. This was inspired by one of the frostings in Tessa Huff’s book ’Layered: Baking, Building, and Styling Spectacular Cakes’. It definitely gives the cream cheese buttercream a new texture and appearance which I love! The taste reminds me of a less-sweet Mcdonald’s McFlurry/oreo ice-cream. It pipes easily using tips with extra large holes for the crumbs to get through and not so well with smaller or patterned tips.

Please note that you need three cake pans of the same size to make this cake. Although not absolutely necessary, the reason for three pans is so that you can simultaneously bake all of the cake batter right away to take full advantage of the chemical reaction between the baking soda and buttermilk. This chemical reaction makes the cake rise and helps with the fluffiness. If you don’t put the batter in the oven right away, it may not rise as it should and you will be left with a dense cake. An alternative to having three pans is to prepare the batter three separate times using the same baking pan, a much more time-consuming method, but still doable!
Little else is more fitting than a Pumpkin Cake with Graham Cracker Cream Cheese Buttercream frosting served as dessert during thanksgiving celebrations! Imagine how impressed your family and friends will be when they take a bite out of this gorgeous three-layer cake!
I would love to hear about and see your own results! Please hashtag #francesmenu on Instagram,Twitter or Facebook!
Photographing this recipe was an exercise in stepping out of my comfort zone and MacGvyer-ing some lighting setups. I was inspired by a style of food photography I saw on Pinterest that places a person behind a tabletop and in the shadows with the focus on a well-lit work station in front.
For the lighting on the body of the person (me), I was trying to achieve a balance between ‘hands floating in a sea of darkness’ versus ‘fully lit upper body and hands’. My thinking was a fully lit body would distract away from the ingredients, which is the focus. If my body was completely shrouded in darkness, my hands would extend out of a sea of black. I felt this would draw attention towards the illusion that they were floating, once again distracting from the ingredients.
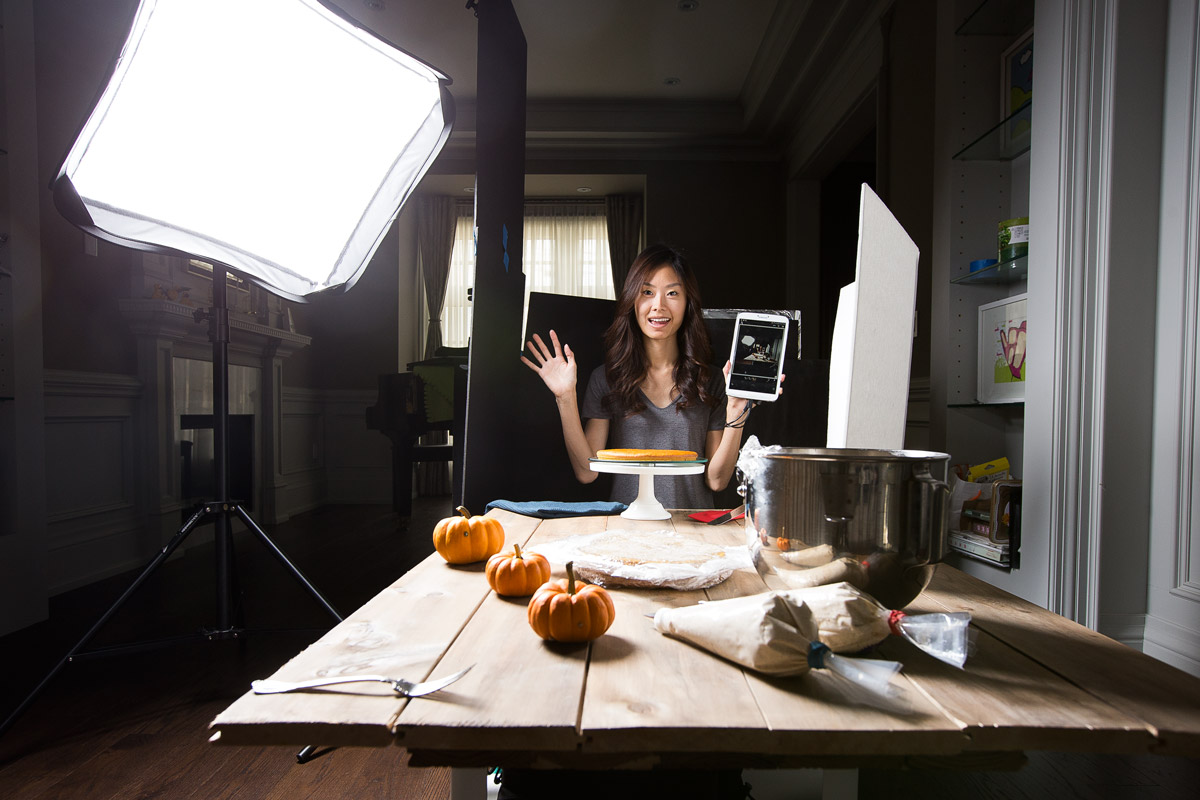
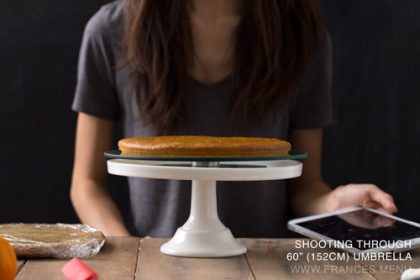
Playing around with the lighting, I figured that I needed to direct the light so that it only hit the table (let’s call it the middle ground) and with very little light spill over to my body (background). Initially, I used an umbrella, but light was spilling everywhere and I was unable to control the darkness of the background.
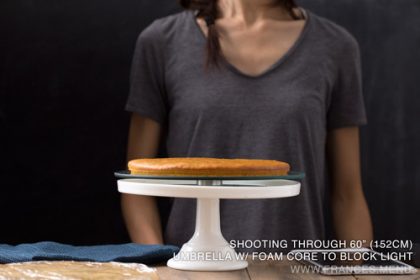
I switched to a softbox, knowing this would help me focus the light but not to the degree I wanted. Unfortunately, I did not have a grid for my softbox, which would help prevent light spill to the sides, however I did have several foam core boards in black. I taped these together and propped them up using a lightstand, positioned right against the background and just touching the edge of the tabletop. This effectively stopped the light spill into the background, resulting in the desired effect—a well-lit middle ground and dim background. You can see these boards to the left of me in the photo above.
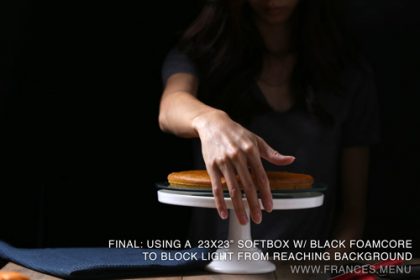
I am guessing that with a larger softbox, I would be able to achieve a more natural ‘window-lit’ diffused look, but I was pleased with the results nonetheless. I’m interested in trying this style again to see where I could go with it, also open to suggestions!